Inside a personal branding shoot in Northamptonshire: How Louise went from “I hate having my photo taken” to images she aas proud to use
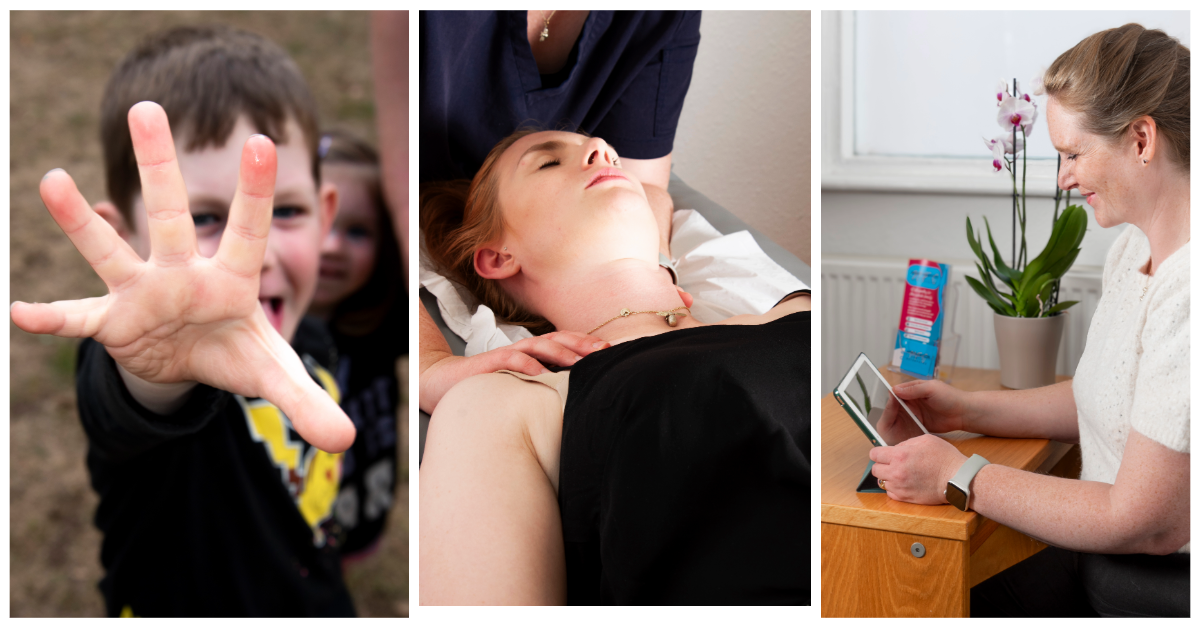
By Samantha Peel | Welly Pictures | Personal Branding Photography, NorthamptonshireLouise had been running Northampton Family Osteopaths for years before she contacted me about personal branding photography. She had a respected practice, loyal patients, and a clear specialism in structural and cranial osteopathy for the whole family, from newborns to older adults.
In person, Louise’s practice felt calm, professional and reassuring. Online, however, the story was much harder to see. Her website relied heavily on stock images, and her headshot had been taken quickly on a phone. The warmth and clinical confidence patients experienced in the treatment room were not coming through in her digital presence.
When she booked her personal branding shoot, she said something I hear all the time: “I hate having my photo taken.”
If that sounds familiar, this article is for you. I will walk you through how Louise’s shoot was planned, why each stage mattered, and how thoughtful brand photography can help a service-based business feel more trustworthy before a client ever gets in touch.
What you’ll learn
Why personal branding photography is more than a headshot.
How a good planning conversation shapes the whole shoot.
Why mood boards help nervous clients feel more prepared.
How the right location can make business photography feel more authentic.
Why clear direction matters more than asking someone to “just relax”.
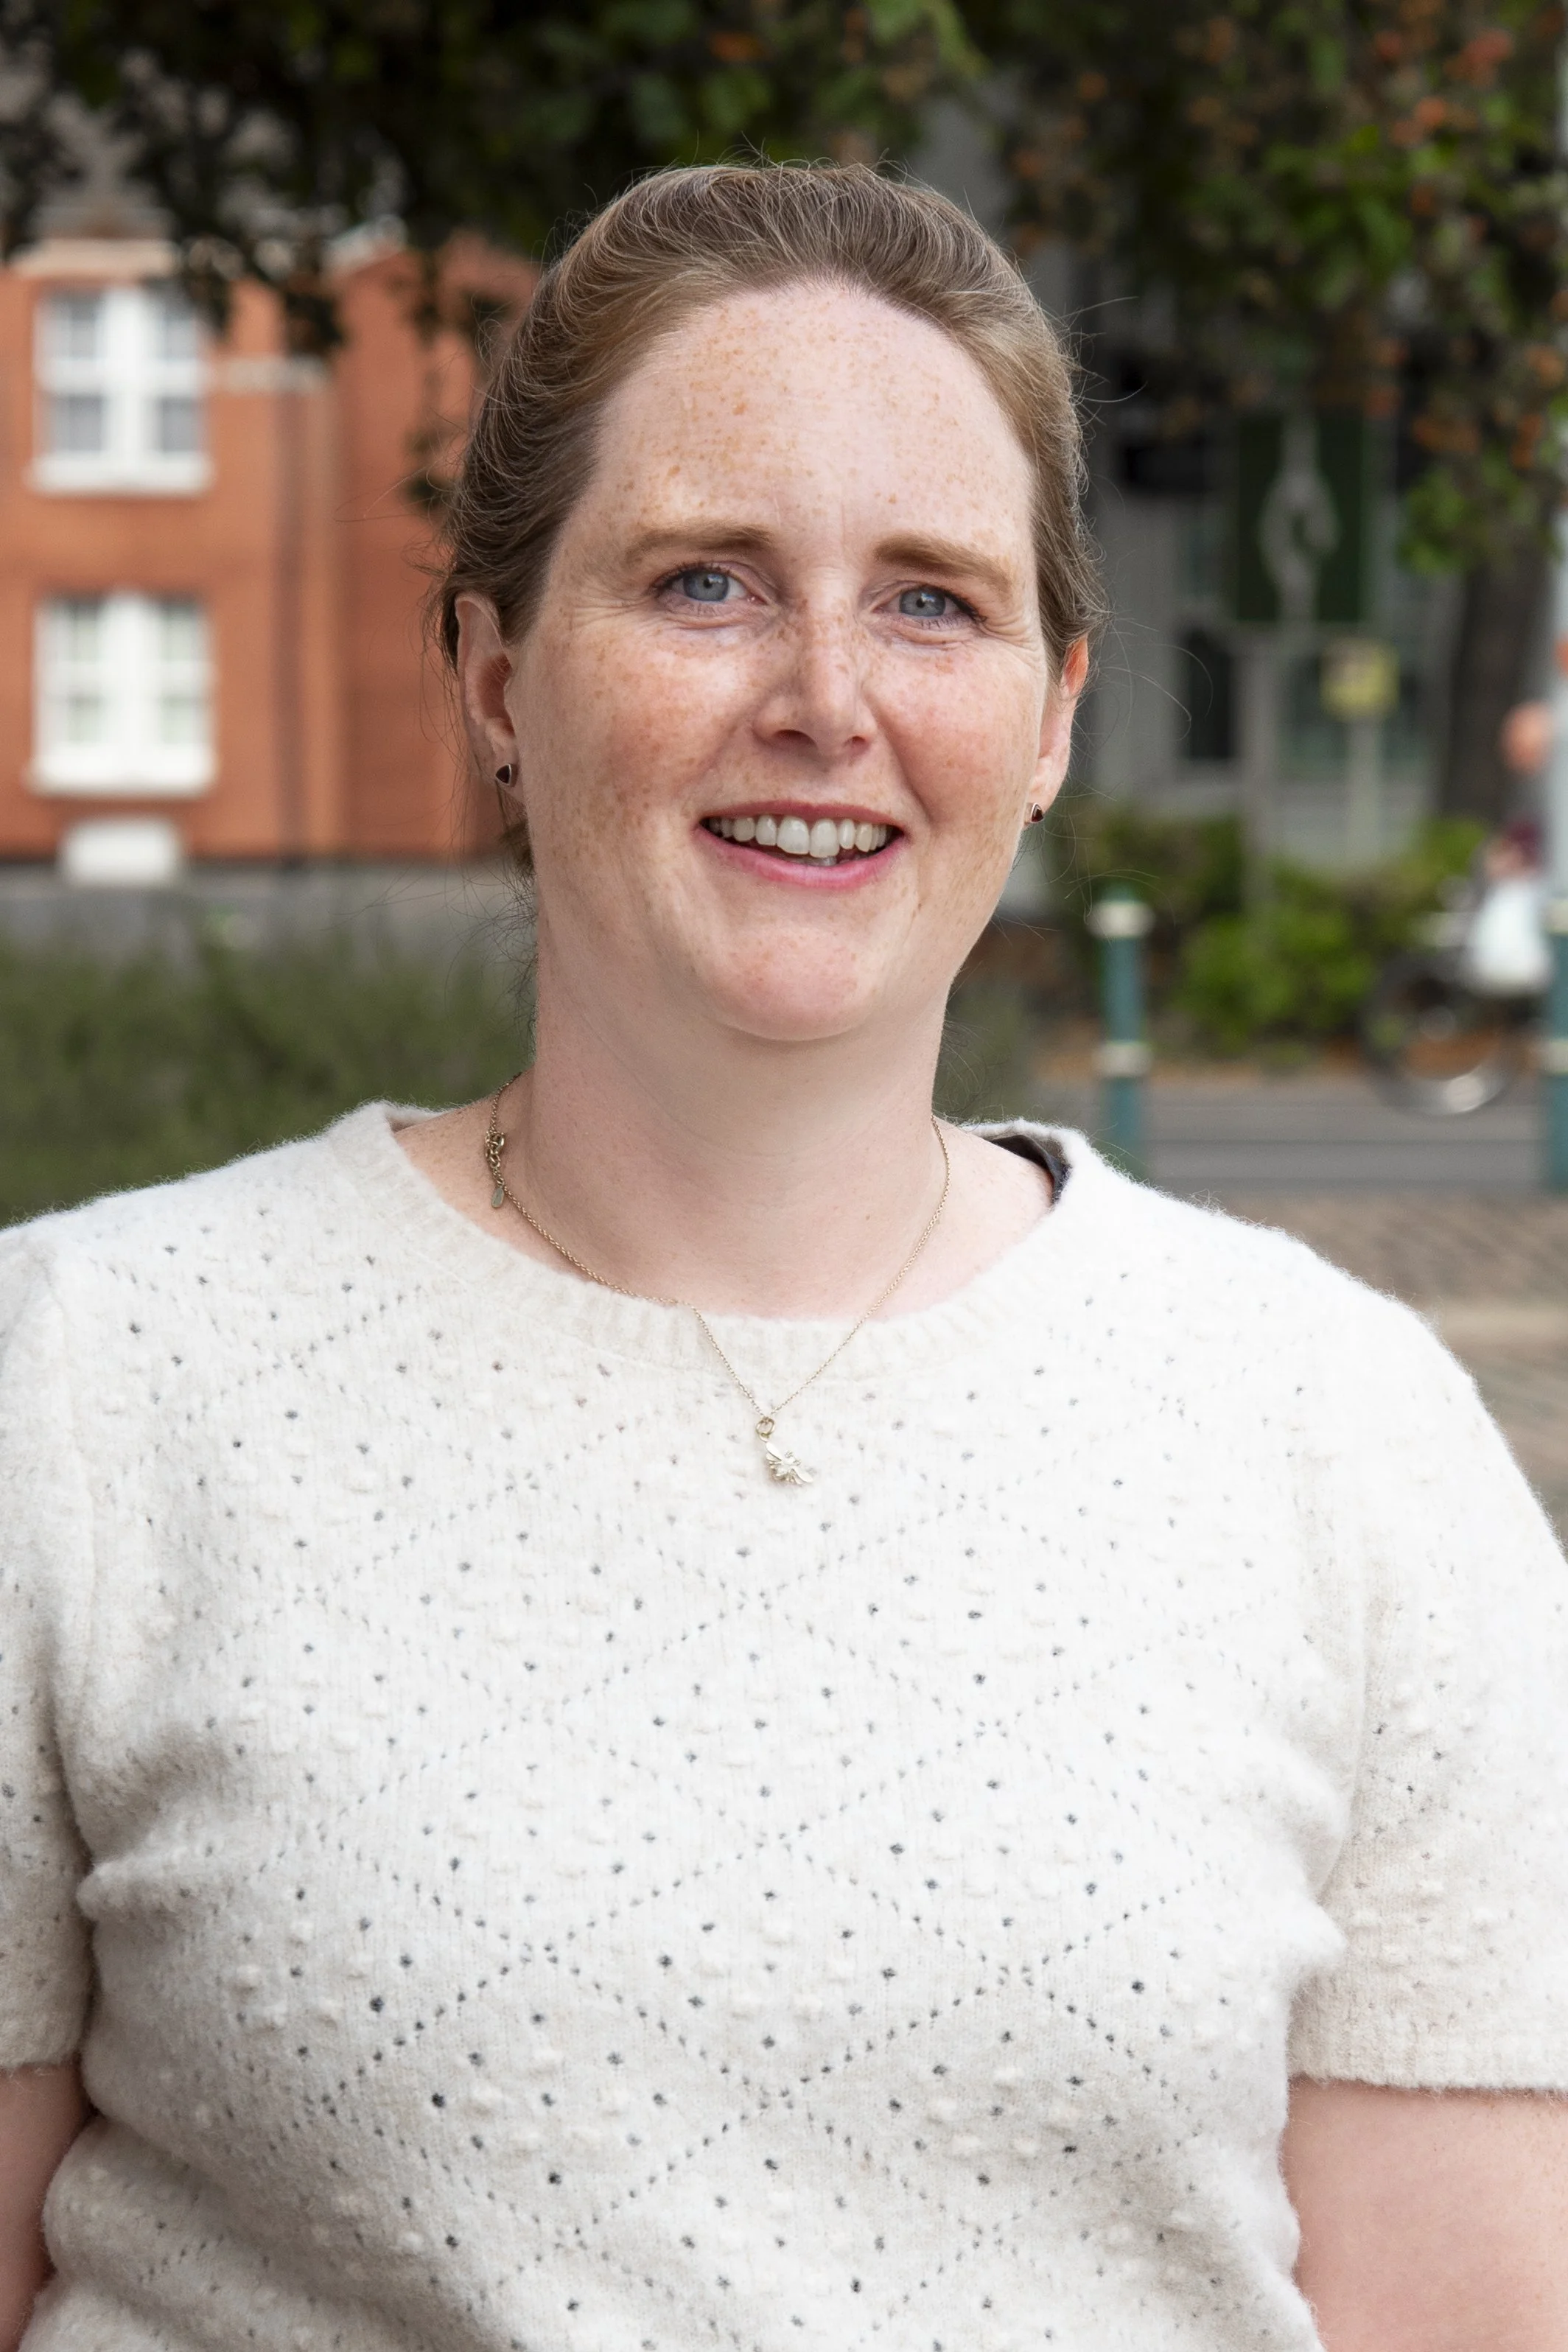
The first vonversation: Understanding the brand before the camera comes out
Before I plan a branding shoot, I need to understand the business from the inside. Not just what it does, but how it feels to work with that person and what clients need to believe before they book.
With Louise, the most useful questions were not about poses or outfits. They were about patients. Who comes to see her? What are they usually worried about? What do they need to feel when they arrive? What should her website communicate before someone books their first appointment?
Her answers gave the shoot its direction. Many of her patients arrive feeling anxious, either because they are in pain, unsure what osteopathy involves or bringing a young baby for treatment. Louise wanted her imagery to communicate two things at once: clinical credibility and warmth.
That balance matters. Images that feel too formal can make a healthcare practice seem cold. Images that feel too soft can make a regulated professional look less credible. The aim was to create photographs that felt calm, capable, reassuring and real.
This is why the planning conversation is not a formality. A brief such as “warm and professional” is a useful start, but it is not enough on its own. When a client explains that patients arrive anxious and need to feel reassured before they book, the photography has a much clearer job to do.
The mood board: Turning ideas into a shared visual plan
Once we understood what the images needed to say, I created a mood board. This is not about copying someone else’s photographs. It is about building a shared visual language before the shoot, so everyone knows the direction.
For Louise, the mood board focused on three practical areas:
Colour palette: soft, natural, warm-neutral tones. Nothing overly clinical, but nothing too domestic either. The colours needed to support a professional healthcare setting while still feeling calm and human.
Lighting style: gentle natural light wherever possible. For a practitioner whose work is built around attentive care, harsh flash would have felt tonally wrong, even if it was technically correct.
Image types: a useful mix of portraits, process images and environmental details. Louise needed photographs of herself, but she also needed images that showed her treatment approach, her space, and the quiet details that make the practice feel reassuring.
The mood board also helped Louise feel more prepared. When a client is nervous about being photographed, uncertainty makes everything harder. A clear visual plan removes some of that pressure because they can see what we are aiming for.
Think of it as a calm reference point. If we are unsure about an outfit, a prop, a background or a framing choice, we can compare it to the agreed direction instead of trying to make every decision from scratch on the day.
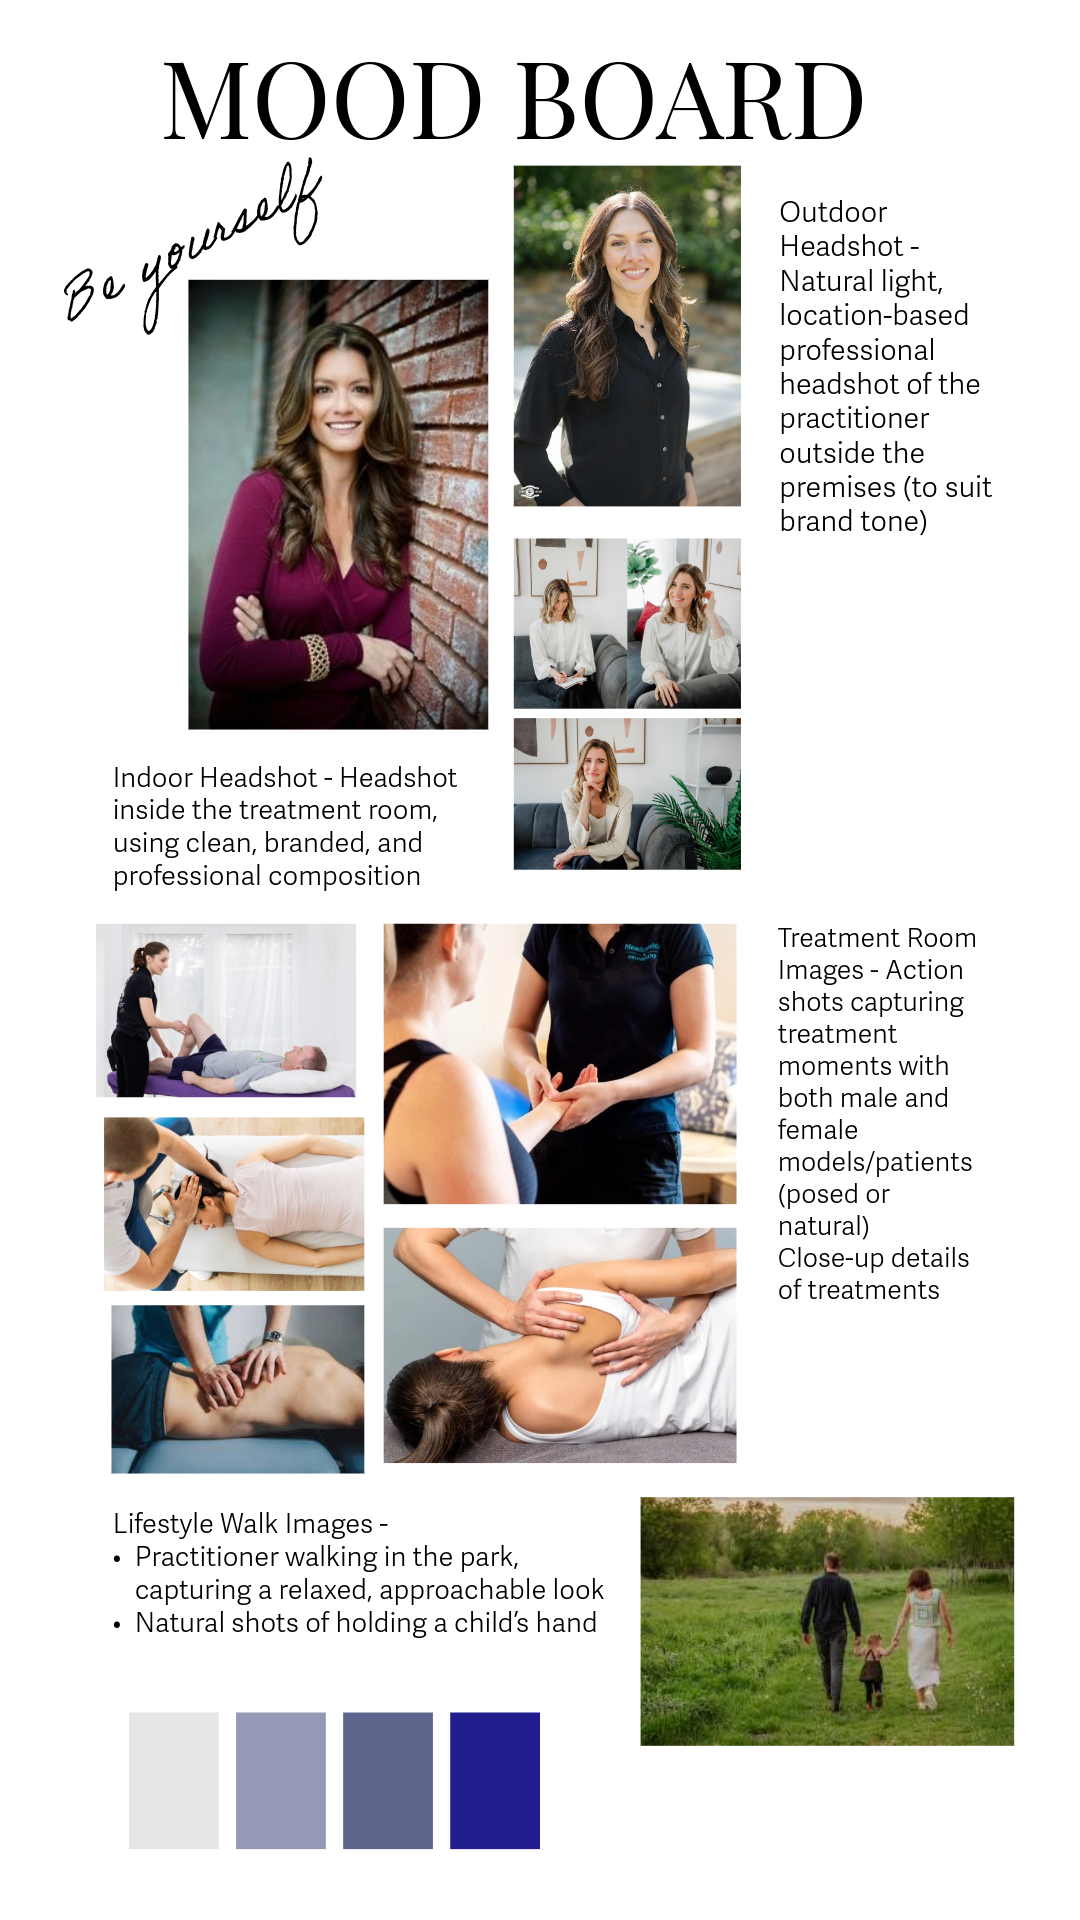
Moodboard (Louise)
This mood board shows key brand colours, impression that Louise wishes to make, with personal family images, detail images of her process, within her space and finally some key photographs of her. So that her audience get to know her as a person as well as what she offers to her customers.
Location: Why Her Own Practice Was the Right Place to Photograph
For most personal branding shoots, the best location is where the work happens. It gives the images context, honesty and detail that a generic studio cannot always provide.
For Louise, that meant photographing at Northampton Family Osteopaths. We used her treatment room and reception space because those are the places new patients will eventually visit.
This grounded the shoot in reality. The treatment table, equipment, natural light, soft textures and small clinical details all helped show that this was a real practice run with care.
Clinical spaces can be tricky to photograph. If the lighting is too harsh or the angles are too plain, the room can feel colder than it does in person. We worked with natural window light as much as possible and used gentle positioning, so the images stayed calm, warm and credible.
We also used genuine details from the practice rather than staged props. That matters because authenticity is easier to feel than to fake. Patients can usually tell when a brand image belongs to the business and when it has been assembled from generic visual ideas.
4. Preparing Equipment and Props
High-quality results depend on using the right tools. My photography equipment and props tips include bringing a mix of:
Cameras & Lenses: For sharp portraits and detailed process shots.
Lighting Gear: Reflectors and natural light modifiers for soft, flattering tones.
Props: Treatment tools, plants, and décor to subtly reinforce the wellness theme.
This combination allowed me to tell a full story, not just of the space, but of the service and the personality behind it.
5. Coordinating the individual, Team and Styling
The day before every shoot, I ensure all details are finalised, from styling to logistics. For personal branding photography, wardrobe and presentation make a big difference.
With Louise, we discussed outfit options that reflected her brand, comfortable yet professional, approachable yet polished. This styling advice helps create a cohesive visual story that connects authentically with her audience.
6. The Shoot: Capturing the Vision
On the day of the shoot, everything comes together. With all the planning and preparation in place, I began capturing the shots we’d discussed. I made sure to keep the communication flowing, checking in with the client to ensure they were happy with the progress. I also took creative liberties when necessary, adjusting lighting, angles, and composition to elevate the shot and capture those magical moments.
Throughout the shoot I like to:
Keep It Flexible: While planning is crucial, sometimes the best shots come from spontaneous moments or adjustments during the shoot.
Consistent Communication: I kept checking with the client to ensure we were on track and making adjustments based on their feedback.
Why It’s Important:
Creative Freedom: Having a plan ensures the shoot stays on track, but leaving room for creativity leads to unexpected and beautiful results.
Client Satisfaction: Regular check-ins keep the client involved and ensure their vision is being executed.

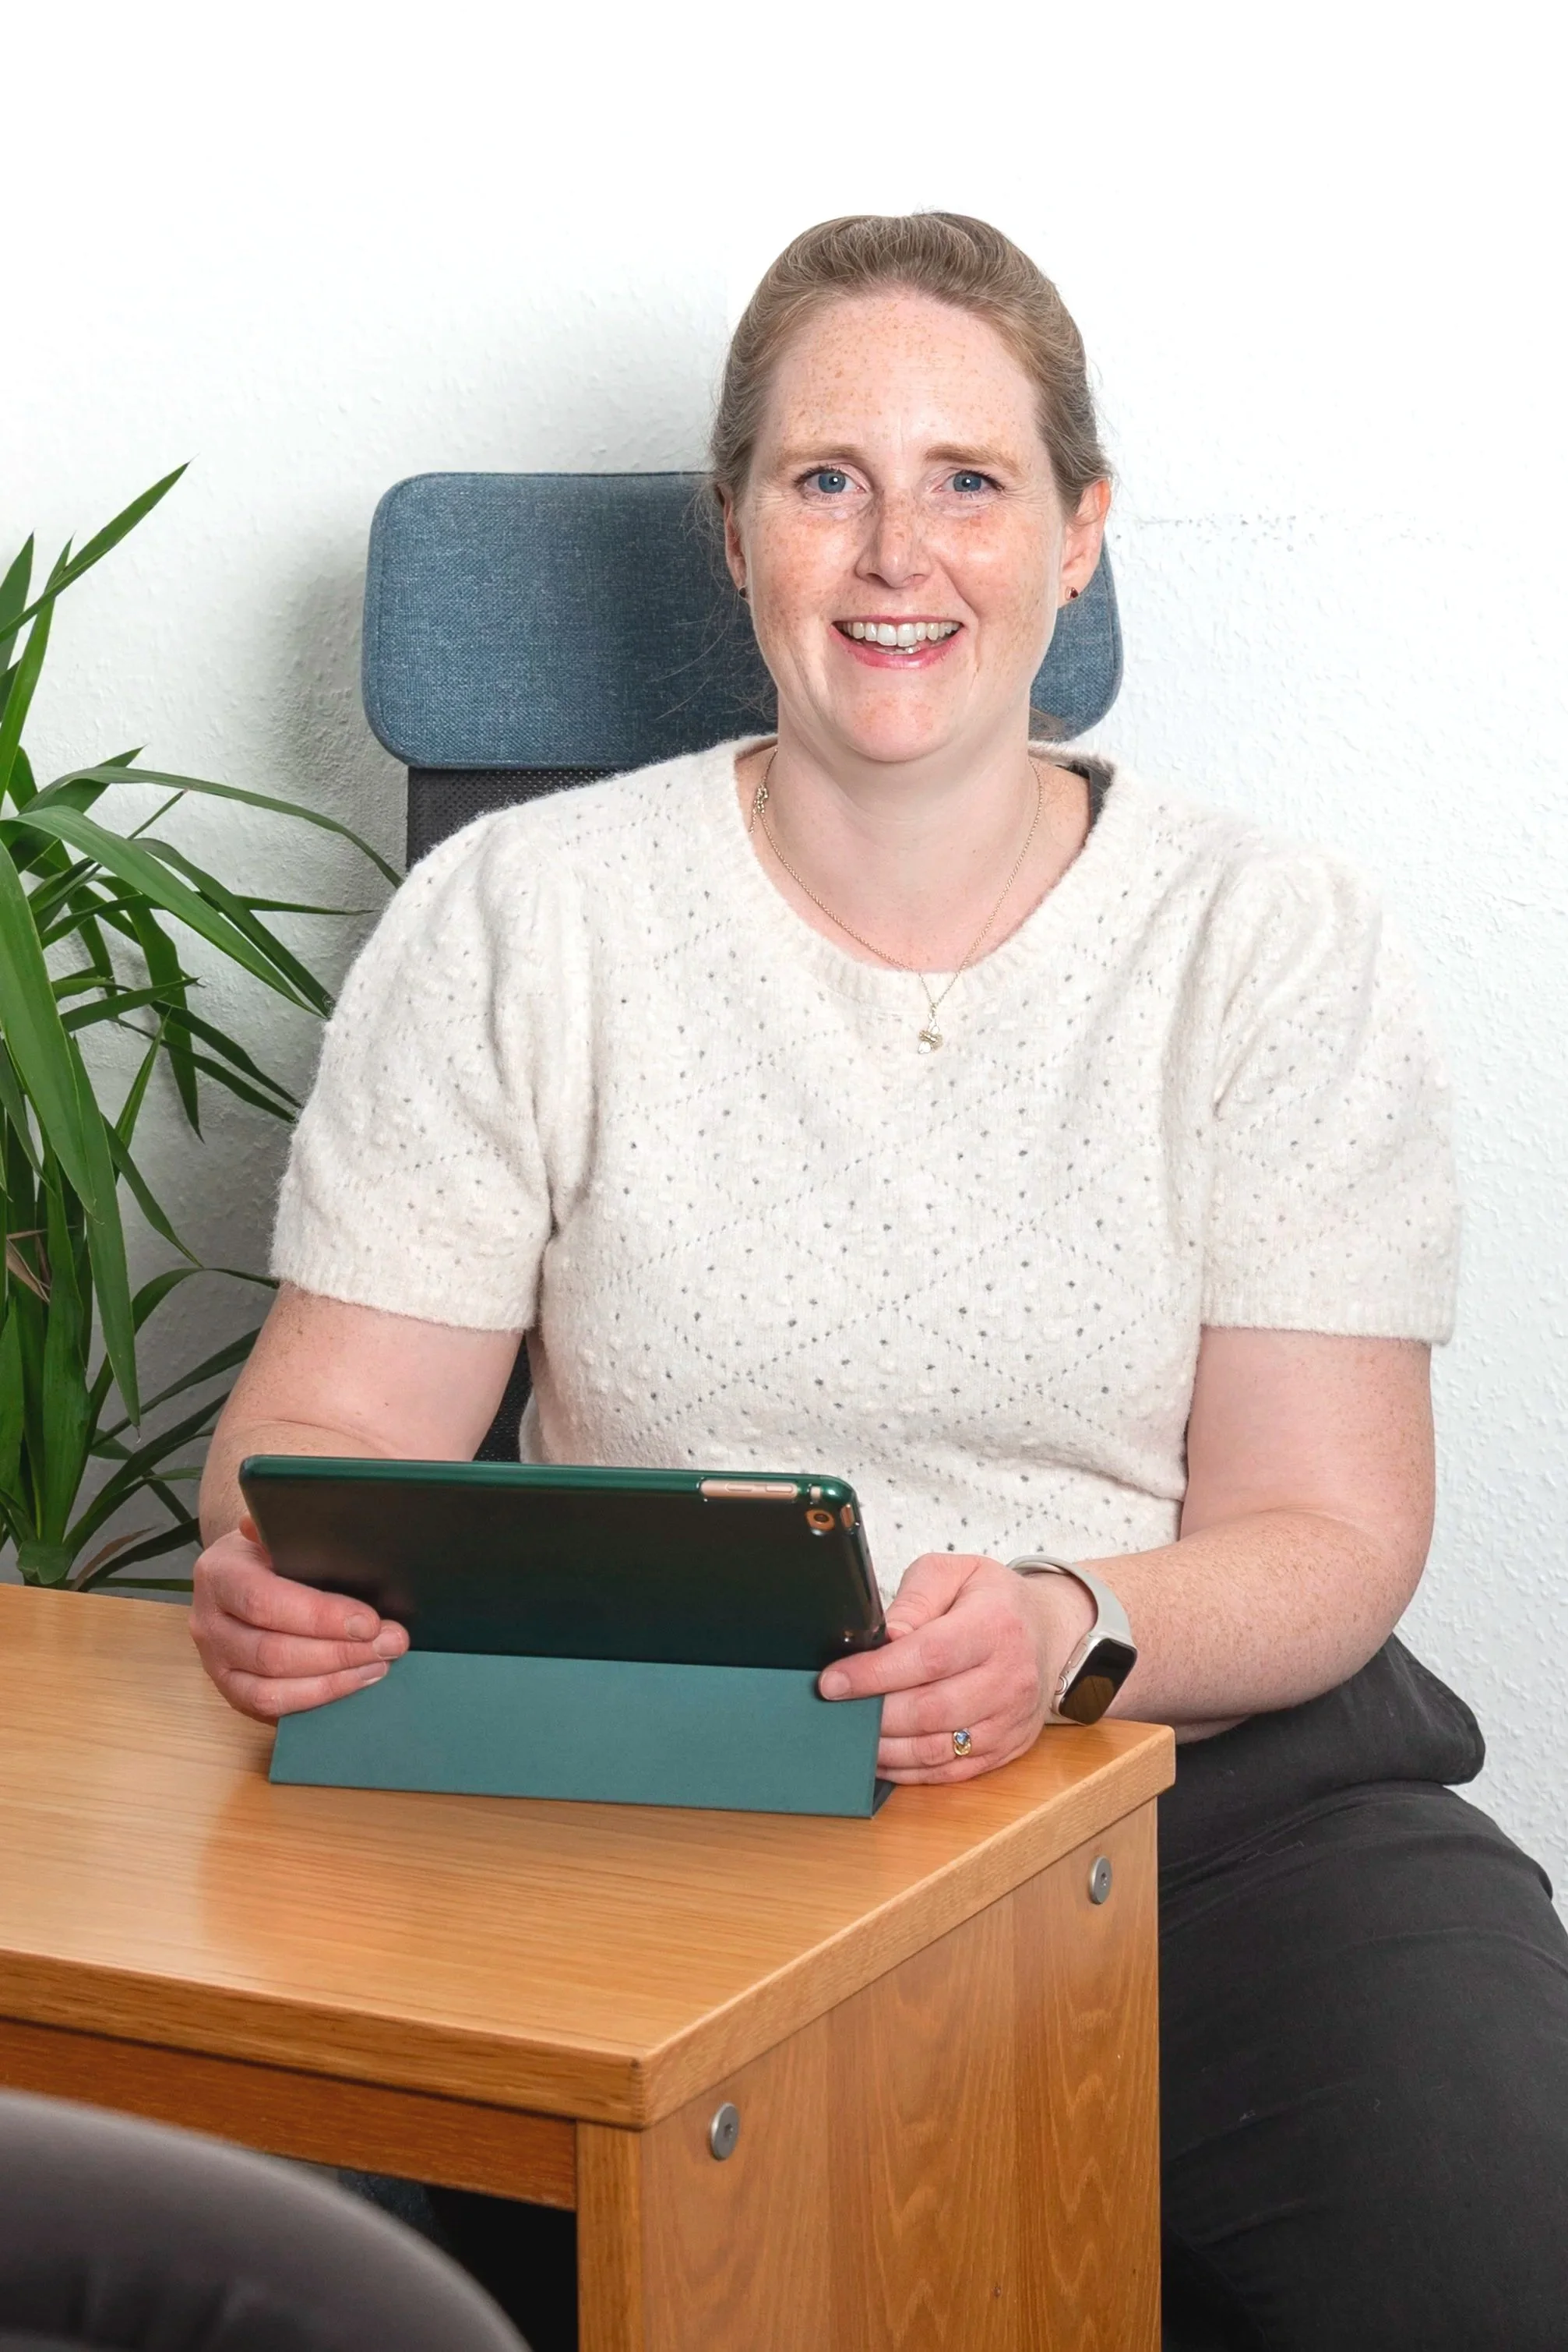

Throughout the session, I maintained open communication to ensure Louise was comfortable and confident.
7. Post-Processing and Delivery
After the shoot, the final step in bringing the vision to reality was post-processing the images. I took great care in editing each shot, enhancing colors, adjusting lighting, and fine-tuning details to ensure the photos reflected the client’s brand and message.
I focused on:
Enhancing Colours: Making sure the colours aligned with the brand’s identity (e.g., vibrant food tones, dynamic fitness shots, or soft portraits).
Final Touches: Retouching skin or cleaning up any imperfections, ensuring the images looked professional and polished.
Once the images were ready, I delivered them in the requested formats (digital files, prints, etc.) and ensured the client was fully satisfied with the results.
For Northampton Family Osteopaths, I ensured every image felt warm, genuine, and approachable, consistent with their care-focused values.
Why It’s Important:
Polished End Product: Post-processing is key to making sure the final images align with the client’s vision.
Client Experience: Delivering the images in a timely, professional manner ensures the client has a positive experience and can use the photos effectively.
Conclusion
Planning a creative photoshoot involves strategy, storytelling, and spontaneity. By combining a clear vision with thoughtful preparation and creative flexibility, I helped Northampton Family Osteopaths elevate their visual presence and strengthen their connection with their audience.
Whether you’re looking for food photography tips, fitness photoshoot ideas, or personal branding photography, the key is balancing preparation and creativity to bring your story to life.
What Next?
Subscribe to my photography blog for monthly tips and inspiration
Book a creative photoshoot for your brand
Explore one-to-one photography tutorials to elevate your skills
Start your photography project today and let’s bring your vision to life
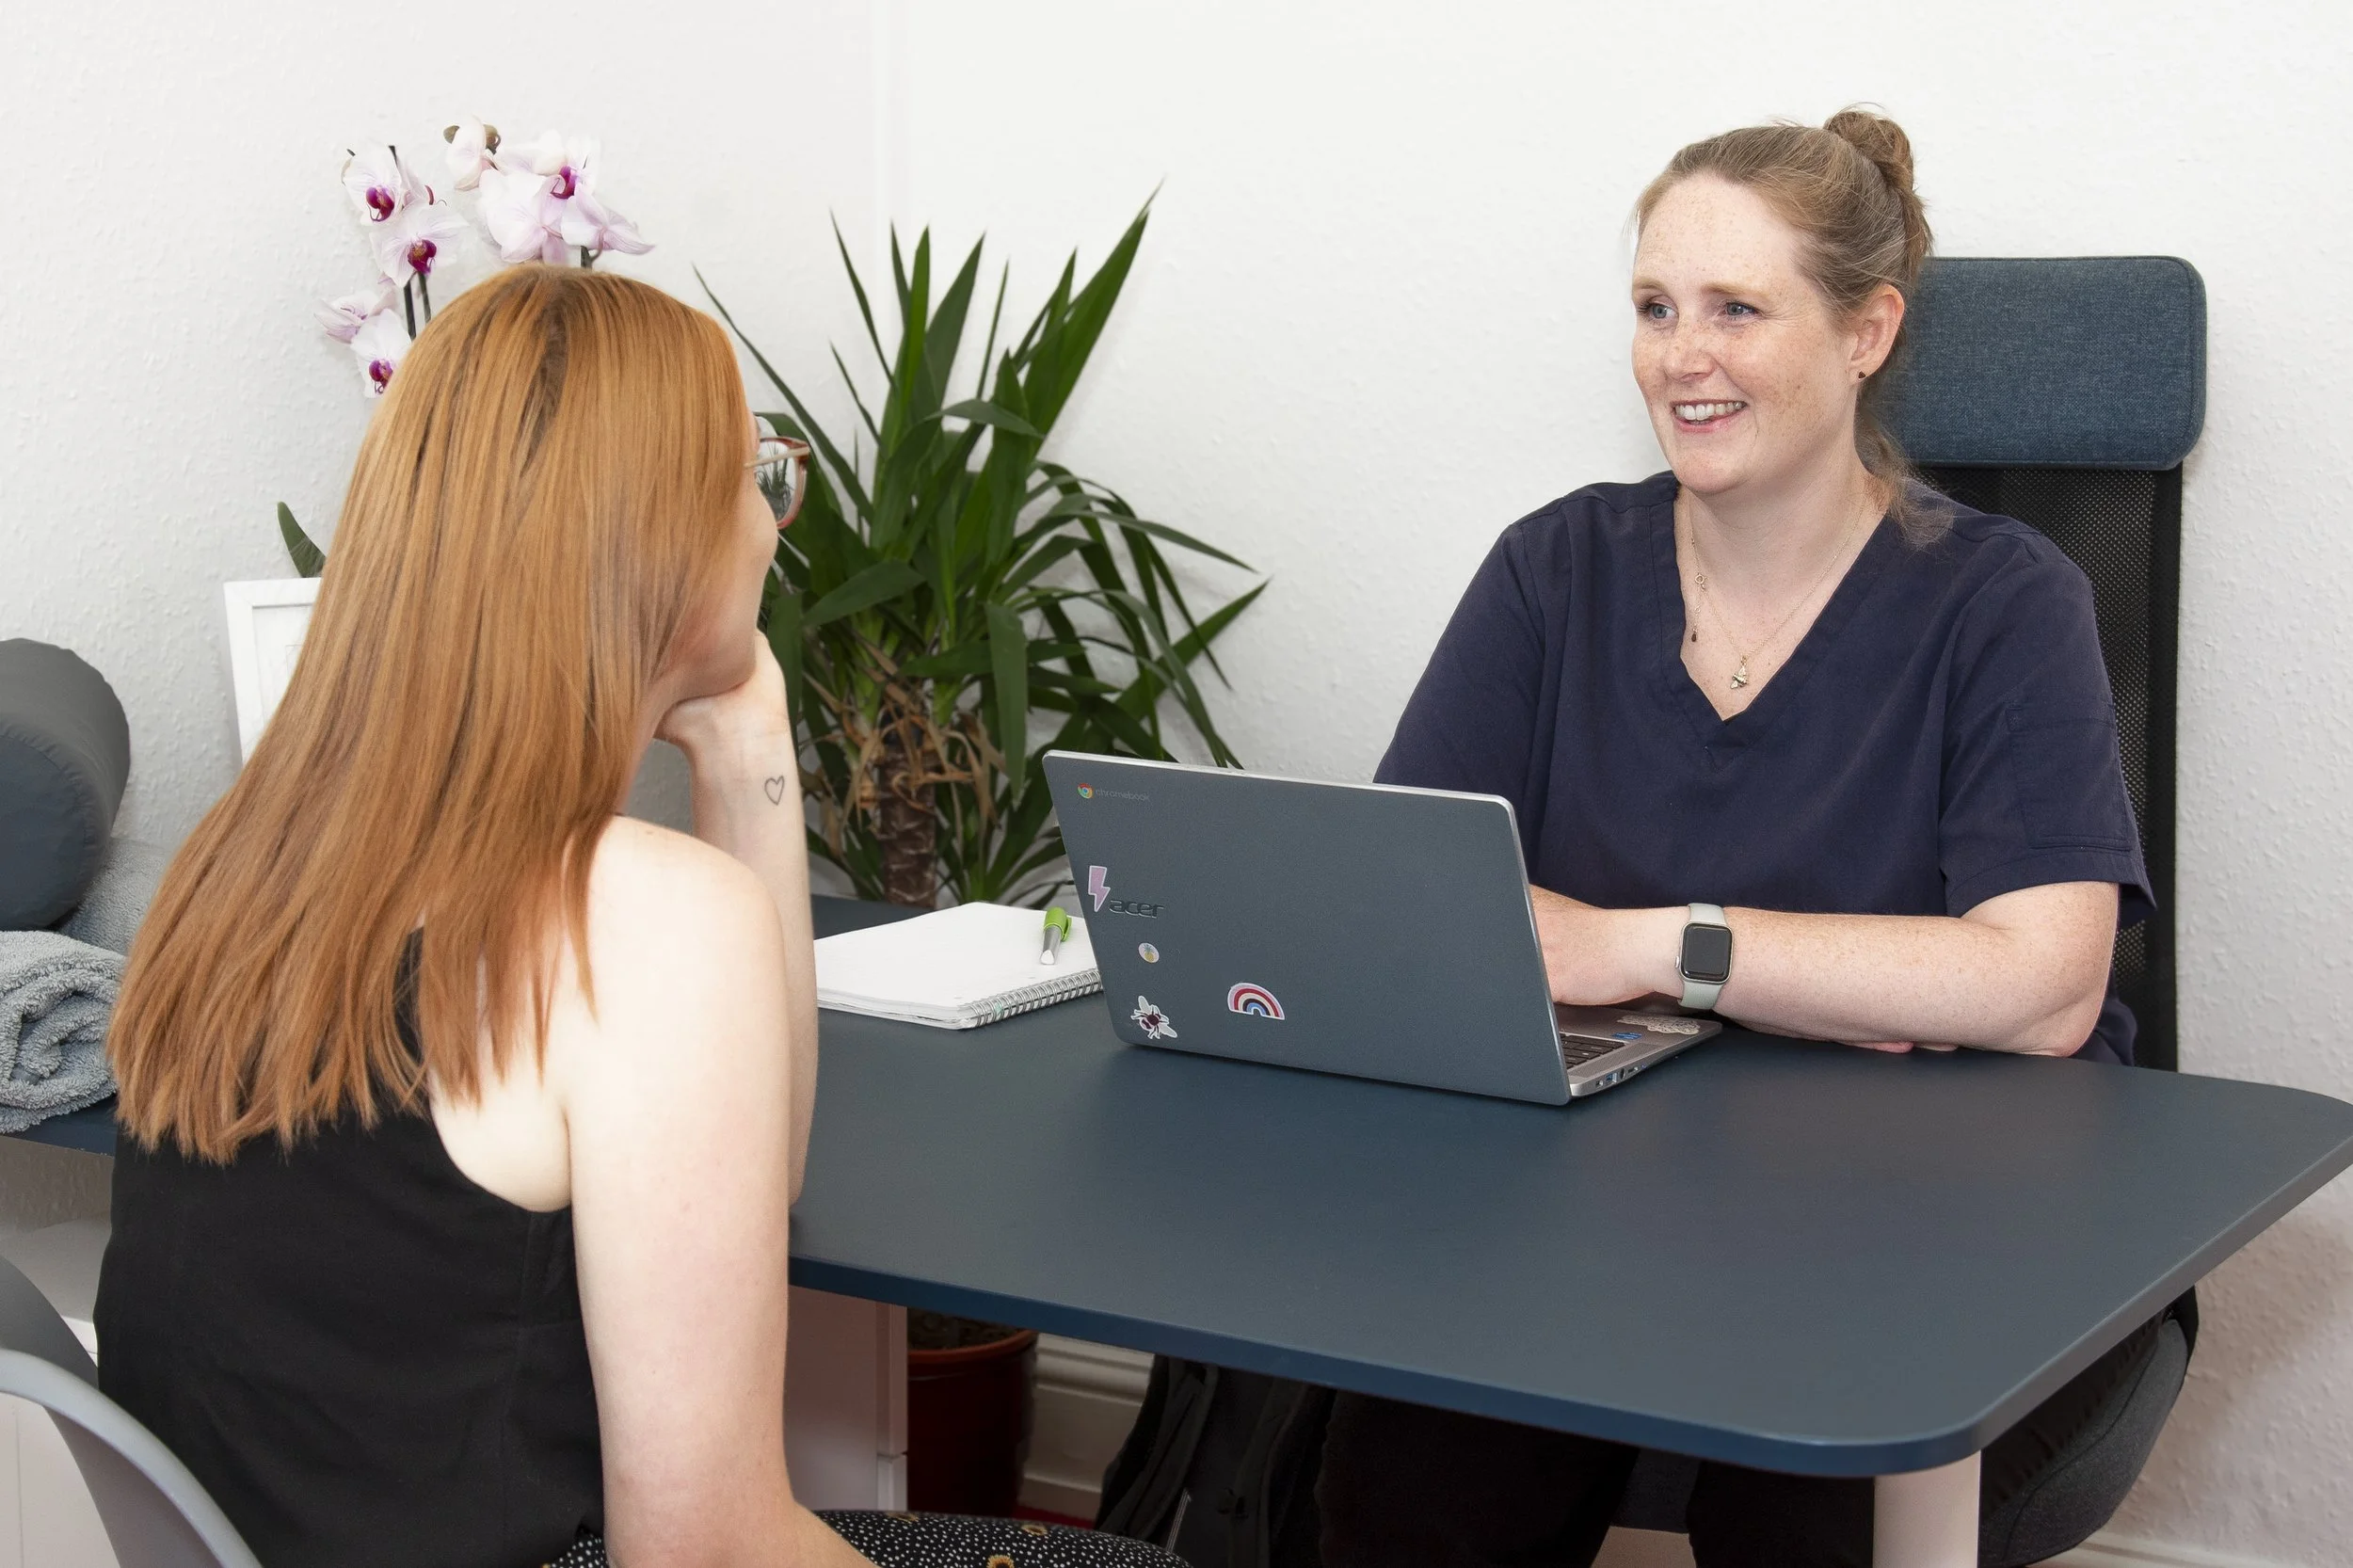
Business client: Northampton Family Osteopaths
Providing structural and cranial osteopathy to the community of Northampton. Louise care’s for your whole family, from the younger to older generations.