
How to Enhance Food Photos in Post-Production

In today’s world of food photography, capturing a beautiful image in-camera is only half the story. The real magic happens during post-production, where thoughtful adjustments bring your images to life. Whether you’re a professional photographer or a passionate foodie, mastering photo editing for food photography elevates your shots from good to mouthwatering.
Why Post-Production is Crucial in Food Photography
The editing stage allows you to refine images, correct imperfections, and highlight vibrant colours and textures. While lighting and camera skills create a strong foundation, food photography editing techniques such as colour correction, retouching, and sharpening enhance visual appeal and storytelling.
For restaurant photography or product photography for restaurants, post-production ensures your food looks as delicious online as it does in person, helping attract customers and strengthen your brand.
Essential Steps of the Editing Process

1. Organize and Select Your Best Shots
Start by reviewing your RAW images and selecting those that truly shine.
Sharpness: Ensure your food details are crisp and well-defined, essential for sharpening food images later.
Composition: Look for strong framing and clean setups; cropping for food photos can further refine this.
Lighting: Even if slightly off, you can adjust it during post-production using exposure and white balance tools.
2. Basic Adjustments: Exposure, Contrast & White Balance
Once you’ve chosen your photo, begin with core corrections:
Exposure & Contrast: Proper exposure ensures all tones are visible, while contrast gives your dish more depth and pop.
White Balance Food Photography: Adjusting white balance corrects unwanted colour tints so your food looks natural and delicious.

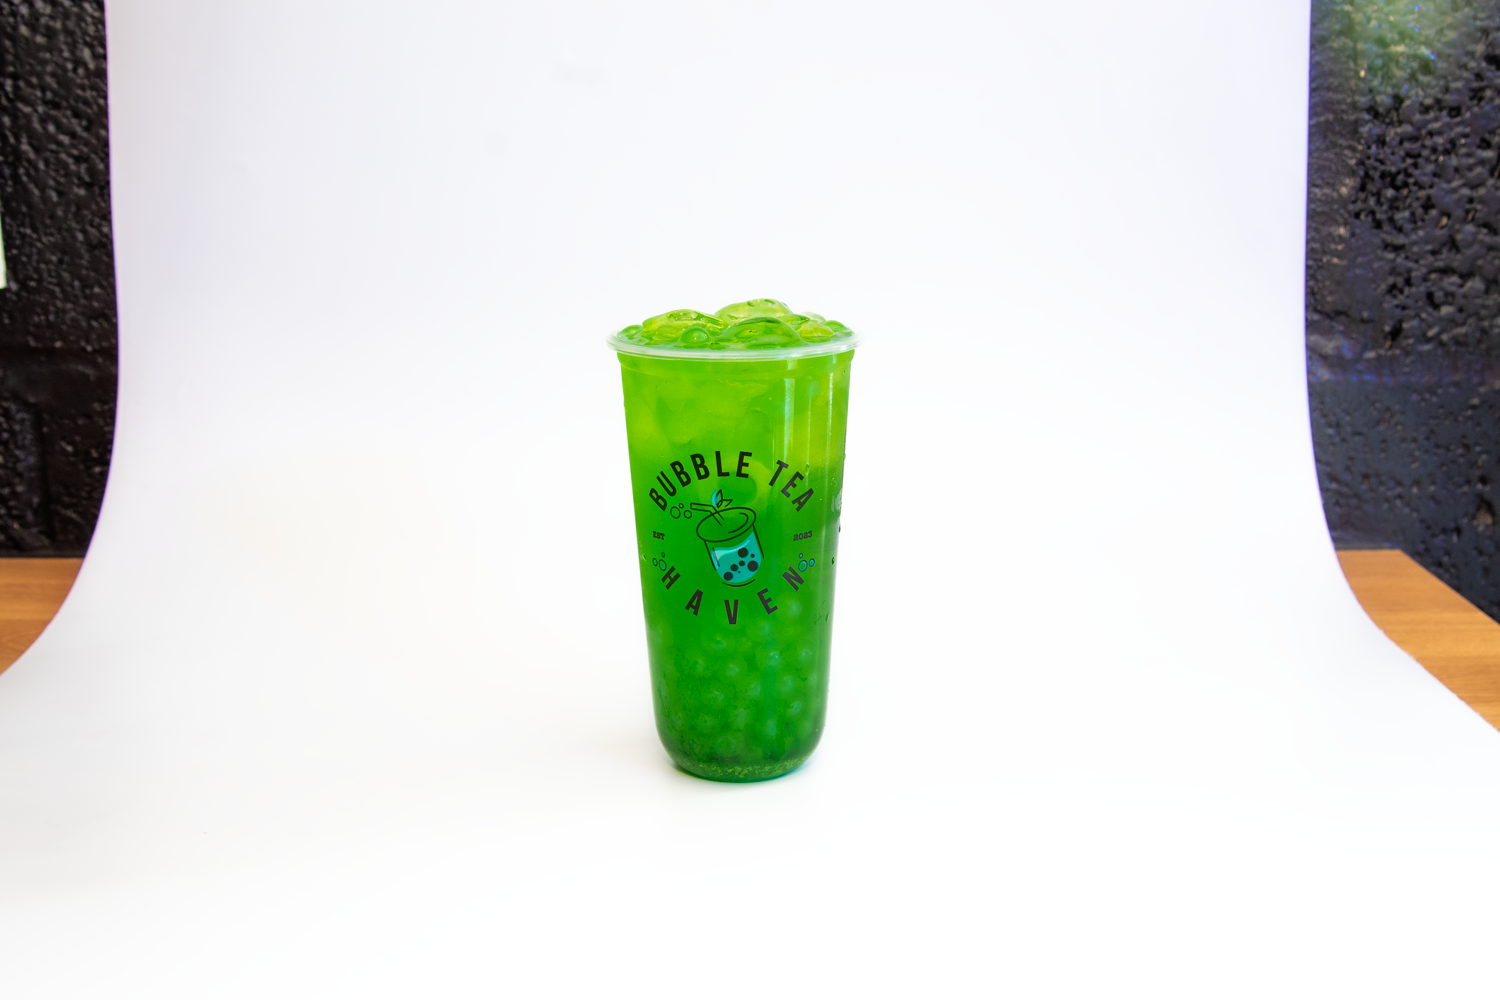
3. Colour Enhancement – Making Your Food Look More Appetizing
Colour plays a huge role in enhancing food photos. Use subtle colour correction to achieve accurate tones and natural vibrancy.
Saturation & Vibrancy: Boost to make produce and ingredients pop without looking artificial.
HSL Adjustments: Fine-tune specific colours, make greens brighter, reds richer, or pastries warmer. These targeted tweaks are key food photography editing techniques.
These subtle tweaks are key to professional food photography editing.

4. Sharpening and Detail Enhancement
Texture defines good food photography post-production.
Apply sharpening food images to highlight crisp edges like pastry layers or salad textures.
Increase clarity or texture for subtle detail enhancement for food shots. Be cautious not to over-sharpen; balance is key for realism.
5. Cropping and Straightening
Sometimes the composition you capture can be improved with a little crop. Cropping allows you to:

Remove Distractions: If there are elements that distract from the focus of the photo (like a messy background or unnecessary items), cropping can clean up the image.
Improve Composition: You can apply the rule of thirds or centre your food for a more balanced look. Straightening the image, especially if you shot it at an angle, can also help keep the photo visually appealing.

6. Retouching – Removing Imperfections
Every great food photography post-production workflow includes food styling and retouch steps:
Remove crumbs, spills, or distracting elements using healing tools.
Enhance shine or glaze using dodge and burn tools to give food that extra gloss, perfect for desserts and sauces.
For restaurant photography and product photography for restaurants, these steps ensure your food looks pristine and appetizing.
7. Exporting and Optimizing for Platforms
After editing, it's time to export your image. Depending on where you plan to use the photo (blog, Instagram, website), you may need to adjust the size, resolution, and file format. Here are a few things to keep in mind:
Resolution: High-resolution images are essential for print, but for web use, ensure the file isn’t too large to maintain fast loading times.
File Format: JPEG is widely used for online images, but if you want to preserve the highest quality with more flexibility, export your images as TIFFs or PNGs.
Sharpening for Output: Some programs allow you to apply additional sharpening tailored for the platform where your photo will be displayed, such as sharpening for print or web.
Common Editing Tools for Food Photography
Here are a few popular tools to help you in the editing process:
Adobe Lightroom: Excellent for photo editing for food photography, offering exposure, colour, and tone adjustments.
Adobe Photoshop: Ideal for detailed food photo retouching and food styling and retouch work.
Snapseed & VSCO: Great mobile options for quick post-production for food photography edits on the go.
Conclusion
The post-production phase is where your creativity meets technical precision. Through food photo editing, colour correction food photography, and sharpening food images, you can transform ordinary shots into mouthwatering masterpieces.
By applying food photography editing techniques, colour correction, sharpening, and retouching, you can transform ordinary shots into mouthwatering masterpieces. Whether editing for blogs, menus, restaurant photography, or product photography for restaurants, mastering post-production ensures your dishes look as delicious online as they do in real life.
So embrace the digital darkroom, refine, retouch, and let your food photos shine!
What’s Next?
Enjoyed this post? Drop a comment below and let us know your thoughts!
Subscribe for More: Get monthly tips, tricks, and inspiration to elevate your photography skills.
Take Your Skills Further: Level up with one-to-one personalized tutorials and transform your food photography.
Book a Professional Session
Need professional imagery for your brand?
Collaborate with a specialist in restaurant photography, food photography in Northamptonshire, or product photography for restaurants to create stunning visuals