
Food Photography Masterclass

I recently completed a food photography masterclass for The Cake Business Club, run by the amazing Kate, who coaches ambitious cake designers. During my session, I shared key techniques to help cake businesses create stunning photos of their creations. The main topics I covered were:
Flat Lay Photography
Composition Techniques
Ways to Draw Attention
Small Studio Setup
Flat lay photography
Flat lay photography involves shooting objects directly from above, creating clean, organized, and visually strong compositions. It’s popular on social media, in food photography, and for product marketing.
Process for a Flat Lay Shot:
Shoot from directly above.
Ensure lighting is even with no harsh shadows.
Balance negative space – the empty area around your main subject to make it pop.
Composition Techniques

Viewpoint
90 Degrees — Top-Down (Flat Lay)
Best for cakes with decorative tops: flowers, berries, chocolate art.
Highlights symmetry & surface texture.
Not ideal for showing height or layers.
Use even lighting to avoid outward shadows.
Perfect for: Instagram grids, decorative cake tops, ingredient storytelling.

45 Degrees — The Classic Cake Angle (¾ View)
Most versatile & natural-looking.
Shows both top decoration and height.
Ideal for whole cakes, drip cakes, piped edges.
Lighting at 45° works best for soft shadow shaping.
Good for: bakery hero images, commercial menus, client product shots.
0 Degrees — Eye-Level Angle
Emphasizes height + layers (sponge + filling).
Best angle for slice reveals and dramatic “hero” shots.
Top decoration becomes less visible.
Needs clean backgrounds & side lighting.
Perfect for tall cakes, tiered cakes, loaf-style bakes, slice details.
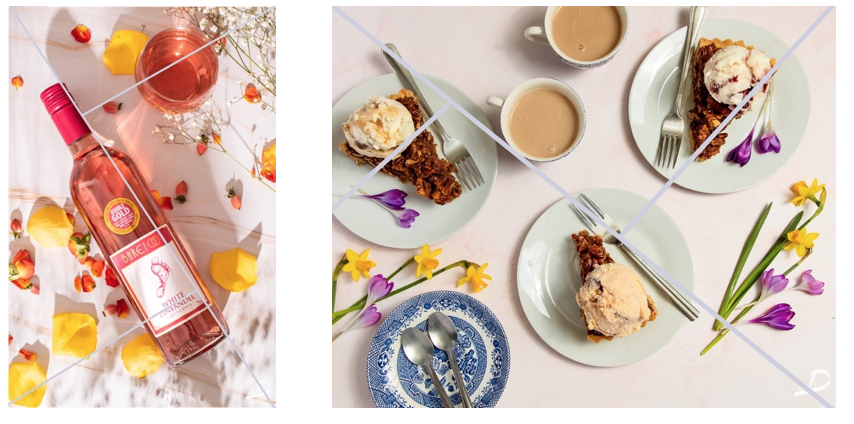
Rule of thirds
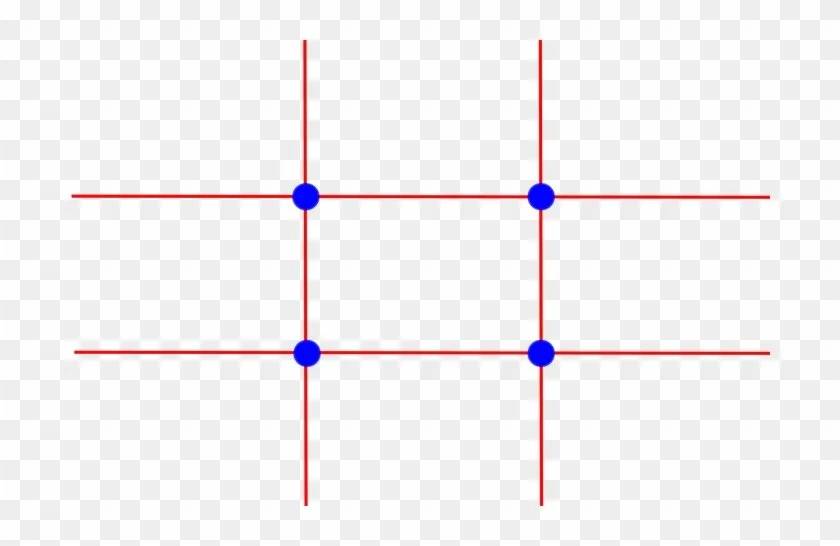
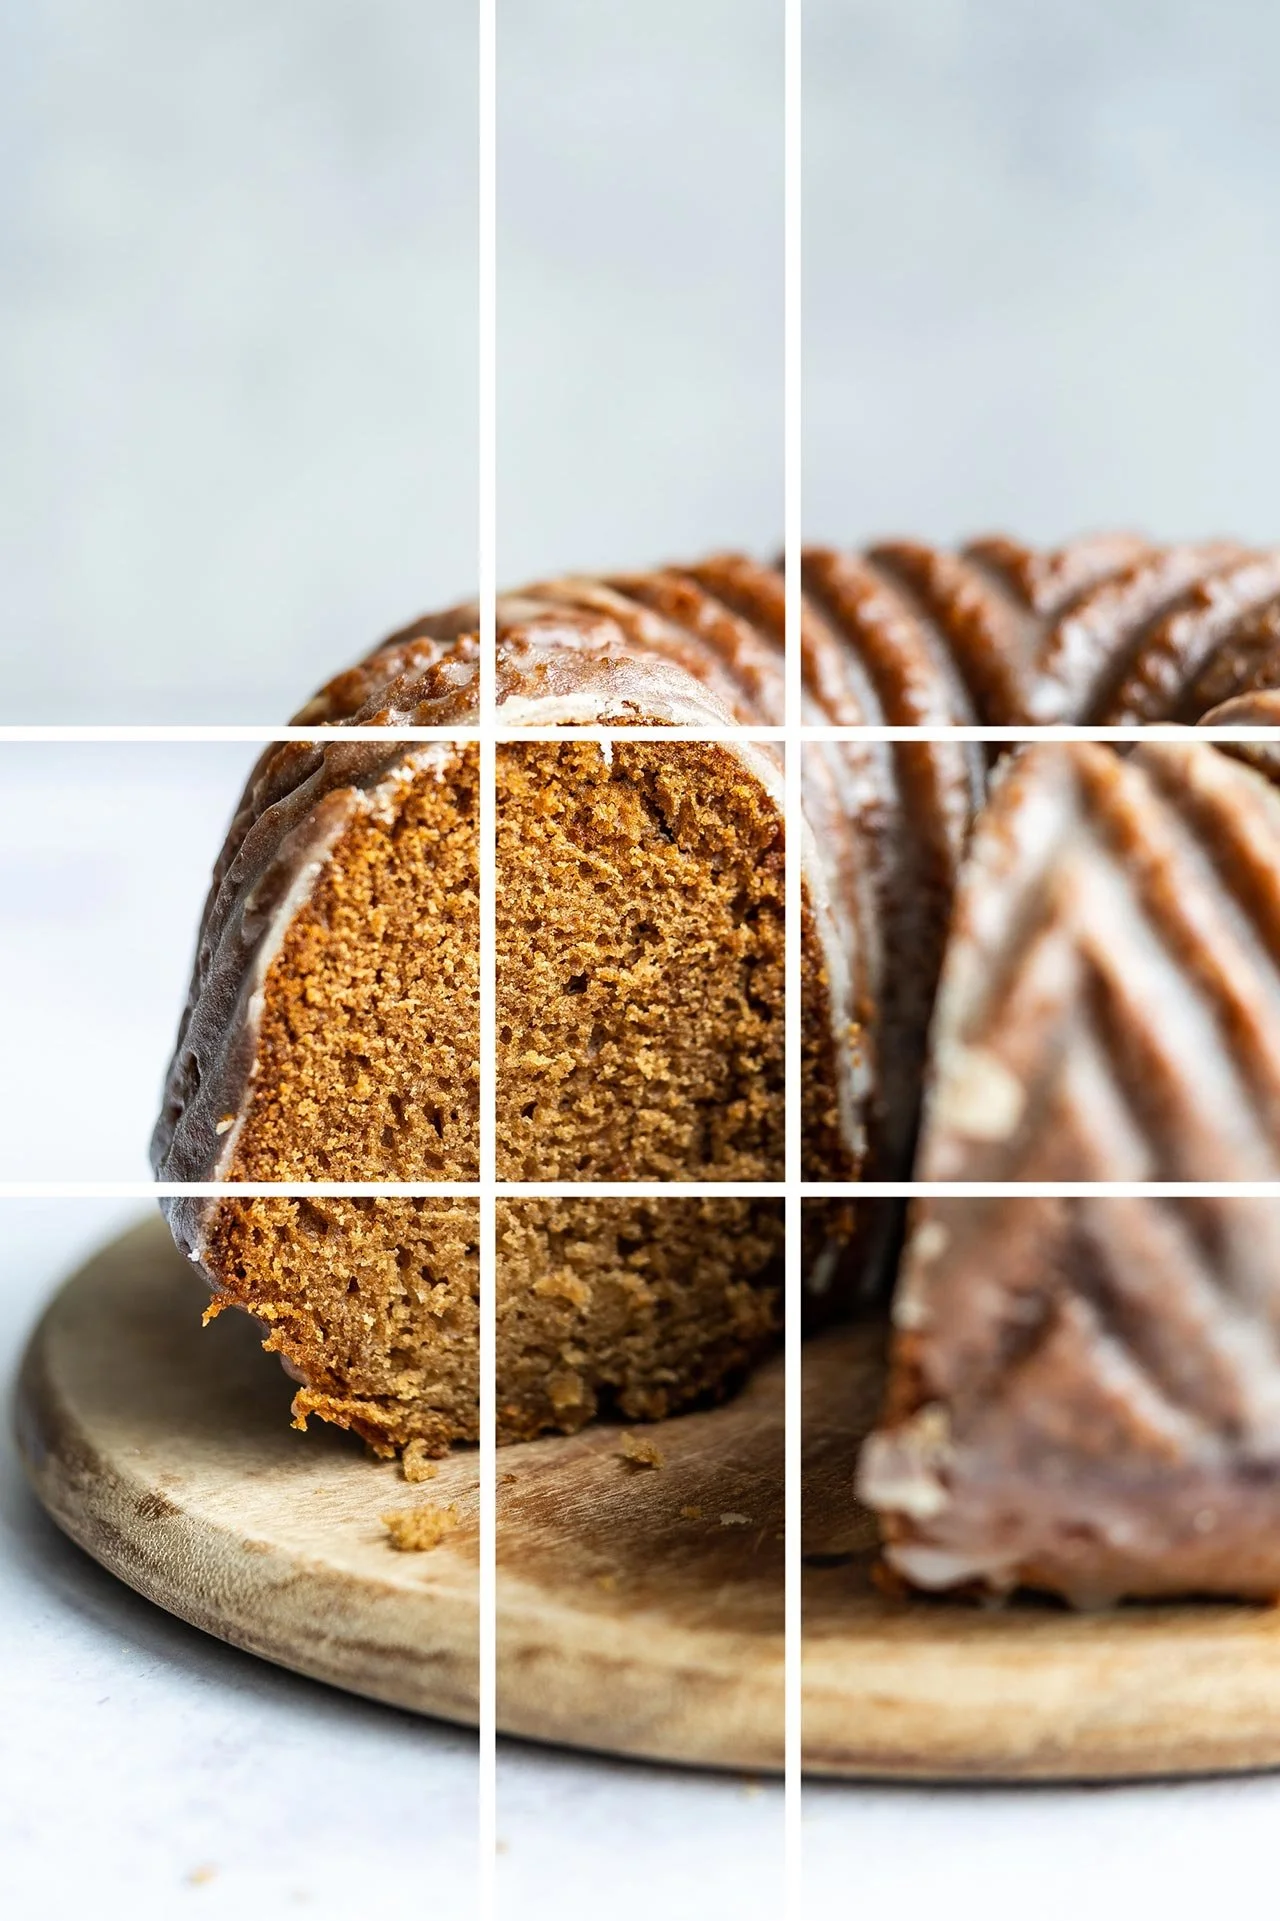
Mentally divide your frame into 3 × 3 sections.
Place cakes along vertical thirds, with the top near the upper horizontal third.
Use intersections for small props like forks or flowers.
Props & Negative Space:
Keep props minimal and complementary.
Leave one-third of the frame simple to highlight the cake.
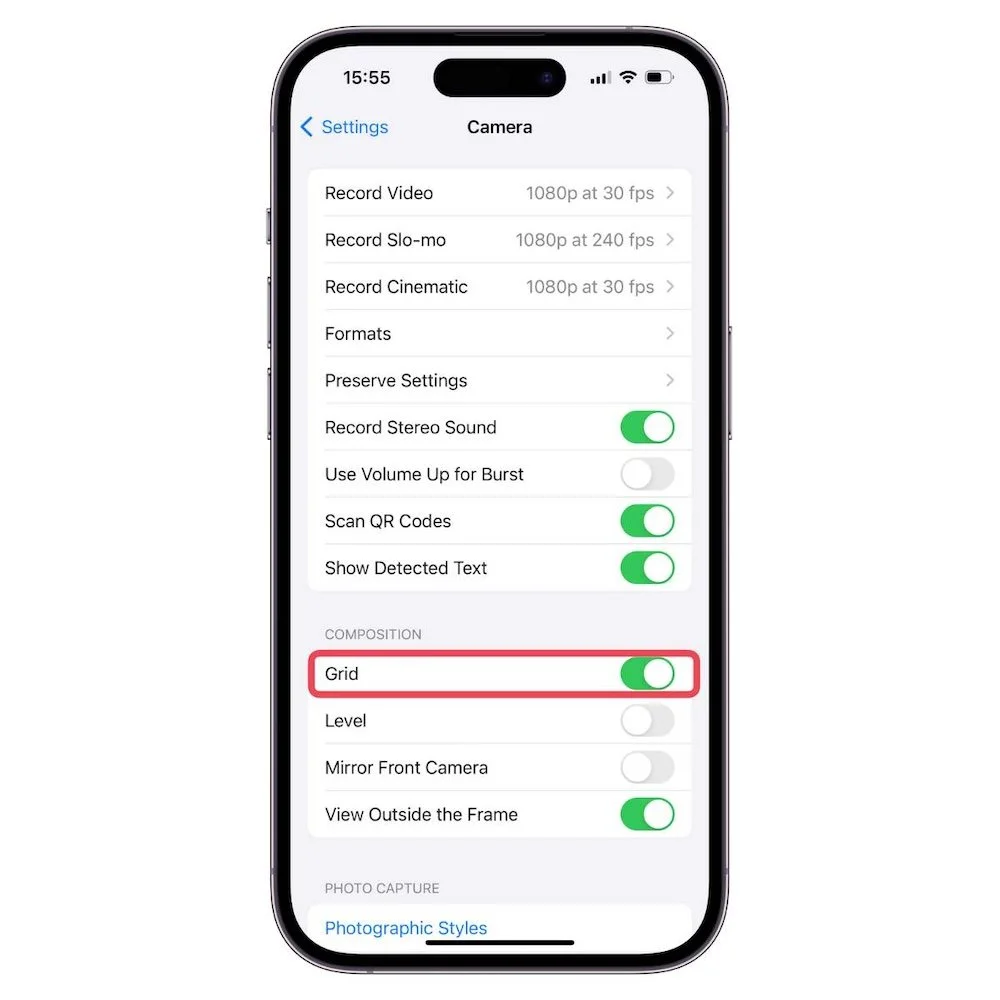
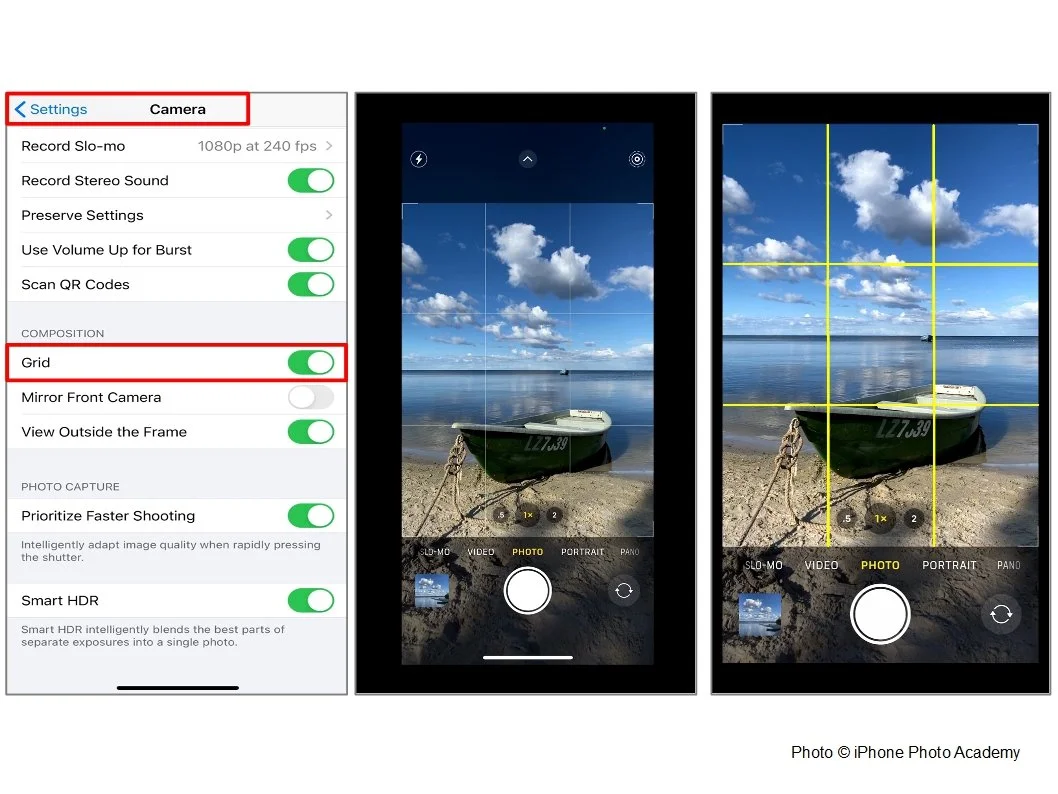
Set your Grid to show on your mobile phone, for eith Iphone or Andriod
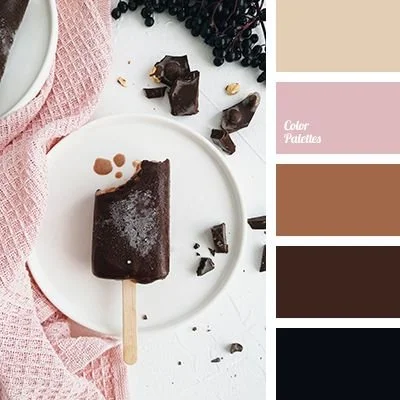
Colour Harmony


Colour harmony is about pleasing combinations that make your cake pop.
Complementary Colours: Opposite colours on the wheel (e.g., pink cake + green garnish) for high contrast.
Analogous Colours: Next to each other on the wheel (e.g., pastel pink + peach + coral) for a soft, cohesive look.
Backgrounds should enhance, not overpower, the cake.
Tips:
Mix warm and cool tones for visual pop.
Keep palettes minimal – less is more.

Choose a Palette for the Cake
Decide main colour: frosting, glaze, or fondant.
Pick 1–2 supporting colours for decorations, props, or background.
Avoid too many clashing colours—less is more.
Background & Props
Background colors should enhance, not overpower, the cake.
Example: pastel cake → neutral or soft complementary background.
Chocolate cake → light or warm tones for contrast.
Props like plates, napkins, or flowers can echo your colour palette.
Balance Warm & Cool Tones
Warm tones: reds, oranges, yellows → feel cozy and appetizing.
Cool tones: blues, greens, purples → calm, elegant, modern.
Mixing warm cake with cool background creates a pleasing visual pop.

Ways to Draw Attention
Leading Lines Concept
Lines naturally guide the eye toward your hero subject: the cake.
Can be real or implied: utensils, props, shadows, table edges, napkins.
How to Use Leading Lines
Utensils: fork, knife, or cake server angled toward cake.
Shadows: light casting diagonal shadows pointing to cake.
Surface lines: wood grain, tiles, or cloth folds that lead to cake.
Tip: Lines don’t need to meet the cake exactly; they just guide the eye.

Golden Triangle Concept
Divide the frame with a diagonal line; draw two perpendicular lines from opposite corners.
Key elements are placed along these lines or intersections.
Creates dynamic, balanced, and less static composition than centering.
Pro tip: Slightly offset cake from the exact intersection; subtle asymmetry makes the composition more natural and appealing.
Building Texture & add Garnish
Combine smooth and rough surfaces
Ruffle napkins for softness
Add crumbs, herbs, or drips for realism
Use matte props to avoid reflective distractions
In cake photography, “garnish” refers to decorative elements added to the cake or scene, like fruit, flowers, herbs, nuts, or drizzles, to make the photo more visually appealing.

Depth of Field Tips
Understand Depth of Field
DoF is how much of your image is in focus.
Shallow DoF → background blurry, cake pops as hero.
How to Achieve Shallow DoF
Use a wide aperture (f/1.8 – f/4) on your lens.
Keep camera close to the cake to blur background more.
Ideal for single-cake hero shots where background distractions should vanish.
PHONE OPTIONS:
iPhone: Use Portrait mode to blur the background and keep the subject in focus
Android: Use Portrait mode or manually adjust aperture / subject-to-background distance for more control
USE CAMERA OPTION


Snapseed: A versatile app with a comprehensive set of tools for minor edits or full transformations.
Foodie: Offers a variety of filters specifically designed to make food look more delicious.
Focus Point Tips
Always focus on the most important part of the cake: frosting details, top decorations, or a slice.
For layered cakes, focusing on the front slice can make the whole cake appear three-dimensional.

Small Photo Studio Setup
Basic Equipment Checklist
Tripod
Background board
A reflector or white foam board
Simple Setup Layout
Place background on a table or flat surface
Position the food thoughtfully
Place reflector opposite the light source
Use small boxes to elevate props
Check shadows and refine before shooting
Lighting Tips
Directional Light
Purpose: Highlights texture, shape, and details of the cake.
How: Position the main light source at an angle (side or 45°) to the cake.
Effect: Creates natural shadows that define layers, frosting swirls, and toppings.
Tip: Avoid flat, overhead light unless you want a top-down minimalist shot.
Fill Card to Soften Shadows
Problem: Directional light can create harsh shadows.
Solution: Use a white card, reflector, or even white paper opposite the light source.
Effect: Softens shadows without losing depth, keeping the cake looking natural and appetizing.
💡 Tip: Adjust the card distance, closer = softer shadows; farther = subtler effect.
Backlighting for Translucent Foods
Purpose: Makes glazes, jellies, fruit slices, or sugar decorations glow.
How: Place light behind the cake, slightly angled.
Effect: Highlights translucency and edges, adds depth and visual interest.

Extra Tip: Natural light works beautifully, shoot near a window with thin curtains to diffuse it, then tweak with a white card for soft fill.

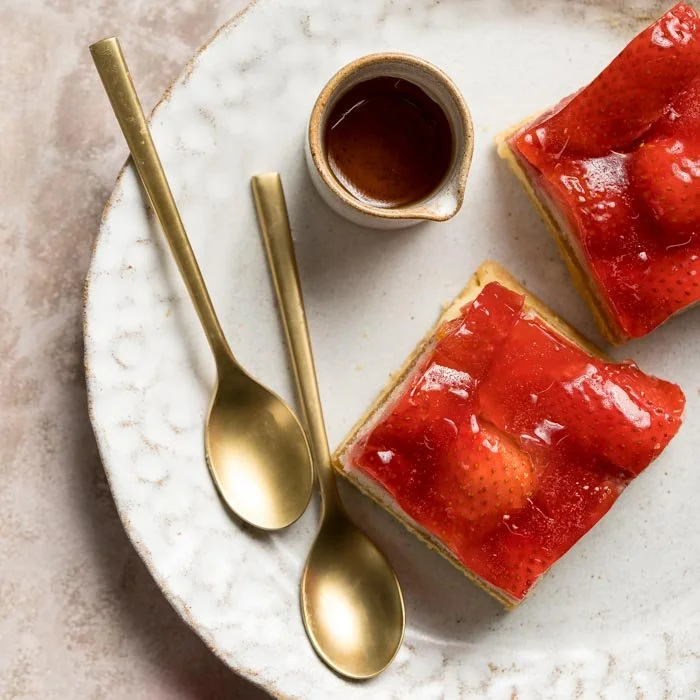
Choosing Props
Neutral Plates
Purpose: Keep the cake as the hero.
Best colors: White, light gray, beige.
Effect: Neutral plates won’t compete with frosting, decorations, or vibrant toppings.
💡 Tip: Light-colored plates also help reflect natural light onto the cake subtly.
Smaller Props
Purpose: Support the story without stealing focus.
Examples: Small forks, napkins, flower petals, berries.
Effect: Enhances composition and fills negative space, while keeping the cake dominant.
💡 Tip: Avoid oversized or overly colorful props, they distract from the hero.
Authentic Textures
Purpose: Add warmth and context to the shot.
Best textures: Linen cloths, wooden boards, ceramic plates, marble slabs.
Effect: Adds depth, natural feel, and cozy aesthetic without overpowering the cake.
Matte Props
Purpose: Avoid unwanted reflections that can distract or create hotspots.
Examples: Matte ceramics, unpolished wood, textured fabrics.
Effect: Keeps lighting consistent and ensures the cake’s colors and textures shine.
Extra Tip: Stick to 2–3 prop elements max; simplicity makes cakes look irresistible.

Click and download PDF files from presentation
Key Takeaways & Tips
Plan and Prepare
Always plan your composition before shooting.
Arrange props and textures to support the story without distracting from the food.
Master Lighting
Use lighting intentionally, it’s your most powerful tool for depth, texture, and focus.
Employ directional light, fill cards, or backlighting to highlight your subject effectively.
Keep It Minimal and On-Brand
Maintain a clean, minimal aesthetic aligned with your brand style.
Neutral props and authentic textures keep the food as the hero.
Instagram - https://www.instagram.com/chellbells_cakes/
Instagram - https://www.instagram.com/lottiescakery/
Practical Tips for Everyday Shooting
Keep a go-to set of neutral props ready.
Practice flat-lay layouts on different backgrounds to find what works best.
Check shadows before shooting to avoid distractions.
Consistently maintain your brand’s style in every shot.
Welly Pictures, food Photographer specialist
Whether you need cake photography bakery shots, or product photography for your menu, I’ll help your creations shine. Book a 1:1 session Learn tips, tricks, and skills to capture your cakes beautifully and make them look as delicious as they taste.
Let’s create images that make mouths water and showcase your sweet masterpieces!
Email: sampeel@wellypictures.com
Web: wellypictures.com
Tel: 07908226845