
THE IMPORTANCE OF LIGHTING IN PROPERTY PHOTOGRAPHY
In property photography, lighting can make or break the final image. Whether you’re showcasing a cozy apartment, a luxurious mansion, or a commercial space, real estate photography lighting plays a pivotal role in how a property is perceived. Good property photography lighting techniques not only highlight the key features of a space but also help set the right mood, accentuating the property’s appeal to potential buyers or renters.
In this blog post, I will explore the importance of lighting in property photography and provide you with essential tips for making the most of your lighting setup to create stunning images that stand out.

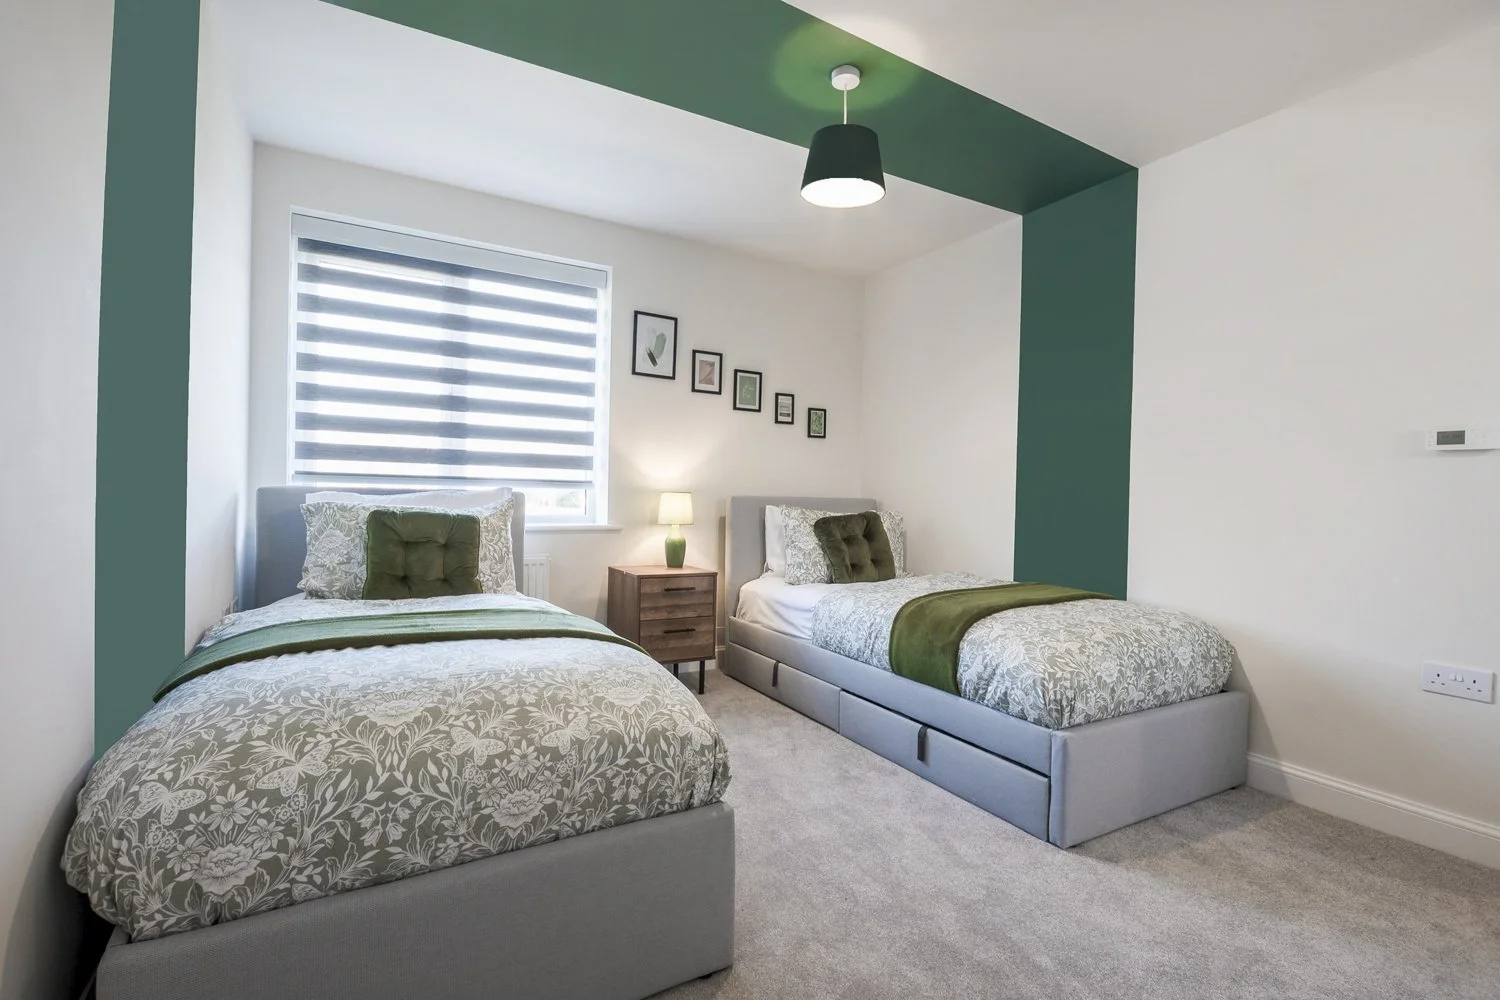
This photo was taken using flash and natural light.
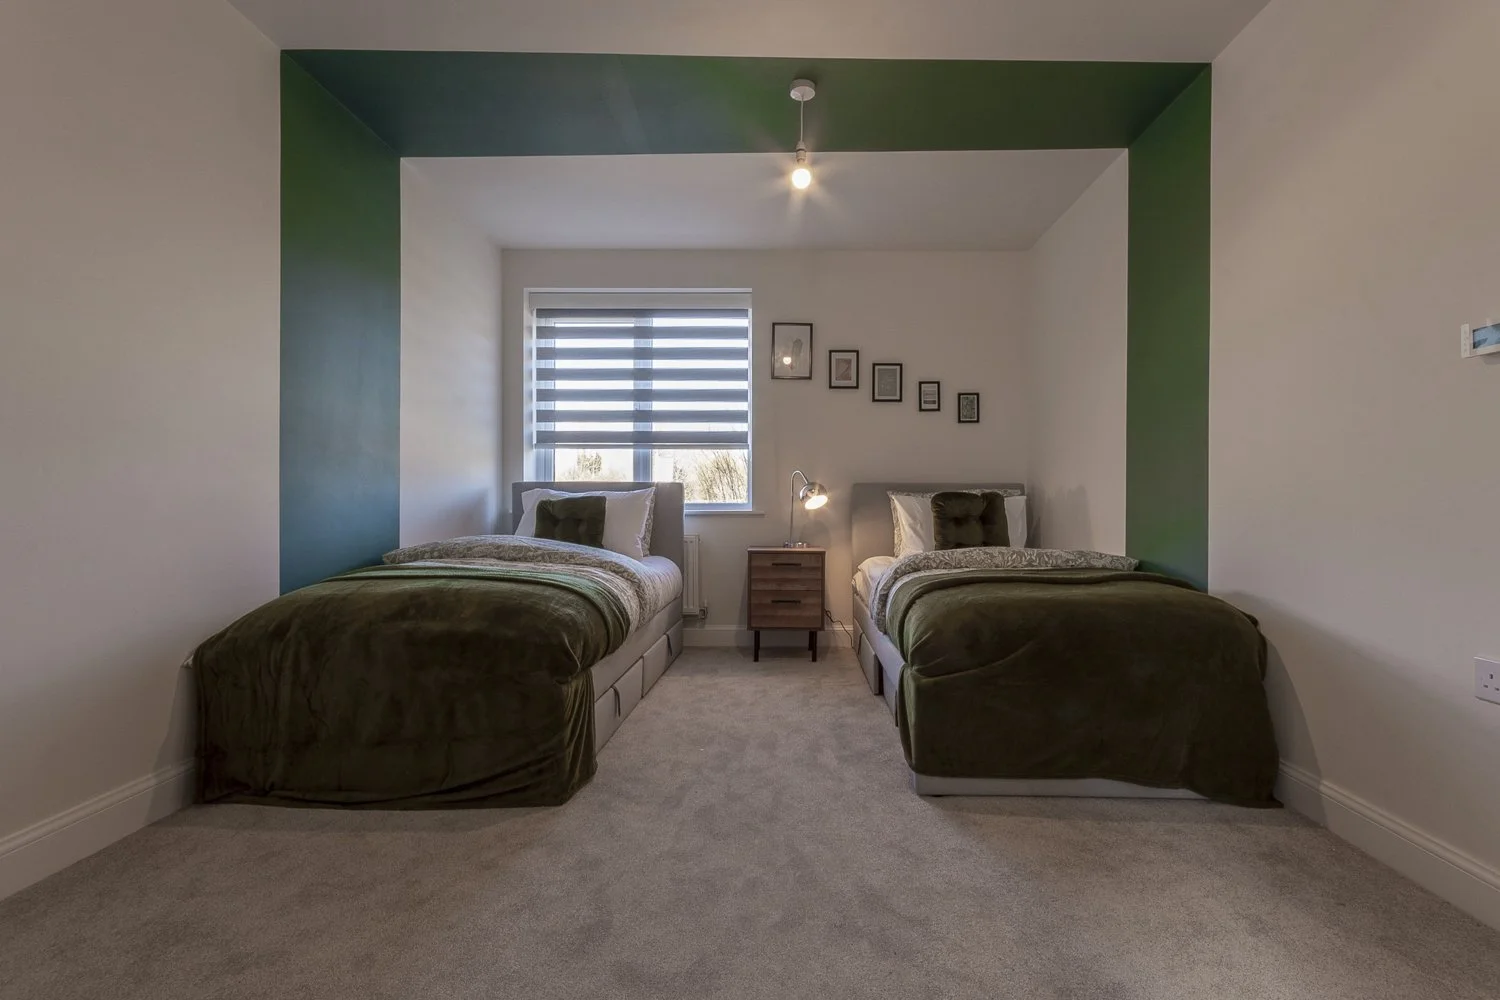
This photo was taken using HDR, combining three exposures into one final image.
WHY LIGHTING IS IMPORTANT IN PROPERTY PHOTOGRAPHY
The goal of real estate photography lighting is to showcase a space at its best. Lighting affects how a property looks and feels, making it seem brighter, larger, and more welcoming. Good lighting helps:
Enhance Features: It highlights architectural details, textures, and finishes, letting features like hardwood floors, unique cabinets, or high ceilings stand out.
Create Ambiance: Whether capturing the cozy feel of a home or the stylish look of a commercial space, lighting sets the mood, conveying comfort or sophistication.
Showcase Space and Scale: Well-lit rooms look more spacious and open. By balancing light and shadows, dark corners that can make a space feel cramped are eliminated.
Draw Attention to Key Areas: Lighting directs where the viewer's focus goes. You can emphasize a fireplace, kitchen island, or views from a large window by placing light sources correctly.
NATURAL VS ARTIFICIAL LIGHTING IN REAL ESTATE PHOTOGRAPHY
In property photography, I use two methods for capturing images: HDR natural lighting or a mix of flash with interior lighting. Different lighting types have their own advantages. Knowing how to use each will help you get the best shots.
Natural light for home photography: It creates soft, warm images. The ideal times to use it are during golden hour, just after sunrise or before sunset, when the light is gentle. If this is your method for taking property photos, open all curtains and blinds to maximize light. Position your camera to capture light coming through windows but avoid direct sunlight to prevent overexposure.
Artificial lighting for interiors: Use lamps, ceiling lights, and portable flashes when natural light isn't enough, especially at night or in dim spaces. Start by turning on all lights in the area. If needed, supplement with additional lights to brighten dark corners or highlight certain spots. Avoid harsh lights that create glare and shadows; choose softer lighting to enhance the natural light.
Improving window lighting: Window light softens the room's overall tone, minimizing strong shadows. Choose the right time for the best light, like morning or late afternoon, when the sun is softer.

THE ROLE OF DIRECTIONAL LIGHTING AND FLASH LIGHTING
The way directional lighting hits a space changes how it looks in photos. Knowing the direction of light helps you shape the space, add depth, and emphasize certain details. This is useful for eliminating unwanted shadows from large objects. Use flash lighting to soften shadows in a room and achieve balanced exposure.
Key techniques for lighting in real estate photography:
Front Lighting: Brightens the area with minimal shadows, showing every detail clearly. Best for exteriors or rooms where all features need visibility.
Side Lighting: Adds depth and texture by highlighting surfaces like brick walls or wooden floors.
Backlighting: Perfect for highlighting windows, outdoor views, and dramatic outlines at sunrise or sunset.
When mixing light sources, balancing natural light and flash is crucial. HDR photography helps merge multiple exposures, ensuring both bright and dark areas are properly lit.
When using different lighting sources, it's important to balance them for better photography. Properly balancing natural and artificial light prevents photos from being too bright or too dark. If you're taking pictures in a room with windows, make sure the interior light matches the outside light to avoid washed-out windows. You might need to adjust your camera or phone's exposure settings to achieve this balance. Many smartphones and cameras have a High Dynamic Range (HDR) mode that helps combine multiple exposures for even lighting, ensuring both bright and dark areas are well-exposed.

ADDITIONAL LIGHTING TIPS FOR PROPERTY PHOTOGRAPHY
Avoid Harsh Shadows: Use diffusers or curtains to soften sunlight streaming through large windows.
Use Reflectors: Bounce light into dark corners to brighten the scene. A white foam board can work as a simple reflector.
Shoot at the Right Time of Day: Early morning and late afternoon light, especially during the golden hour, produces the most flattering results.
Light Modifiers: Soft boxes, diffusers, and reflectors help control light spread and intensity for professional results.
Conclusion
Lighting is one of the most crucial elements in property photography. Whether using natural light, flash photography, or a combination of both, understanding how to control and balance light transforms the final image.
By mastering real estate lighting techniques, from front, side, and backlighting to tools like reflectors, diffusers, and HDR photography, you can create images that showcase a property’s true beauty.
Ultimately, great real estate photography isn’t just about capturing a space; it’s about evoking emotion and telling a story. With the right property photography lighting setup, you can create standout images that attract buyers and clients.
WHAT NEXT?
Did you enjoy the content of this blog? I’d love to hear your thoughts, drop your comments below!
If you found this helpful, why not:
Take Your Skills Further: Ready to level up? Explore my one-to-one personalized tutorials and transform your property photography.
Book a Session: Need professional shots for your brand? Let’s collaborate on your next property photography project!