
Bracketing and HDR Techniques for Interior & Exterior Photography
Introduction to Bracketing in Professional Photography
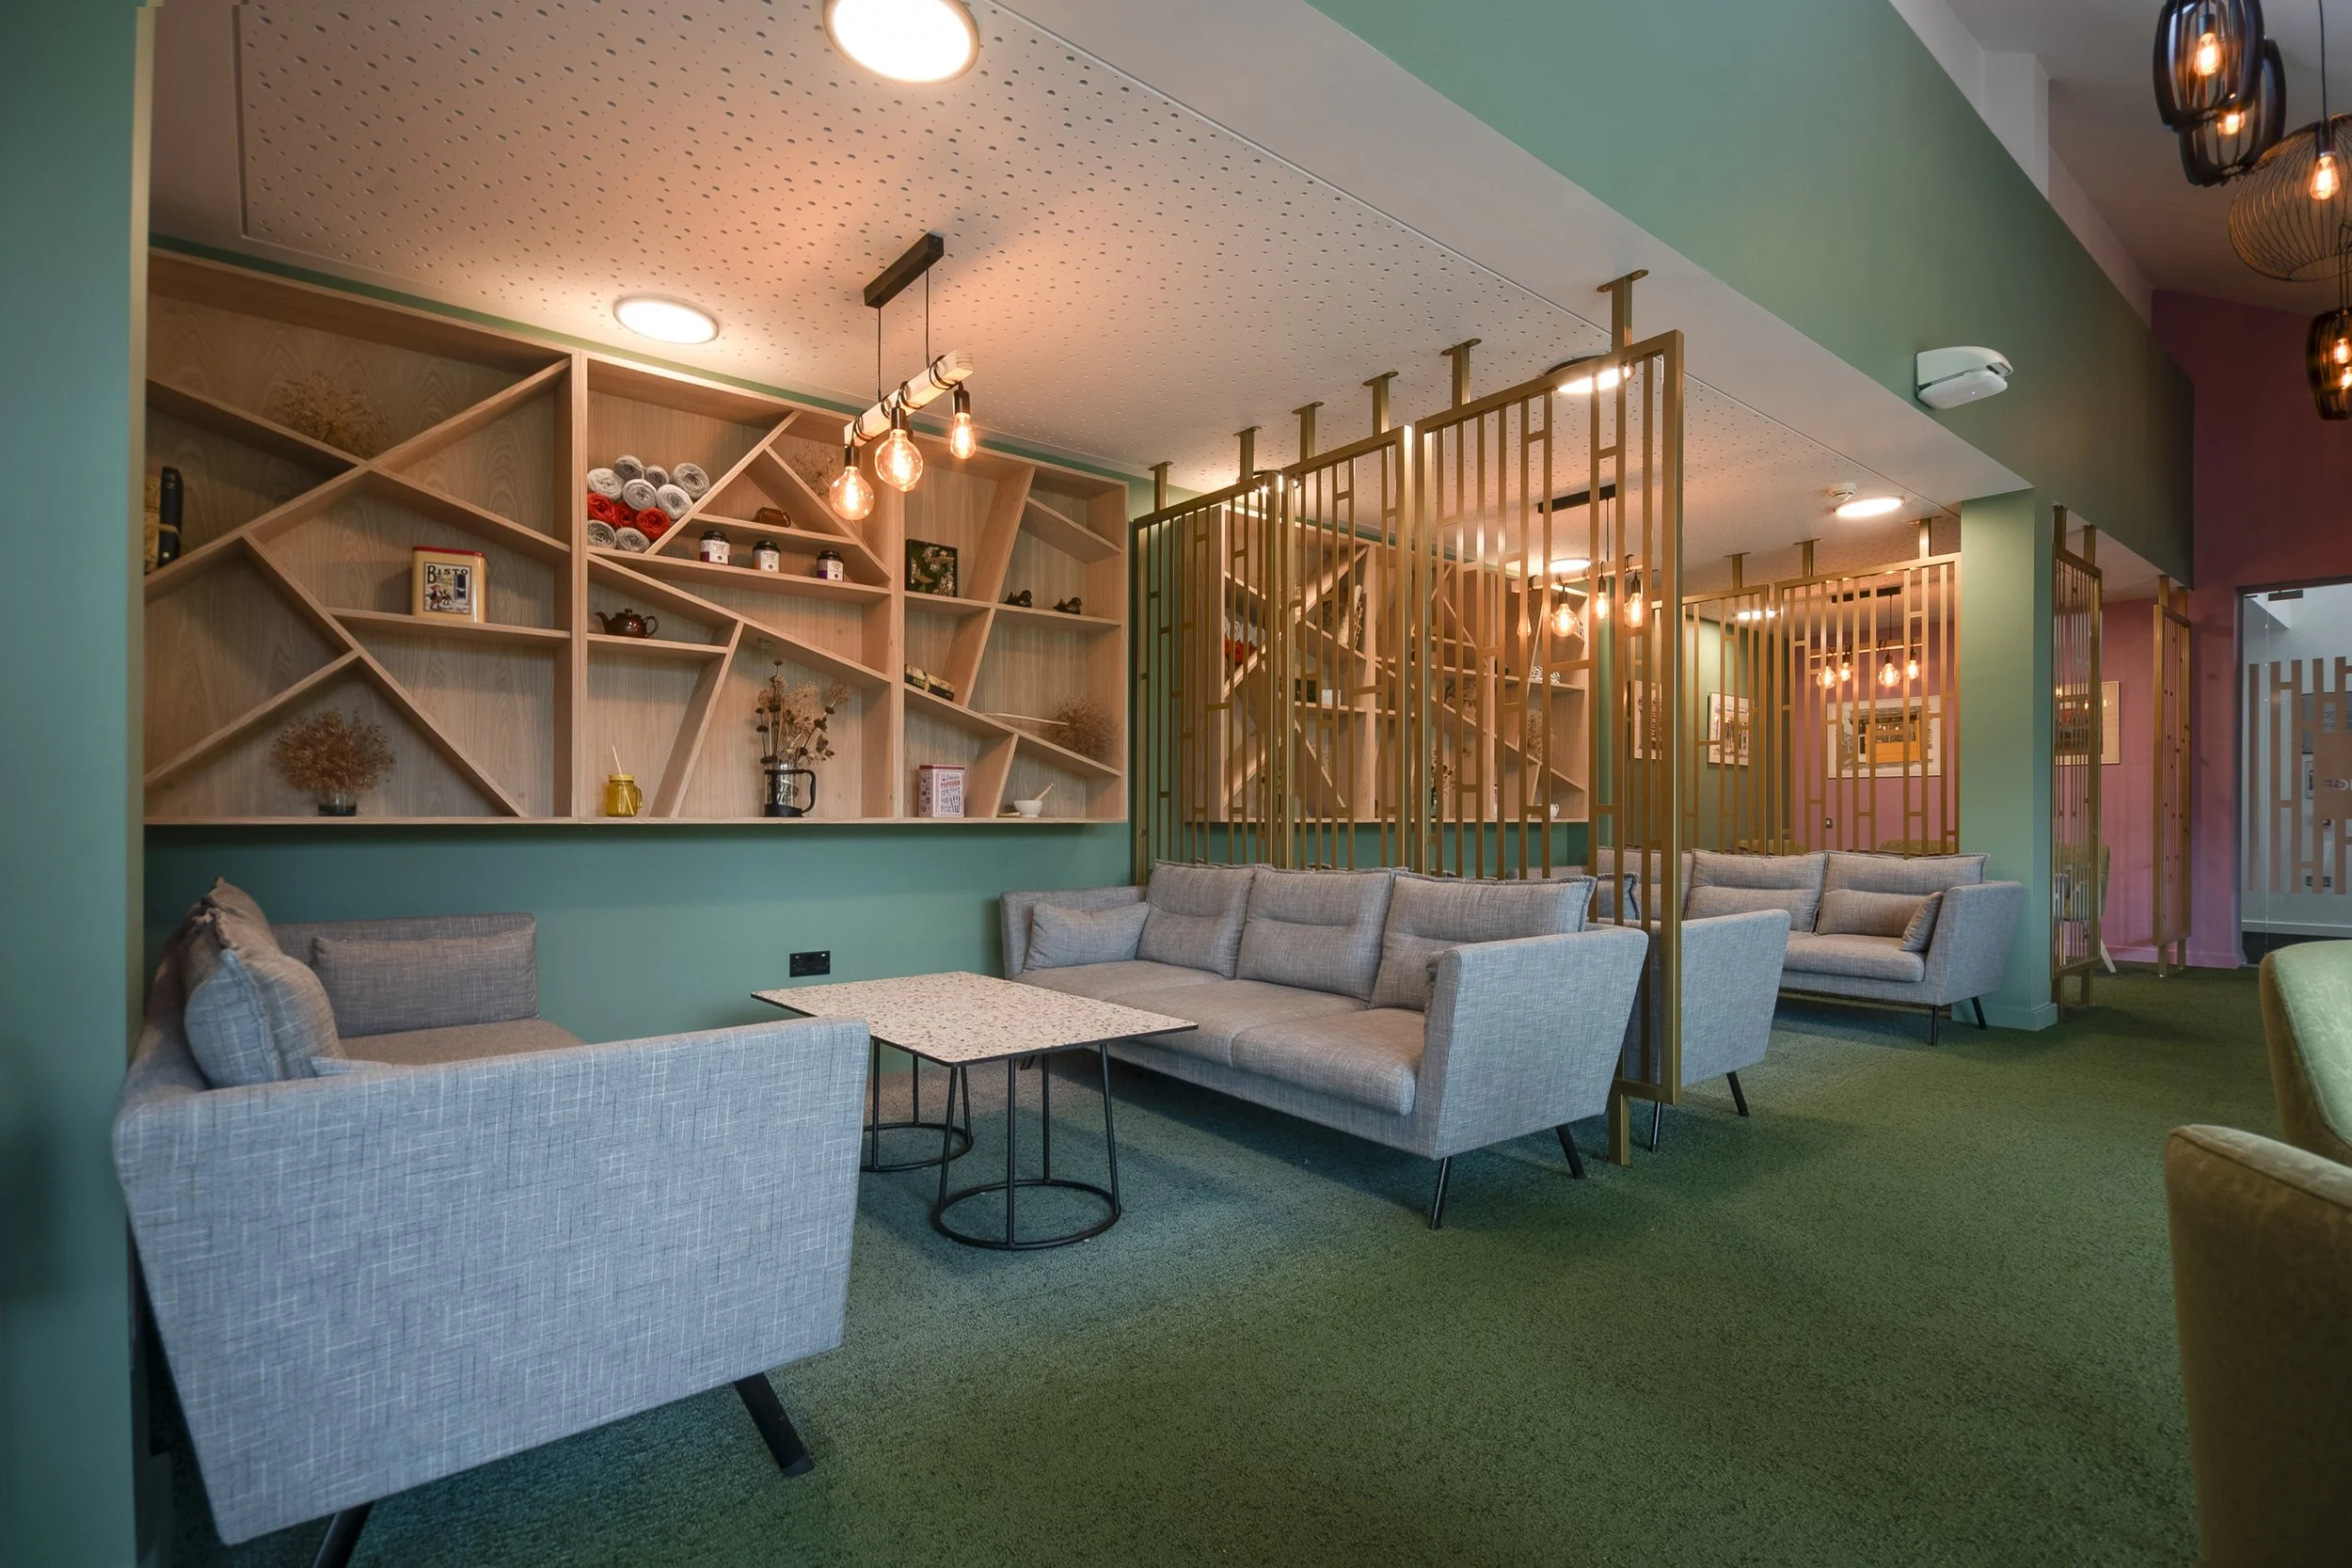
As an interior photographer and specialist in commercial property photography in Northampton, I’ve spent years capturing landscapes, interiors, and now hospitality spaces with clarity and precision. One of the key techniques I use to achieve bright, well-detailed images is bracketing, combined with HDR (High Dynamic Range) photography. This process ensures every image highlights both bright and dark areas of a scene, making interiors look airy and exteriors visually striking.
What Is Bracketing in Photography?
Bracketing is a method where I take multiple shots of the same scene at different exposures.
Common Exposure Settings Used in Bracketing
Typically, I take three images per view:
Underexposed (-5 exposure compensation)
Correctly exposed
Overexposed (+5 exposure compensation)
By capturing these three variations, I can later merge them in Lightroom or Photoshop to form a single HDR image that showcases the full range of light and detail.

Why HDR Is Essential for Interior and Exterior Photography
HDR, or High Dynamic Range, allows your camera to process details from both shadows and highlights that a single image often cannot capture. This technique is essential for:
Interior photography UK – highlighting clean, bright spaces
Hospitality photography – showcasing hotels, cafes, and restaurants
Exterior photography – capturing architecture, landscaping, and surroundings
Using HDR ensures that commercial properties, whether newly refurbished salons or hotel facades, look professional and appealing.
Benefits of HDR for Commercial and Hospitality Photography
Bright, clean interior photography
Professional hospitality photography for hotels and restaurants
High-impact exterior and architectural photography
Step-by-Step Bracketing and HDR Workflow
Step 1 – Capturing Bracketed Images
Place your camera on a stable tripod
Ensure each frame overlaps with the previous one
Keep horizontal and vertical lines aligned using Live View

Step 2 – Checking the Histogram

Use your camera’s histogram to ensure highlights aren’t blown out and shadows retain detail. Adjust your exposure and re-shoot if necessary.
Step 3 – Merging Images in Lightroom
Import your bracketed photos
Select all images → Photo > Photo Merge > Panorama / HDR
Choose between Spherical, Cylindrical, or Perspective
Adjust Auto Crop or Boundary Warp to perfect the edges
Using HDR for Commercial Property Photography
This process works beautifully for commercial property photography Northampton, interior photography, and hospitality photography, making rooms, restaurants, and hotel spaces look inviting and well-lit.
Once you have taken each photograph you should check the histogram data on your camera to see the quality of the highlights in each photograph. The highlights will indicate the strength of the light source and show if you have areas of overexposure and lost detail.
Tips for Perfect Bracketed Images
Best Practices for Consistent Bracketing
Always shoot using a tripod
Keep exposure increments consistent
Avoid changing composition between frames
Mastering Interior and Exterior Lighting
Practice in different lighting conditions
Adjust exposure settings carefully
Monitor histograms regularly
Final Thoughts
Bracketing and HDR photography are invaluable for capturing professional, eye-catching images for interiors, exteriors, and hospitality venues. By combining this technique with thoughtful composition, your property or business can truly stand out online and in print.
Ready to elevate your interior, exterior, or hospitality photography?
Whether you’re marketing a commercial property, hotel, restaurant, or retail space, I can help create bright, professional images that stand out.
Get in touch today to discuss your project or book a photography session.
Email: sampeel@wellypictures.com