
Paddle Boarding Lessons For First Timers With Gaïa SUP and River Spirit SUP

HAVE YOU EVER THOUGHT ABOUT LEARNING THIS SPORT?
Last year, my friend introduced me to paddle boarding. We paddled out with her board, and I paddled in the middle of the canal. After this experience, I decided this sport was suitable for lovely weather and a peaceful way to enjoy the outdoors.
HERE ARE TWO AMAZING COMPANIES THAT OFFER PADDLE BOARDING LESSONS:
I have had multiple lessons with both companies, and each company was informative and supportive per lesson. Both companies offer group sessions, 1:1’s and yoga lessons to try.
PROCESS OF LEARNING HOW TO PADDLE

PUMP UP!
The first task is to pump up your inflatable paddleboard. Most instructors will have put up the board before the lesson begins.


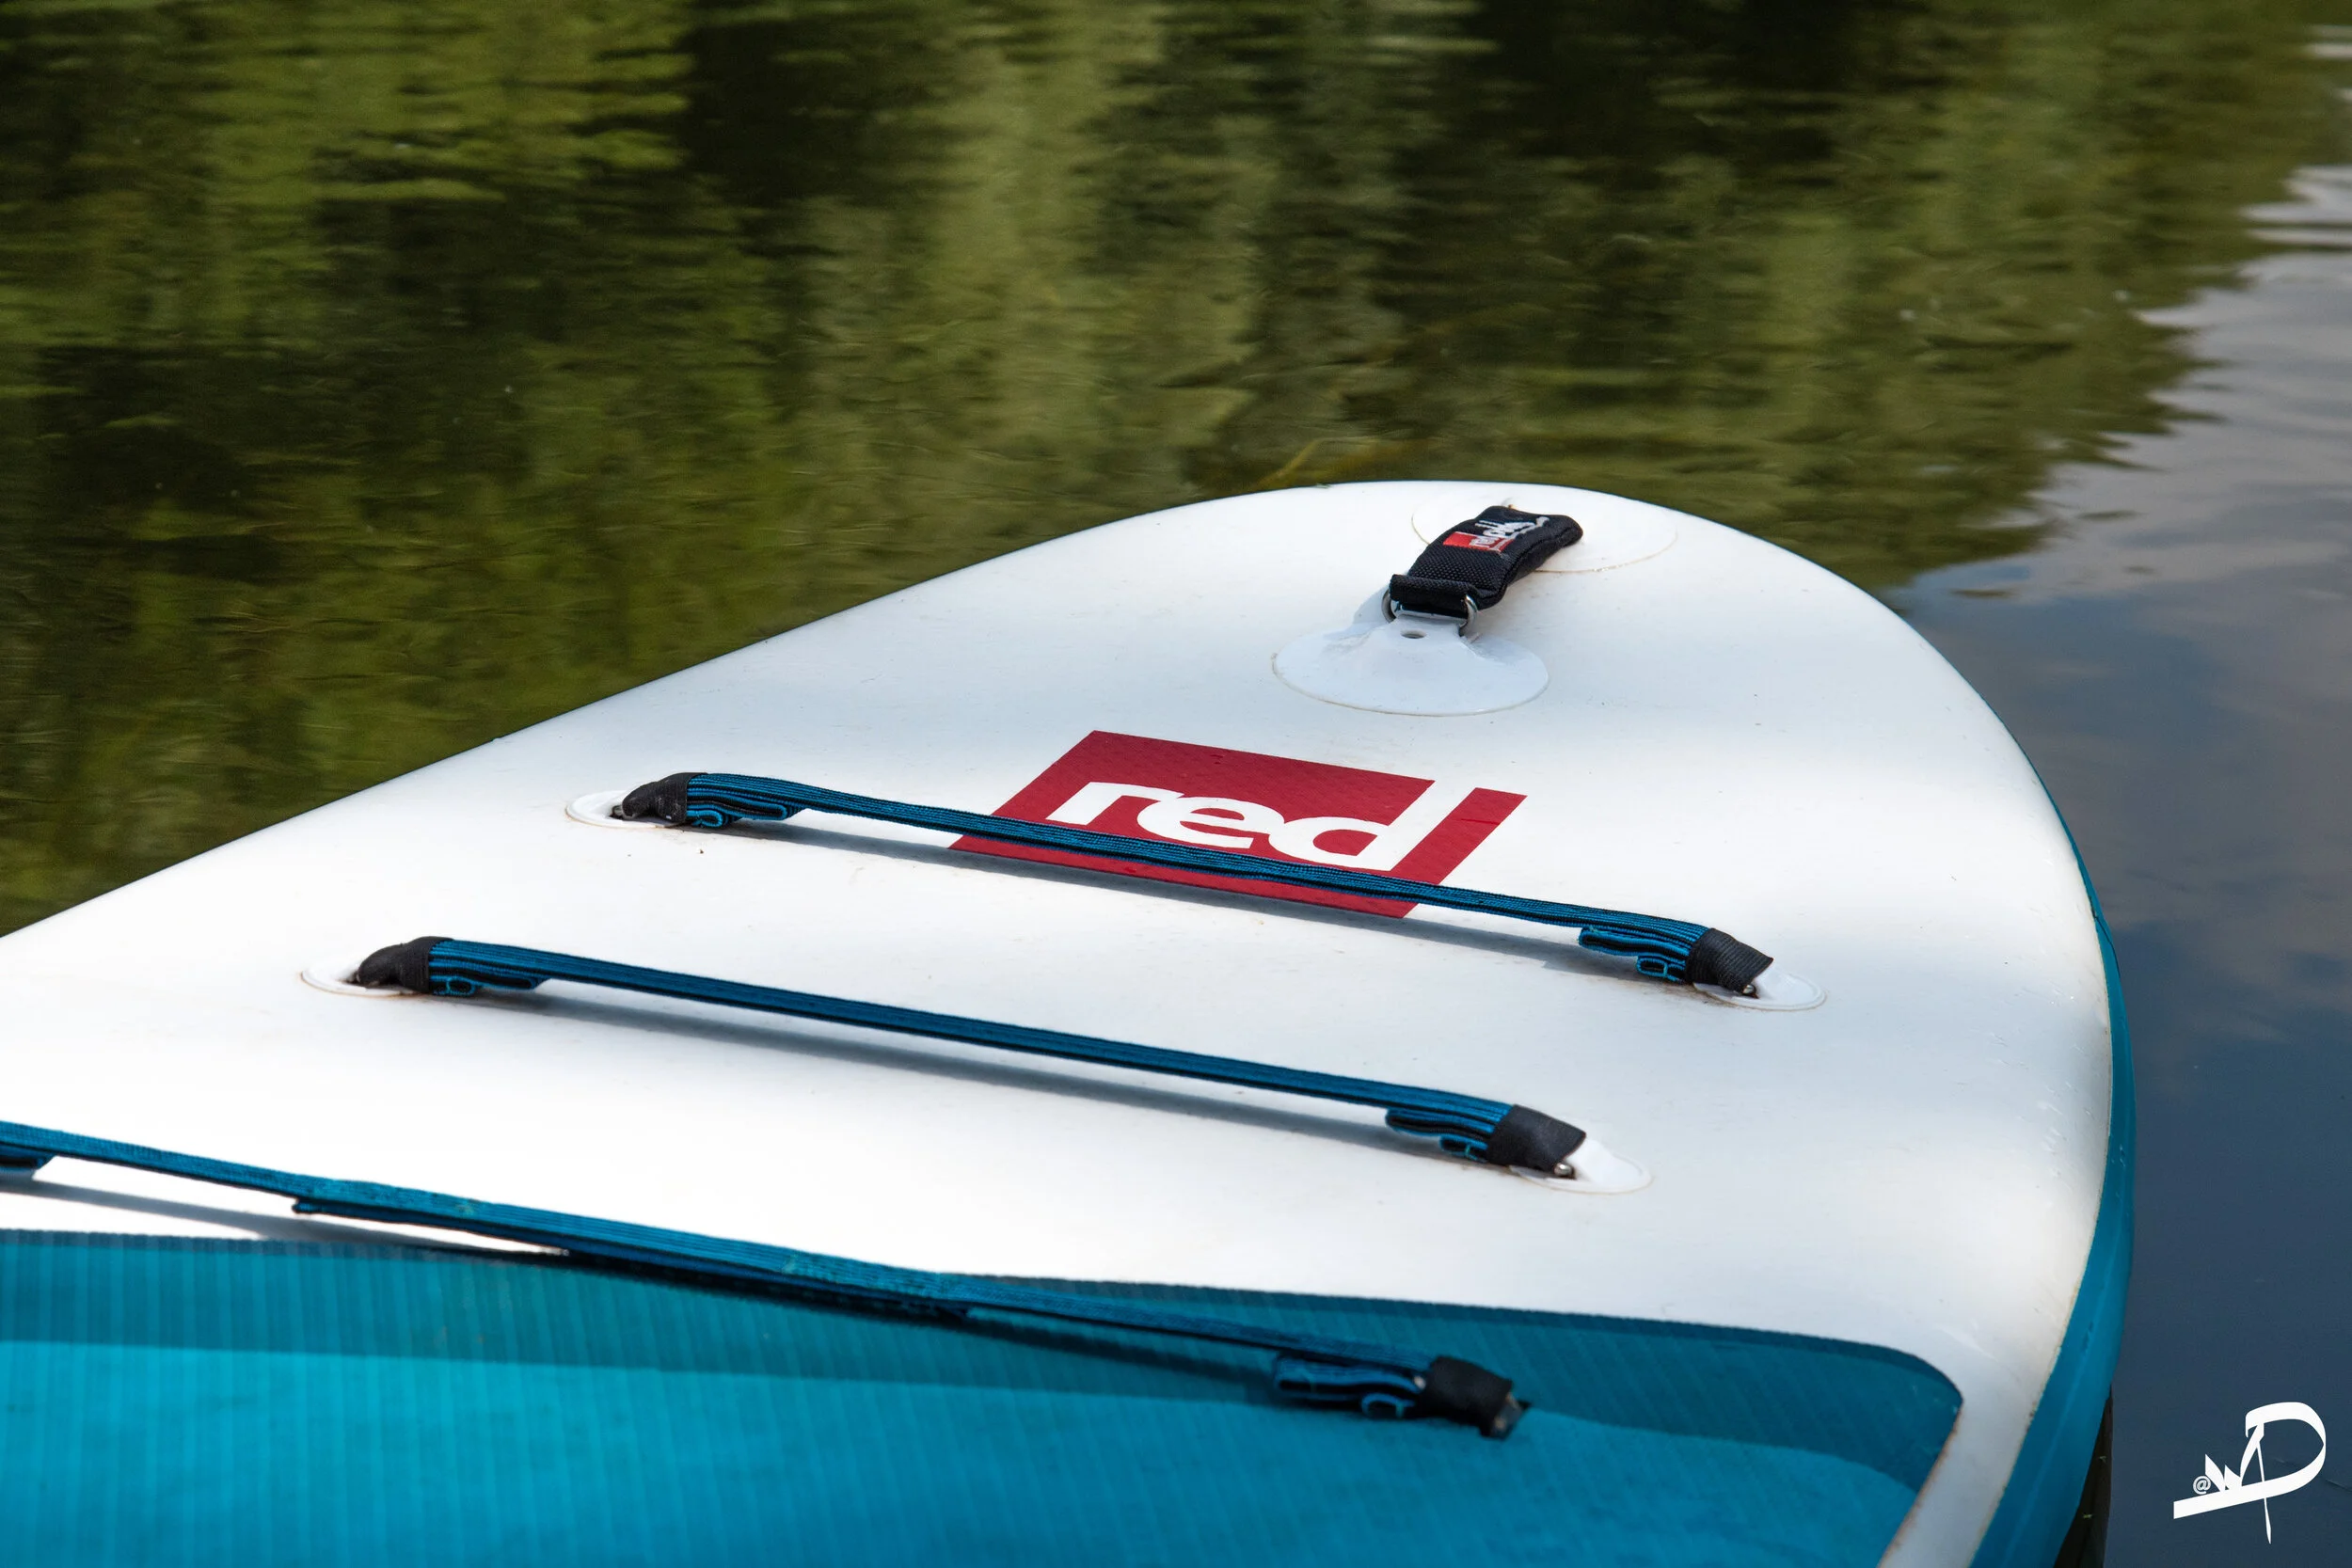
LEASHES
This is a picture of the ankle leash used to attach the board to your ankle. You can buy a SUP leash waist belt if you prefer to attach the board to your waist. You need a leash to keep your board attached to you.
Theory - Using a SUP leash ensures your board stays close to you even if you fall or get knocked off your board. Having a SUP leash will help you get back onto your board quickly.

The above two images show two views of the paddleboard handles. Both handles are used to carry or lift the board out of the water.
The middle handle helps carry the board underarm
The end or top of the board handle is used to lift the board out of the water after completing a paddle session.
Before entering the water, each instructor explains the set paddle strokes to use with your paddle. In addition, each instructor explains some key safety measures on how to safely fall in and get back onto the board when in the water.

PADDLE
The diagram shows the different sections of the paddle. Before using this paddle, you will need to set the paddle height by holding the paddle straight up, with your hand on the top. You need to adjust the height so that the paddle is at a height with your arms stretched up, with a slight bend in your arms. Make sure it is comfortable.
Here are some key paddle strokes to use when paddling.
Make sure the paddle blade logo slopes away from you.
To stop, place the paddle straight into the water at the back of the board. This will not stop you, but slow you down.
To paddle forward, move the paddle on both sides of the board towards the middle. Lift the paddle out of the water at the middle point to restart this stroke.
To turn right or left, move your paddle in a semi-circle on the side of the board you wish to turn.

Now you will have your paddle at the correct height and understand set paddle strokes to complete, so that you can move forward or round when on the water.
SAFETY
STAND-UP PADDLEBOARD SAFETY CHECKLIST
Check that you have the correct leash for where you are paddling.
Wear your buoyancy aid.
Check the condition of your board and make any repairs before using it in the water.
If you’re on an inflatable, have you inflated your board to the correct pressure (PSI)? Most boards need to be inflated between 18-25 PSI, so make sure yours is inflated beforehand!
Put your mobile phone in a waterproof pouch
Dress for the weather. Layers work best, so layer up with water-wicking clothing.
Pack a dry bag with the essentials for the paddle ahead, like drinking water, hot drinks, snacks, suncream, spare clothes, warm clothing, a towel, hats/gloves. It’s also worth considering a small first aid kit with plasters, painkillers, bandages, rehydration sachets, antiseptic wipes and insect spray.

LETS GET IN THE WATER!

1. LIFT UP THE BOARD FROM THE MIDDLE TO MOVE THE BOARD TOWARDS THE SIDE OF THE BANK

2. FOR MORE CONTROL AS YOU PLACE THE BOARD INTO THE WATER, MOVE YOUR HAND TO THE TOP HANDLE TO DIRECT THE BOARD INTO THE WATER, WITHOUT DROPPING THE BOARD.

3. ONCE THE BOARD IS IN THE WATER, MOVE THE PADDLE NEAR TO THE SIDE OF THE BANK. YOU NEED TO KNEEL ONTO THE BOARD TO GET SAFELY ON THE BOARD. THEN PUSH AWAY FROM THE BANK WHILE STILL ON YOUR KNEES.
KEY POINT - PLACE YOUR KNEES ON EITHER SIDE OF THE MIDDLE HANDLE, AS THIS IS THE MIDDLE SECTION OF THE BOARD.
ITS PADDLE TIME
Come and enjoy this sport or book a lesson. I hope this blog has been informative and will encourage you to learn and enjoy paddling. Let’s remember that this sport will keep you fit and build your all-body strength, as you will exercise your quadriceps, shoulders, arms, and knees as you propel yourself forward.
Thank you for reading my blog
IF YOU ENJOYED THIS BLOG, PLEASE SIGN UP FOR MY REGULAR BLOG NEWSLETTER.
Please leave any comments or subject suggestions that you would wish for me to cover on the subject of Photography.
Thank you for reading.