
MY FREELANCE PROPERTY PHOTOGRAPHY PROCESS | PROFESSIONAL & SEAMLESS APPROACH
As a commercial and freelance property photographer, I offer property companies, real estate agents, interior designers, kitchen designers, homeowners, and developers the option to work with me on a freelance property photography basis. My goal is to deliver professional real estate photography that effectively showcases a property’s best features, evokes emotion, and makes a lasting impression.
Over the years, I've refined my property photography process to ensure a seamless workflow from start to finish, producing high-quality property photos that clients can use for real estate listings, social media, websites, or case studies.
In this blog, I'll walk you through my freelance property photography process, from the initial inquiry to the final delivery of images. This step-by-step guide will offer insights into how I approach each project, the tools I use, and tips for creating stunning property images that stand out.
1. INITIAL CONSULTATION AND PRE-SHOOT PLANNING
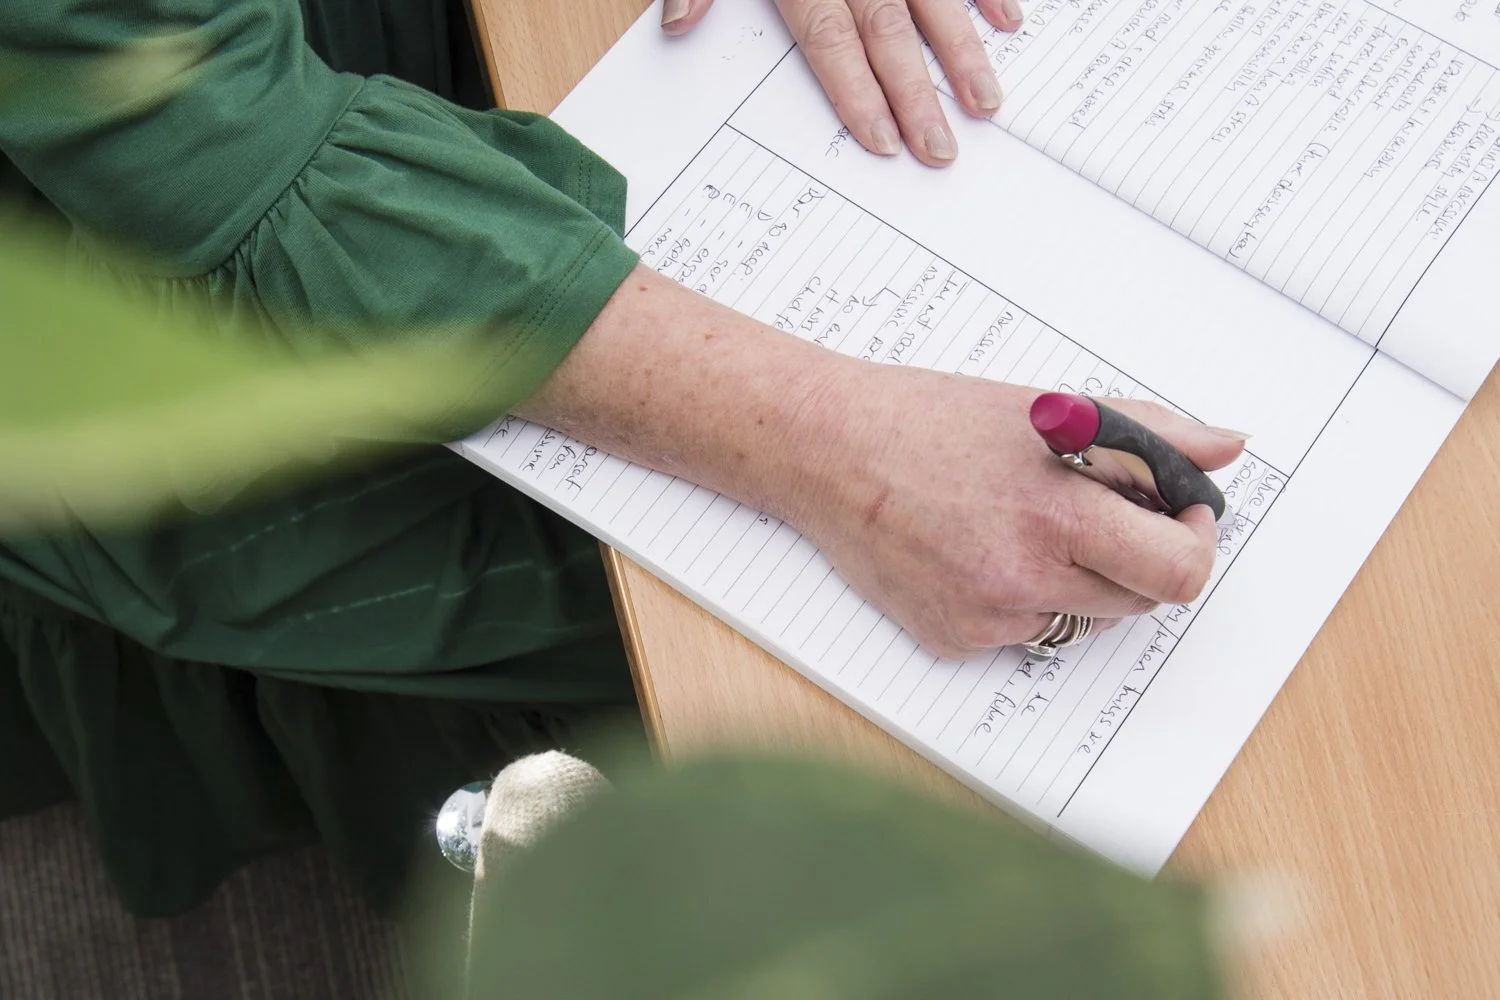
Before I even grab my camera, I begin by establishing clear communication with each client to understand their vision. This stage helps set expectations and ensures a smooth property photoshoot.
CLIENT DISCUSSION: UNDERSTANDING THE VISION
Purpose of the Photographs: Are these for real estate listings, brochures, websites, or social media? This determines the style, aspect ratio, and resolution required for the final images.
Property Details: Square footage, number of rooms, outdoor features, and unique selling points to highlight.
Preferred Shot List: I create a custom shot list with essential areas to emphasize, such as kitchens, bathrooms, or architectural details.
SCHEDULING THE PHOTOSHOOT
Golden Hour: Whenever possible, I schedule exterior shoots during golden hour for warm, inviting light.
Time of Day for Interiors: Choosing the time when natural light best enhances interiors, such as living rooms or kitchens.
Flexible Arrangements: I accommodate recurring shoots or seasonal updates for developers and real estate agents.
2. THE SHOOT: CAPTURING THE PROPERTY
On the day of the real estate photography session, I arrive early to set up and plan the shoot for maximum efficiency.
EQUIPMENT I USE FOR PROPERTY PHOTOGRAPHY:
Full-frame Nikon DSLR: For sharp, high-resolution images.
Wide-angle lenses (16-35mm): Perfect for interior photography to showcase spaciousness.
Tripod: Ensures stability and sharpness in low-light conditions.
Lighting Gear: Natural light is my priority, but I use flash or softboxes for darker areas.
SHOOTING PROCESS:
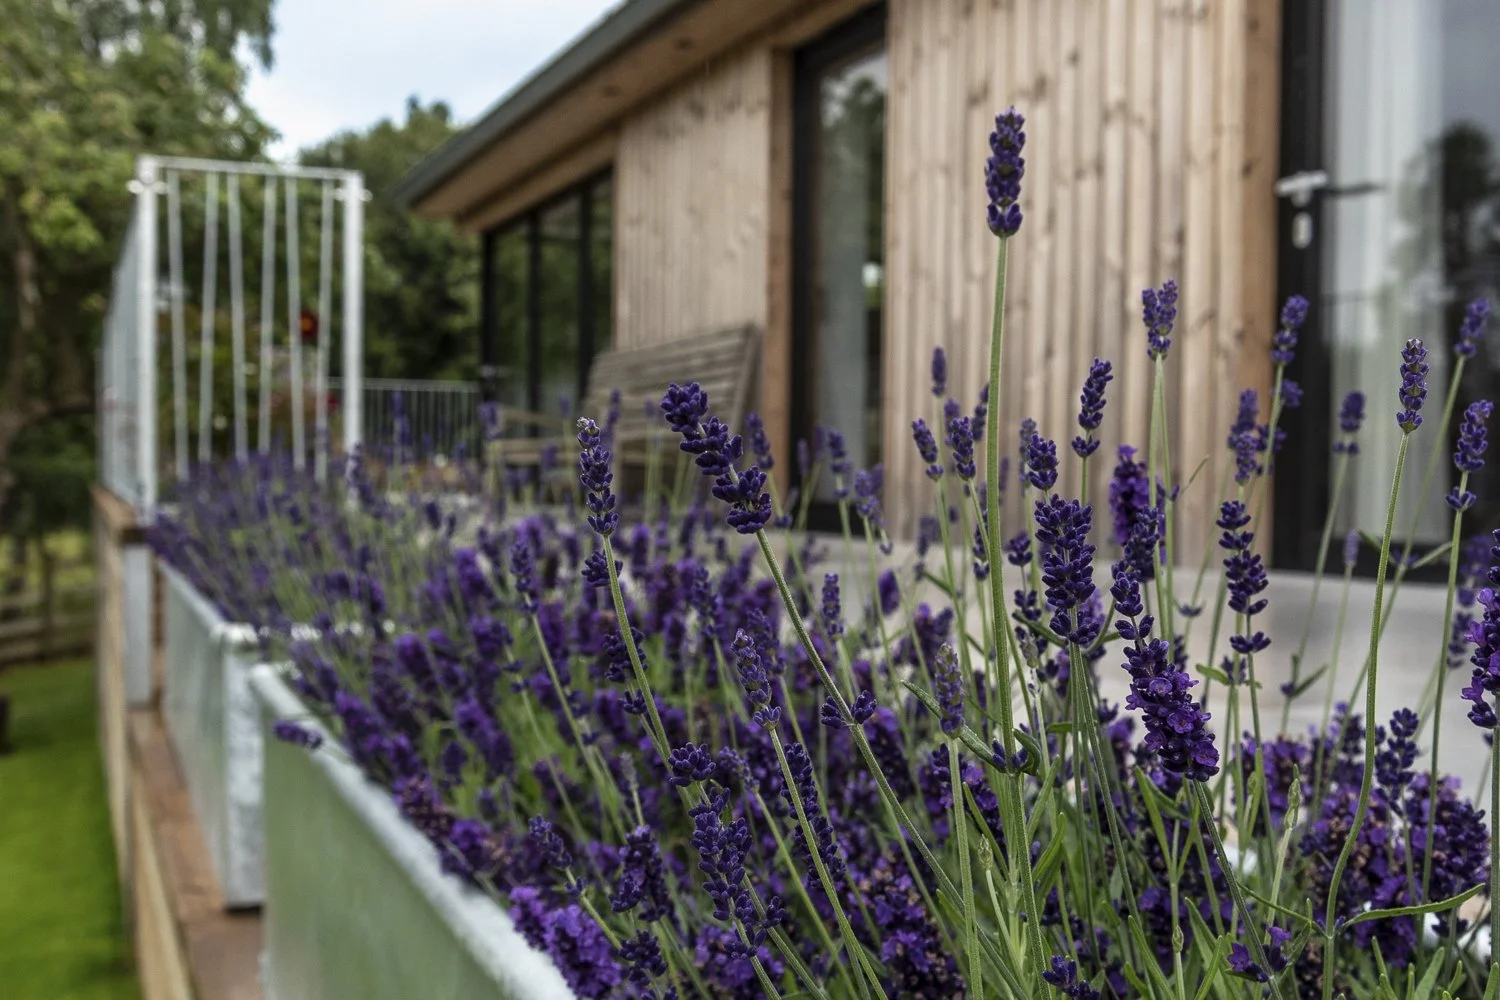
Exterior Photography: Capturing wide shots of the front and back, highlighting gardens, patios, pools, or unique architectural elements.
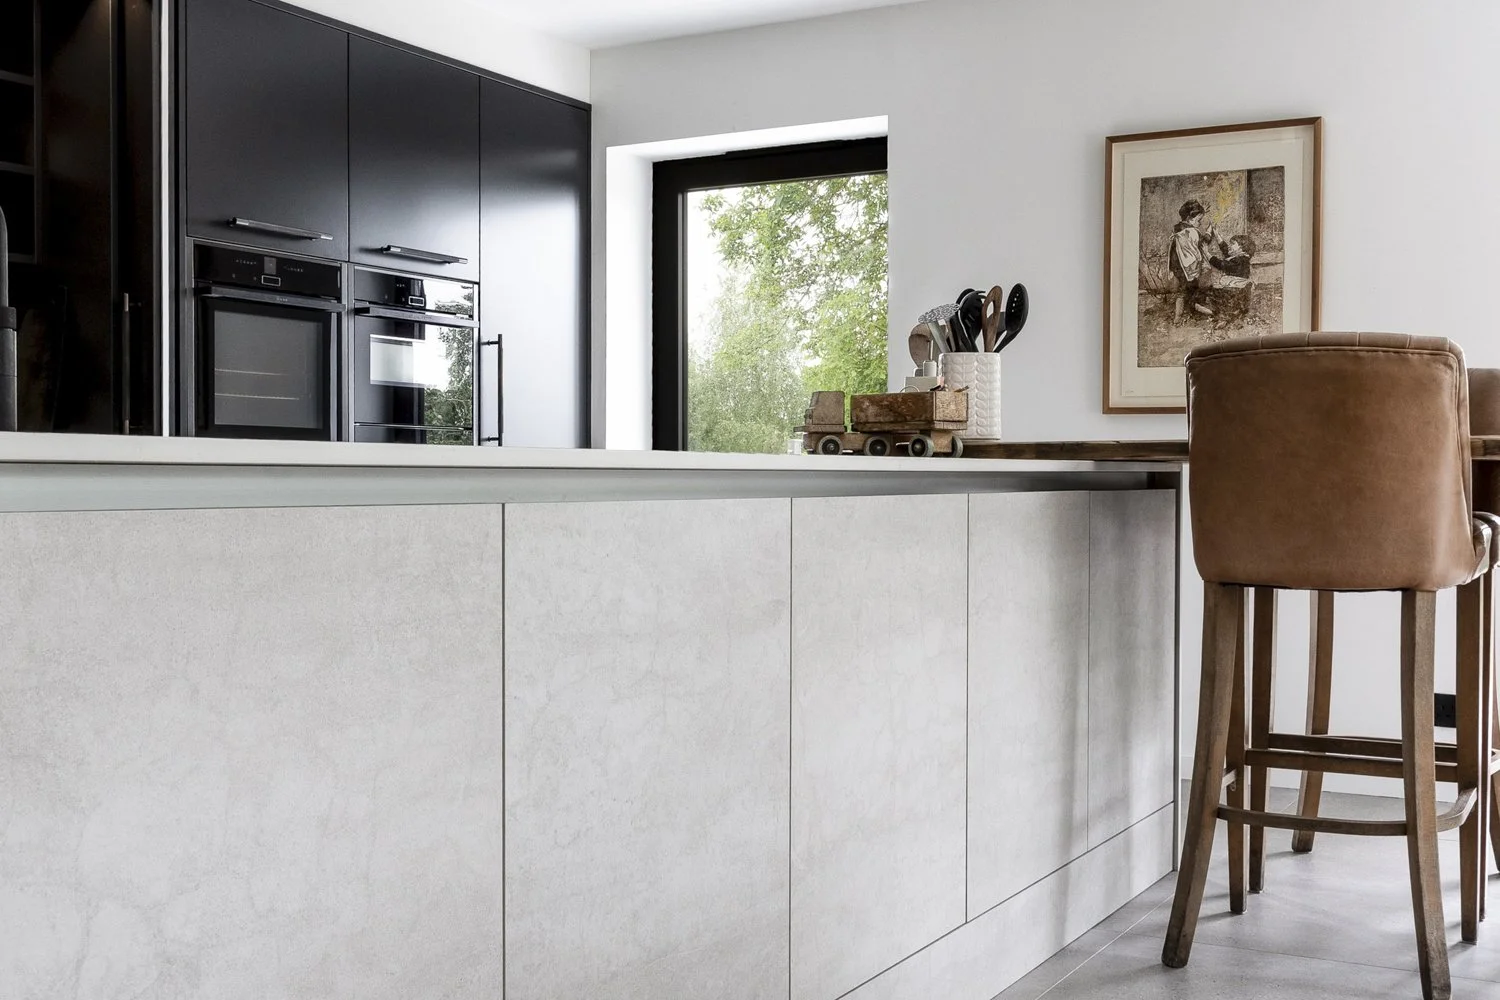
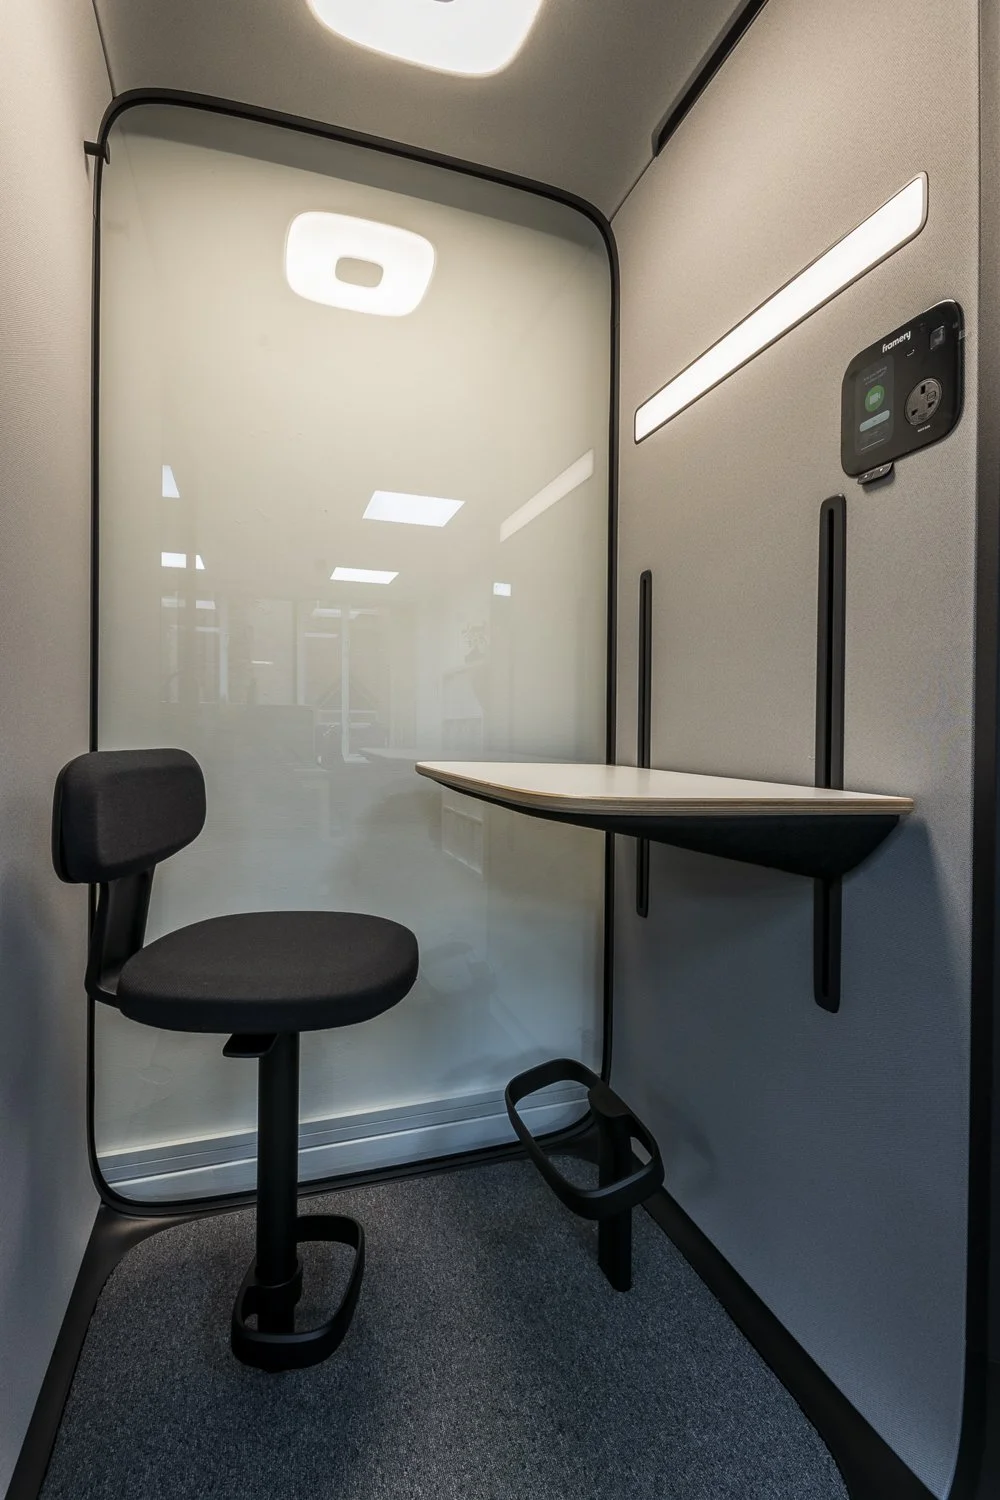
Interior Photography: Shooting key rooms with wide-angle shots, and capturing detailed close-ups of features like fixtures, flooring, and appliances.
Lighting Adjustments: Using HDR or artificial light to balance shadows and highlights.
Styling & Cleanliness: I ensure every space looks tidy, sometimes rearranging items for better composition.

3. POST-SHOOT WORKFLOW: EDITING AND ENHANCEMENTS
Post-processing is crucial in professional property photography to ensure the images look natural yet captivating.
EDITING PROCESS:
HDR Editing: Combining bracketed exposures for balanced highlights and shadows.
Exposure & Contrast Adjustments: Enhancing the property’s atmosphere.
White Balance Corrections: Ensuring natural tones, especially for interior photography.
Lens Distortion Correction: Fixing vertical lines and perspective issues.
Retouching: Removing clutter, adjusting reflections, and replacing skies for a polished finish.

4. FINAL DELIVERY: PRESENTING THE PHOTOS
Once editing is done, I prepare the images for delivery, ensuring they are optimized for various platforms.
Formats: High-quality JPEGs for web use, PNG or TIFF files for larger formats.
Delivery: Proof galleries for client review, with downloads via WeTransfer or other methods.
5. CLIENT FEEDBACK AND REPEAT BUSINESS
After delivering the final images, I request feedback to ensure the client is happy. Building long-term relationships with real estate agents, developers, and designers is a cornerstone of my freelance property photography business.
CONCLUSION
My freelance property photography process combines preparation, technical expertise, and creativity. From consultation to final image delivery, I focus on producing professional real estate photos that effectively showcase every property. With an eye for detail, composition, and lighting, I help clients create powerful images that stand out in competitive real estate markets.
WHAT NEXT?
Did you enjoy the content of this blog? I’d love to hear your thoughts, drop your comments below!
If you found this helpful, why not:
Subscribe to my blog for monthly tips, tricks, and styling inspiration to elevate your property photography.
Take Your Skills Further: Ready to level up? Explore my one-to-one personalized tutorials and transform your photography.
Book a Session: Need professional shots for your business? Let’s collaborate on your next property photography project!