
A Watermelon Photography Shoot
This blog is about my own process of taking a selection of images to use for my own social media promotional material. Most of my social media images are taken from set photography sessions. Each month, I like to schedule food days, well-being or holiday days into my calendar so I can upload a picture for the set occasion.


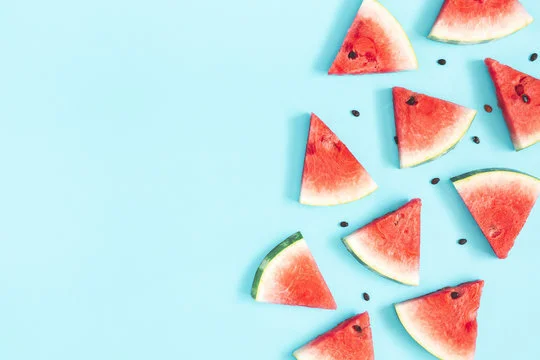


By looking via Google for a set of images of this fruit type, I noticed it is photographed on bright coloured backgrounds. It is also photographed sliced up or with water. This photography session with this fruit aims to take images for stock photography. So the main form of this type of photography is to ensure that the picture is lit and taken correctly. I also think that having one slice on a blank or coloured background is suitable for multiple uses for promotion or advertising.
In theory, stock photos or photographs should be generic with no specific purpose other than showing an item.
USING A WHITE BACKGROUND
This is a basic set-up, and all photographs are flat-lay images, where I shoot from the top.

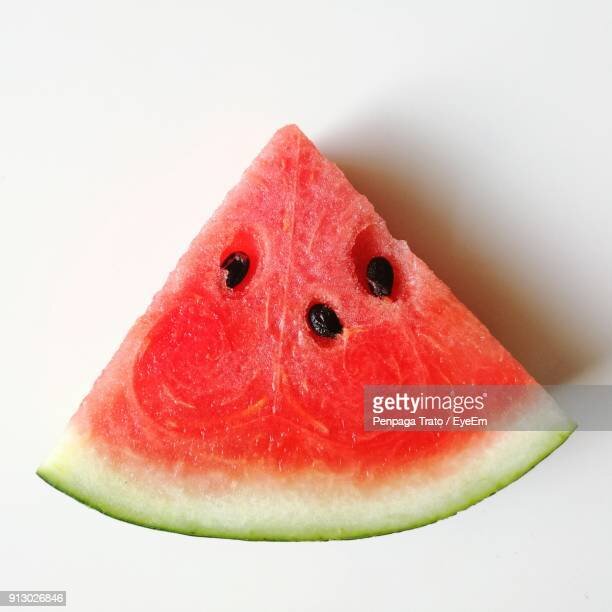
This picture shows a light shadow on the right side of the fruit slice.
By adding an extra reflector, you can help the side shadow disappear, or set two lights up on either side of the object.

This picture shows the use of one light. You can visually see this, as there is a harsh shadow on the opposite side of the light source.
I would suggest that for a stock picture, you should use a reflector or two lights, as shown in image one. The next image shows fruit and can be used for multi-purposes.
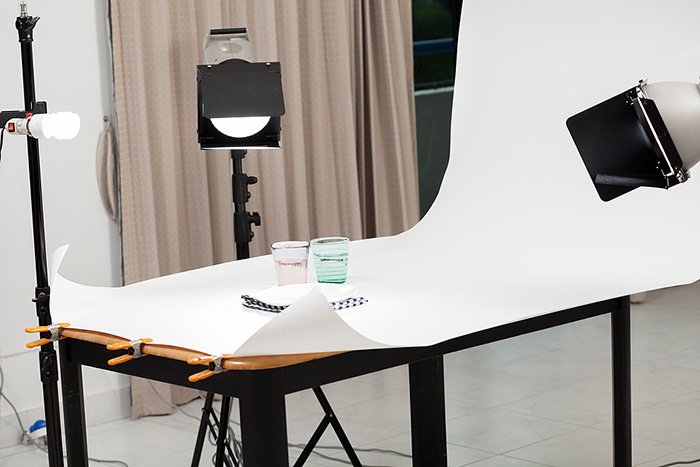
Lighting setup
To take white background images, you require at least two lights or a possible third light to light up the background.
If you are shooting a large object or person, you may require two lights in the background to brighten up the white background.

The viewpoint used for these images is a bird's eye view, commonly called a flat lay photograph.
Theory - A flat lay is simply an image shot from above.
Here are some key tips when shooting a flat lay photograph
EMBRACE NATURAL LIGHTING
OPT FOR A SIMPLE SURFACE
SET THE SCENE
LIMIT THE COLOR SCHEME
PLAY WITH PLACEMENT
GET HIGH
SQUARE UP
FILL IN THE FRAME
EXPERIMENT WITH APERTURE
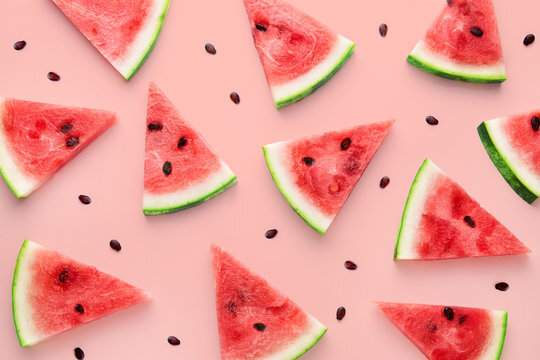
Taking white background photographs that can be purchased and used by stock photography galleries. I decided to play with the background colour and I added water to this fruit image. My reason for the water is to show how refreshing the fruit is when you eat this type of fruit. I kept the same camera angle and lighting used for the white background setup. I have just splashed and poured water over the fruit. As I do this, I capture the fruit at different stages, as the water increases and spreads over the background and fruit slices.
Check out the final examples below.
One key thing I wish to advise you on is to ensure that each slice or portion of fruit or food is clean and complete. The left-hand side picture of a watermelon slice clearly shows an open space in the slice, which is not appealing. Next time I photograph this fruit, I will use slices with, or I will fake this by adding my own stone during editing. Food pictures often look more substantial or beautiful, so the picture looks good, or the food looks delicious. So be picky and make sure all food is complete in shape, colour and size.

A Watermelon Photography Shoot: Capturing the Refreshing Essence
This blog takes you behind the scenes of my photography process as I create a selection of images to use for my social media and promotional materials. I schedule monthly food-themed photography sessions, aligning them with events or occasions like well-being or holiday days.
In this shoot, I focused on capturing watermelon, aiming to create versatile, stock-worthy images. I noticed that watermelon is often photographed on bright backgrounds or with water, so I decided to keep it simple with a white background and a flat lay style. I used two lights to balance the shadows, ensuring a clean and professional look.
Key tips included embracing natural lighting, keeping the surface simple, and paying attention to the fruit’s presentation. I also added water to emphasize the refreshing nature of watermelon, capturing it in action as it splashed and spread across the fruit.
The lesson I learned. Always make sure each slice is perfect, complete in shape and without imperfections. A clean, appealing image makes all the difference in food photography. Keep these tips in mind when shooting for stock photography or promotional purposes!
WHAT NEXT?
Ready to take your food photography to the next level? Try out these tips and experiment with lighting, backgrounds, and creative angles to capture stunning images of your own! If you're looking for more photography advice or personalized coaching, feel free to reach out.
If you found this helpful, why not:
Subscribe to my blog for monthly tips, tricks, and styling inspiration to elevate your food photography.
Take Your Skills Further: Ready to level up? Explore my one-to-one personalized tutorials and transform your food photography.
Book a Session: Need professional shots for your brand? Let’s collaborate on your next food photography project!