
How I Created A Photography Session For Two Vegetables That Are Perfect For Spring
This blog is about my own process for selecting images to use for social media. It also contains a collection of stock images. Most of my social media images are taken from set photography sessions.
In my own marketing strategy, I like to plan yearly food days, health days, and holidays into my calendar so that I can upload a photo.
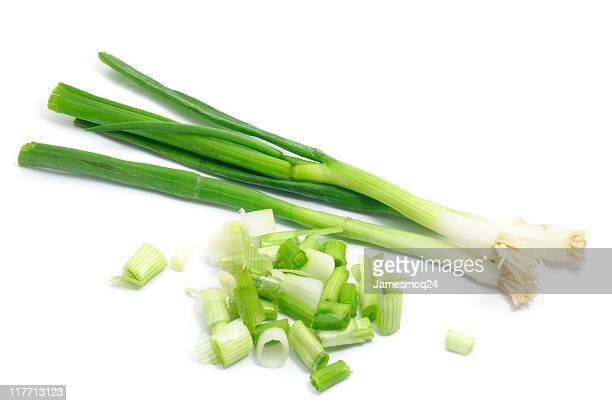
This blog is about - SPRING ONIONS & AVOCADO
When researching both types of vegetables, the main photo setups are styled or white/black background photography.
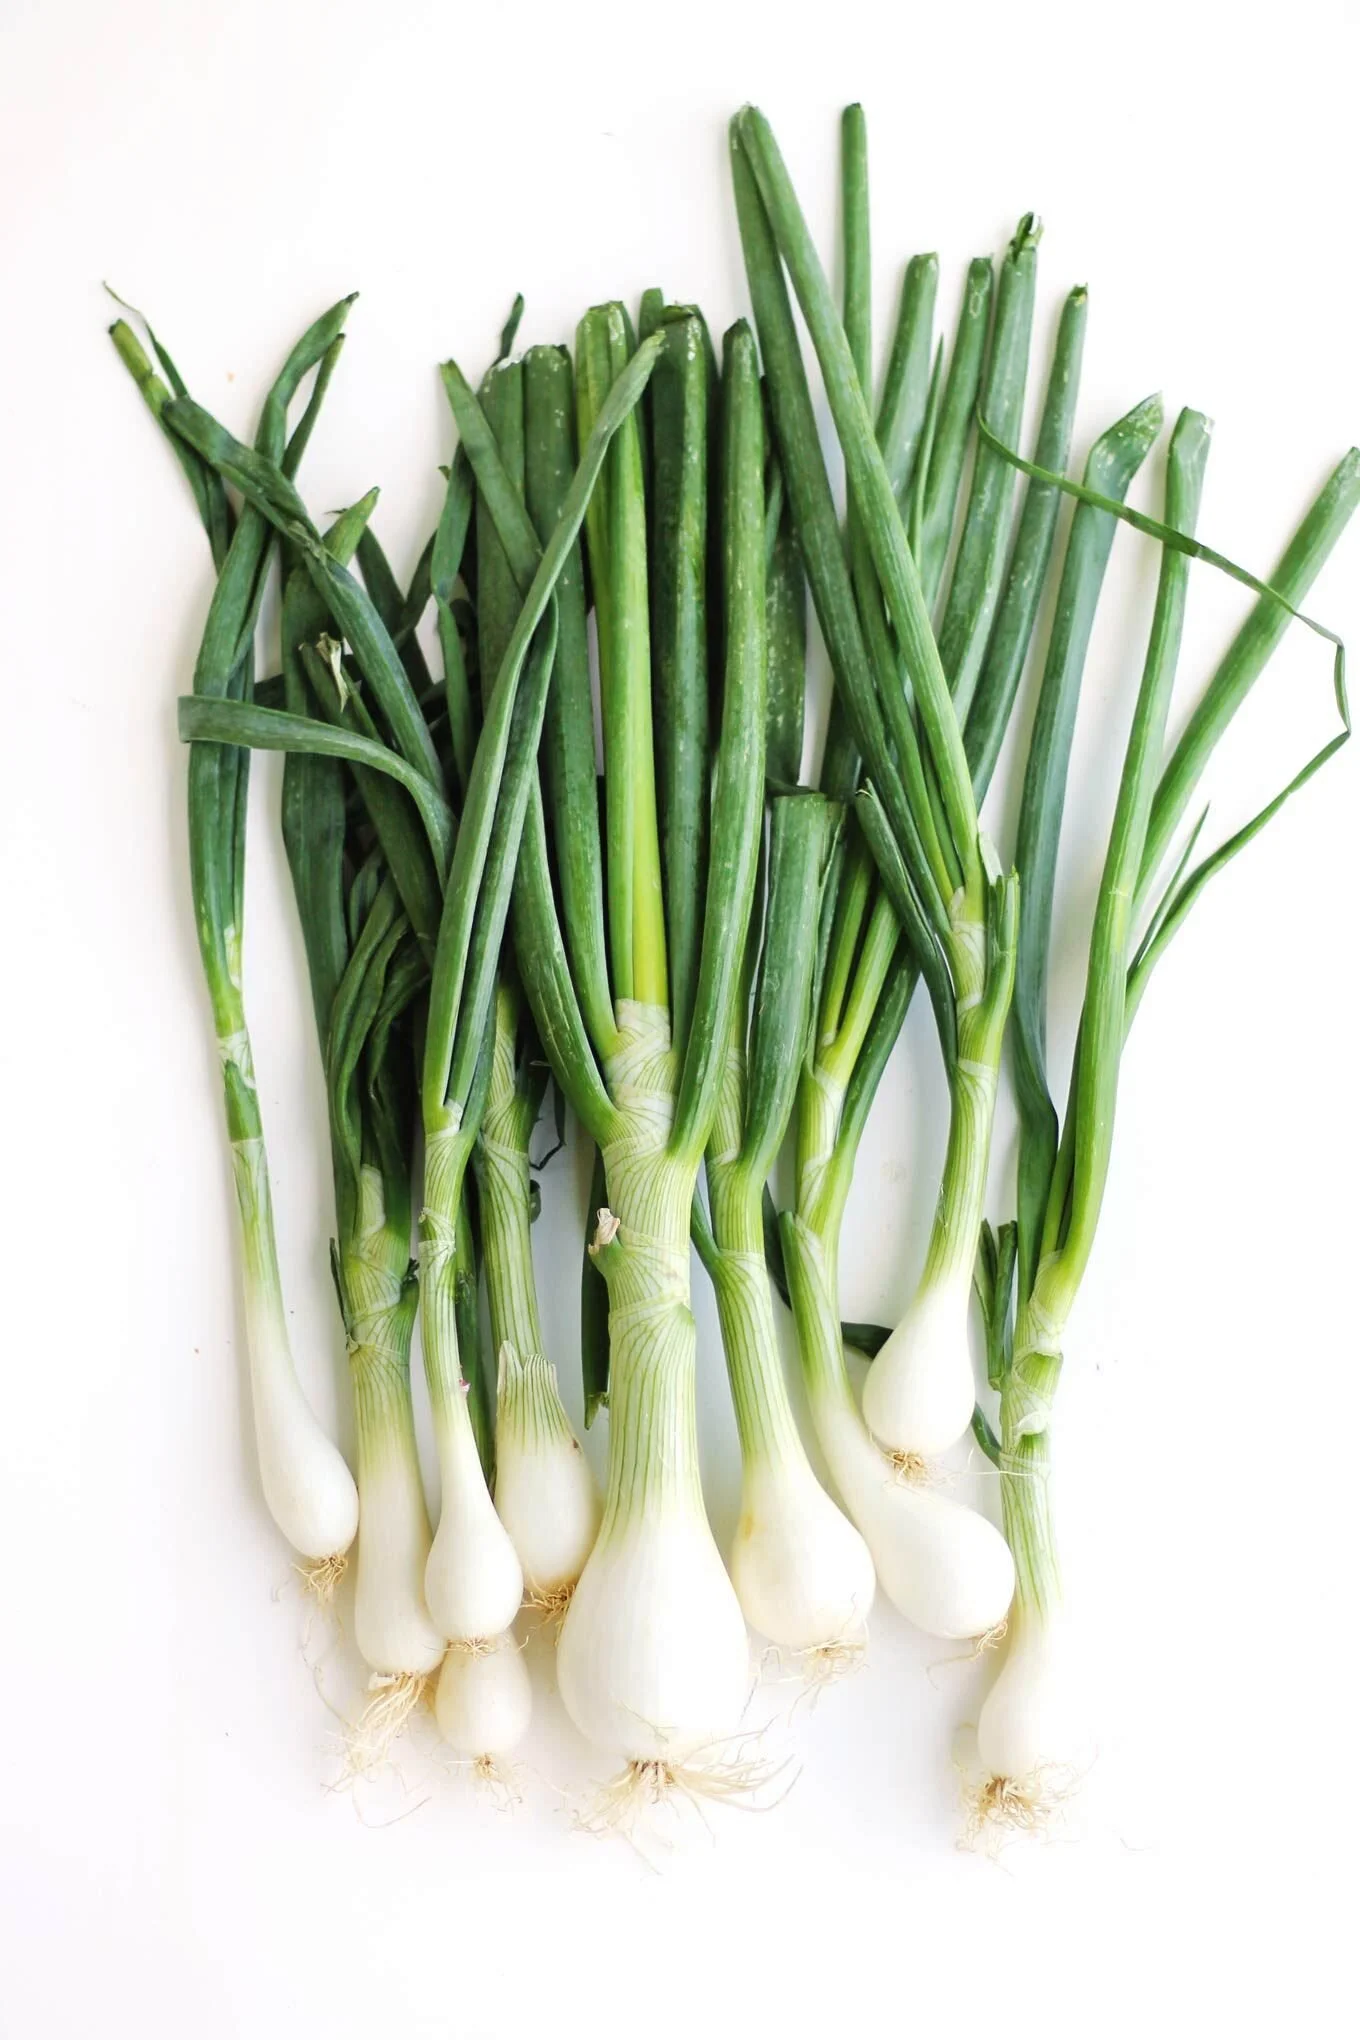

After researching and looking through these visuals, I intend to take two forms of setup.
Styled/lifestyle to resemble home cooking, this form of photography can be taken with natural or flash lighting. This is a simple lighting setup with one light source and a reflector to add fill light.
Clean white studio photography. This is the type of lighting that uses more than one light source, and is set up in a studio.

Here is a picture of a studio food setup, with two studio lights, and natural lighting from the diffused window.
IMAGES SHOT IN MY HOME STUDIO (This is an image of REGAN BARONI PHOTOGRAPHY studio)


Here is a list of the equipment in this home studio
Nikon cameras
Variety of Nikon lenses
Tripods
A badass overhead setup
High power strobes + continuous lights + speed lights
Soft boxes, beauty dishes, grids, diffusion papers
Foam core GALORE, V-flats, etc.
Food styling equipment & kits
Variety of light and dark surfaces & backdrops
A variety of props
Digital kit includes 27″ iMac, Capture One, Lightroom & Adobe Creative Suite
My own images from this shoot are seen below. I would like to take a styled image and then images for stock agencies with a white background.


ADVOCADO’S


For this vegetable, I tried both white and black backgrounds. I felt this vegetable needed to look clean and have a clean stone in each picture. After completing the spring onion set of images, I decided to continue with set photography pictures.
The two light setups used for the white background and spring onions are the same setup and process for the avocado. However, I cut the avocado in half.
Tip for preventing avocado browning - Brush lemon or lime juice across the avocado flesh.
Here are the white background examples
An issue that occurs when photographing the avocado from either the top or side is the size of this vegetable. This causes a large shadow. So I played with a white reflector to bounce and reduce the shadow, and then edited the shadow further in Lightroom.
Here are three versions of the same shot.


WHICH DO YOU PREFER?
I perfected the white background images, and now I wanted to shoot this vegetable on a black background. This type of photography is called ‘Dark MOODY Food Photography'.
Theory - Dark moody food photography means “light-dark” and refers to the contrast between shadows and light in an image.
To take this type of photography, the setup is different from bright food photography. The differences are how the setup is lit and what props are used. To take a dark picture, collect dark backgrounds and props. You can set these images up with natural or flash lighting. Lighting the setup is the most important part.
Here are some key tips to consider.
Don't let unnecessary light leak into your frame
Use non-reflective surfaces or cookware.
DO NOT use negative space
Don't overcrowd the frame
READ MORE ON THESE DO’S & DON’TS - The Dos and Don'ts of Moody Food Photography

See below my own dark moody pictures of this vegetable. I used a studio light for my setup, but most photographers recommend natural lighting, rather than studio or flash, for this type of lighting setup.
I would always recommend natural light for food photography, as this lighting brings out the wonderful colour in each food ingredient per dish or food product.


In summary, I have discussed set coloured backgrounds for stock photography in this blog. I mentioned the use of complementary colours when styling a food setup and using multiple light sources.
The main segment included a brief explanation of dark moody food photography.
WHAT NEXT?
Did you enjoy the content of this blog? I’d love to hear your thoughts, drop your comments below!
If you found this helpful, why not:
Subscribe to my blog for monthly tips, tricks, and styling inspiration to elevate your food photography.
Take Your Skills Further: Ready to level up? Explore my one-to-one personalized tutorials and transform your food photography.
Book a Session: Need professional shots for your brand? Let’s collaborate on your next food photography project!