
Take Better Food Photographs On Your Phone
Before I became a full-time photographer I trained as a secondary teacher and taught photography at MK college for four years. If you look through my website and read my ‘Learn about photography’ page, you will see that I offer 1:1 teaching sessions, which can be used for new photographers, amateurs who wish advice on a new technique or companies that wish for advice/tips on taking their own promotional photography.

This blog covers a recent 1:1 session that I had with a wonderful couple who run an amazing catering service company called, MT Plates Home Dining.
After a phone consultation with Mark, I formed a session plan to cover during the 2hrs that they had booked.
The content of this blog will be the different sections listed in the session plan to the right.
What did I cover in this 1:1 teaching session?
ONE - Discussed set phone apps to use & what type of message the customer wished to portray to prospective clients, via Instagram.
iPhone Apps
Styling for Instagram
Here are some phone apps that you may find useful when taking photos with your phone. If you are happy to use your phone camera then these apps may not be of use, but some of them have some great aspects to try.

VSCO - This is a free app & has a great selection of features for editing. From presets to basic editing tools it is great for touching up your food photos. - https://vsco.co/
If this app is of interest, then check out, how best to use this app - https://support.vsco.co/hc/en-us/articles/202904010-How-to-use-VSCO

2. The ‘Lightroom’ app is used to edit the hue, saturation or luminance and Lightroom can be used seamlessly on mobile and PC devices with the advanced package.
This last app suggestion is known as a great app to use for food photography "Foodie" Dedicated Camera App for Food Photos. This app has some key elements that are really useful for photography


Food filters make culinary photos more enticing by:
Best angle feature for stylish flat lays
Auto blurring feature for pro-style images
Brightness adjust and flashlight features for shooting in dark locations
The last app to try - is Snapseed. With this app, you can select certain areas of a photo and apply edits, as it’s great for an odd ingredient on the plate you want to pop. Snapseed's "healing" tool is also great to get wipe any splashes of food or marks that you don't want on your images. The "selective" feature allows you to brighten, sharpen and saturate chosen areas and the sharpening tool will make it seem like your phone got glasses. This app lets you play with deep details in an image and is the first one we go to when editing our food shots.

INSTAGRAM - How's the best way to use Instagram?
During this session, the main area that I covered within the discussion was the style shown throughout an Instagram profile and to help discuss this further I showed the client a set of catering service profiles.
Here are the profiles -
If you wish to know more about how best to set up and use your Instagram, then the first thing would be is to convert your account to business.
Here are some key tips to keep to, so that your get noticed and build upon your followers.
REMEMBER SLOW AND STEADY WINS THE RACE.
Respond to every comment that you get, even if they are people you know. It is important for people to see that you engage with your audience, it encourages more people to comment and interact
Share some of your processes with people
Follow people who you would like to do business with or who are part of your ideal target audience & engage with their content, make them notice you
Make sure your personality comes through in your bio
Develop a style on Instagram that can be easily identified as you
Try using your favourite photographs as your profile pic rather than a logo
Include a picture of each photo you share in your stories
Tag people in your posts where relevant
These are selections tips given to me for my own Instagram profile at a social media review by The Brady Creative
TWO - The photography process & technique parts, where I ran through these set areas:
Light solutions with phone and on location
Composition rules to use when photographing food
Discussion & tips on food pictures with client’s backgrounds and the two lights setup.
Including simple props
Light solutions with phone and on location
To help with the subject of lighting on location, my key suggestion is to use a wide aperture with your phone, as lighting can be restricted or you may wish to use a ring light. or use this type of setup
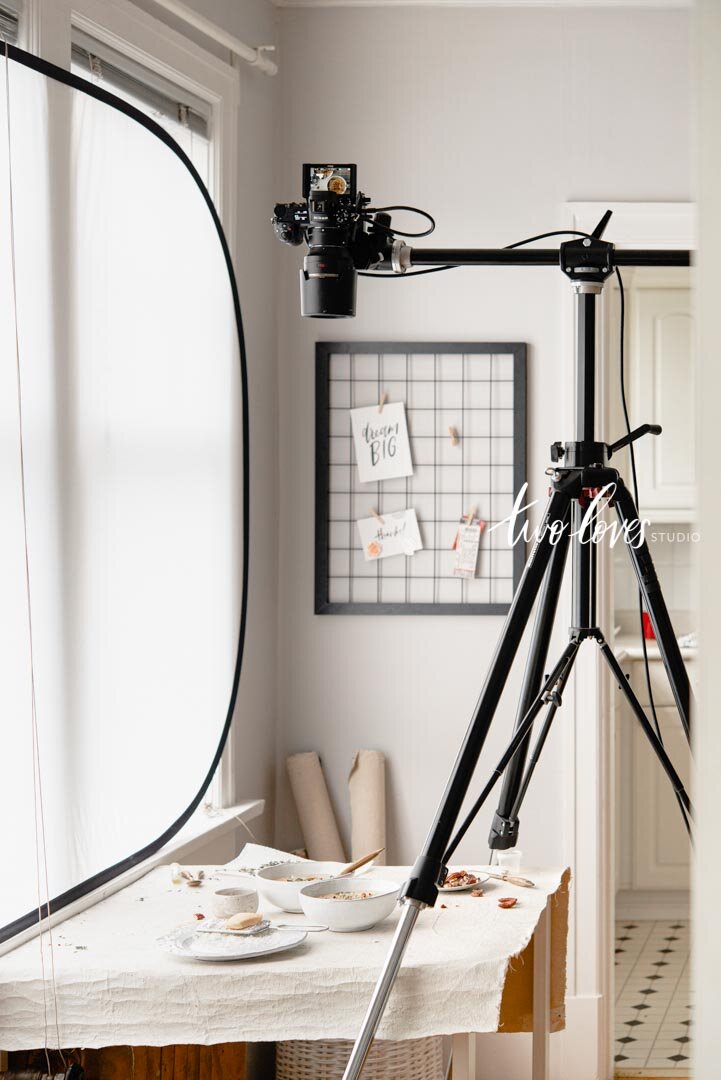
1. Natural lighting
This is a simple setup for a food dish picture, place the dish in front of a window.
I would suggest having possible a diffusing material, like netting or an oblique reflector, this will even the shadows and make the light soft.

2. Ambient light
This setup requires light on one side, with a bounce card on the opposite side.
Composition rules to use when photographing food

RULE OF THIRD
1. Rule of Thirds (can be used with phone grid)
Use the Rule-of-Thirds to decide where to place your main elements
Step 1: Turn on the grid in your camera settings and position the important large elements at the cross-sections where the lines meet. These are the anchors of your composition.
Step 2: Place complementary accessories and props around your subject. This is part of the storytelling about what has gone into the recipe. Don’t be afraid to position things outside the frame and embrace the negative space!
Step 3: Go through and add layers and textures around your subjects, being sure to pay attention to corresponding colours to make your composition pop! Be careful not to overcrowd the space however, you need room for the eye to travel.
Step 4: Take your picture! Don’t hesitate to readjust the accessories and props if necessary, to make an evenly balanced image.

DIAGONAL
2. Diagonal (Leading lines) Use leading lines and diagonals to guide your viewer
Step 1: Imagine splitting your frame with a digital line, start by placing your main dish along a diagonal line across your frame like in the image above.
Step 2: Place your props above or below to establish a leading line that will draw the eye from the edge of the photo to your main dish.
Step 3: Add colours and layers to make your dish pop. Silverware, spatulas, and even crumbs can all help to establish a long leading line. In the photo above, we used chocolate to elongate the principal image, and greens to create parallel lines.
Step 4: Take your shot! Examine the result on your screen and see how you can improve it.

GOLDEN TRIANGLES
3. Golden Triangles. Use Triangles to Draw Attention.
Step 1: Divide your frame diagonally and draw two perpendicular lines to create triangles. Place your main subject where the lines meet (this will draw the eye to the focal points).
Step 2: Add props along with your triangles but don’t fill up all the space. You can play around with layers and objects to give your composition some colour and texture.
Step 3: Snap! As before, be sure to take a look at the camera and how it’s looking and adjust your accessories as you see fit!

COMPOUND CURVE
4. Compound Curve. Mimic the waves to create a natural flow (Compound Curve - S line)
Step 1: Start by imagining an S curve in your frame. You want your principal subjects to be on the ‘s’ or ‘wave’ formation peaks. Then slowly build your way out towards the edges.
Step 2: Add objects, layers, and textures along the S shape to add dimension and fill your frame. You don’t want your principal dishes cut off, but you can leave your accessories and props halfway out of frame.
Step 3: Be creative, and don’t hesitate to play around with your curve (you can also try out a C curve or a spiral!)
Step 4: Start shooting! Readjust the props if you feel the balance is off once you’ve checked the photo on your camera. You want to balance objects, colours, and textures.
Include some simple props
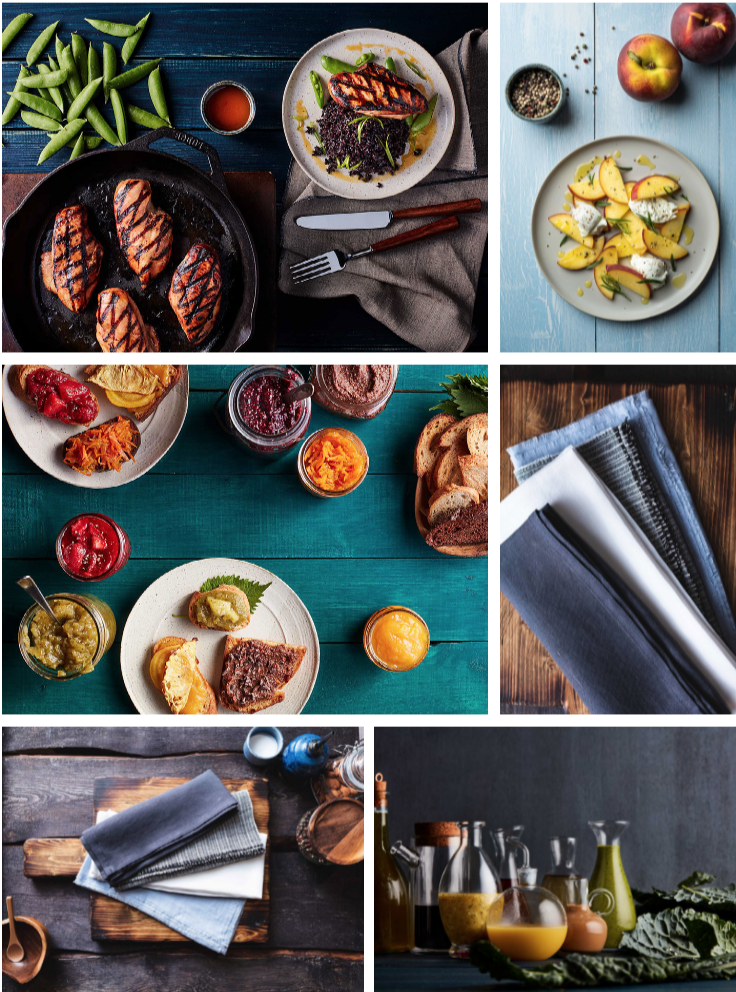
TOP 7 MUST HAVE FOOD PHOTOGRAPHY PROPS
1. Beautiful Linen
2. Wooden Bowls, Wooden Spoons
3. Cutting Boards
4. Ceramic and Matte Finished Plates
5. Cast Iron & Dutch Ovens
6. Glass Jars, Bottles, and Mason Jars
7. Backgrounds and Tabletops for Food Photography
These are just a selection of props that you may wish to experiment with and form a collection. You do not need to use everyone, you may decide on a select few to keep to a set style
After reading this blog I hope some of these options and tips will be helpful for your own phone process and dont foget you can book in a 1:1 mentor session in the future.
thank you for reading my blog
If You Enjoyed This Blog, Then Please Sign Up For My Regular Blog Newsletter.
Please leave any comments or subject suggestions that you would wish for me to cover on the subject of Photography.
Thank you for reading.