
10 Food Photography Tips To Try This Weekend

DATE: 8TH SEPTEMBER
Food Photography
Okay, so you wish to be a food photographer?
Well have a think, how can I improve my own process, well keep reading this blog and attempt to use these set tips that I as a professional photographer keep to.
Shoot with proper lighting
The best simple lighting to use when shooting a food photograph in daylight.
Once you have set up your scene you can try these different options to bounce or soften the light source
Sidelight – the light source is next to your scene
Diffuser – placed between the light source and your subject
Reflector – is placed opposite the light source to ‘reflect’ some light back onto your subject and scene.
Be Organized
You may think, what do I mean by being organized? Well I mean, start planning ahead for when taking photographs for a recipe book or when on location.
You need to plan what type of photographs meet your brand, the props you will require, the lighting, and what your images will be used to show once edited.
When I complete a food shoot for a client I ask them what type of dishes they will cook, how long they will take to cook, and colours that link to the theme.
These are areas and props that I like to plan for:
Plan the style of the pictures I want, once each picture has been taken
Consider the colours and style per photo
Props I need for the shoot plan, like a backdrop, table settings, napkins, silverware
Glasses or drinks to accompany the dish
Consider extra scraps of food around the dish
Essentially, I try and get the whole scene set up before I even start shooting. Otherwise, I’ll be overly stressed out trying to position dishes and take pictures and set up the perfect shot all at the same time.
Tell a story
A really effective marketing strategy is to tell a story through a selection of visuals, this can be completed with stills or video footage. You can form photography that can tell a story with one image, but this process is more effective with multiple images.
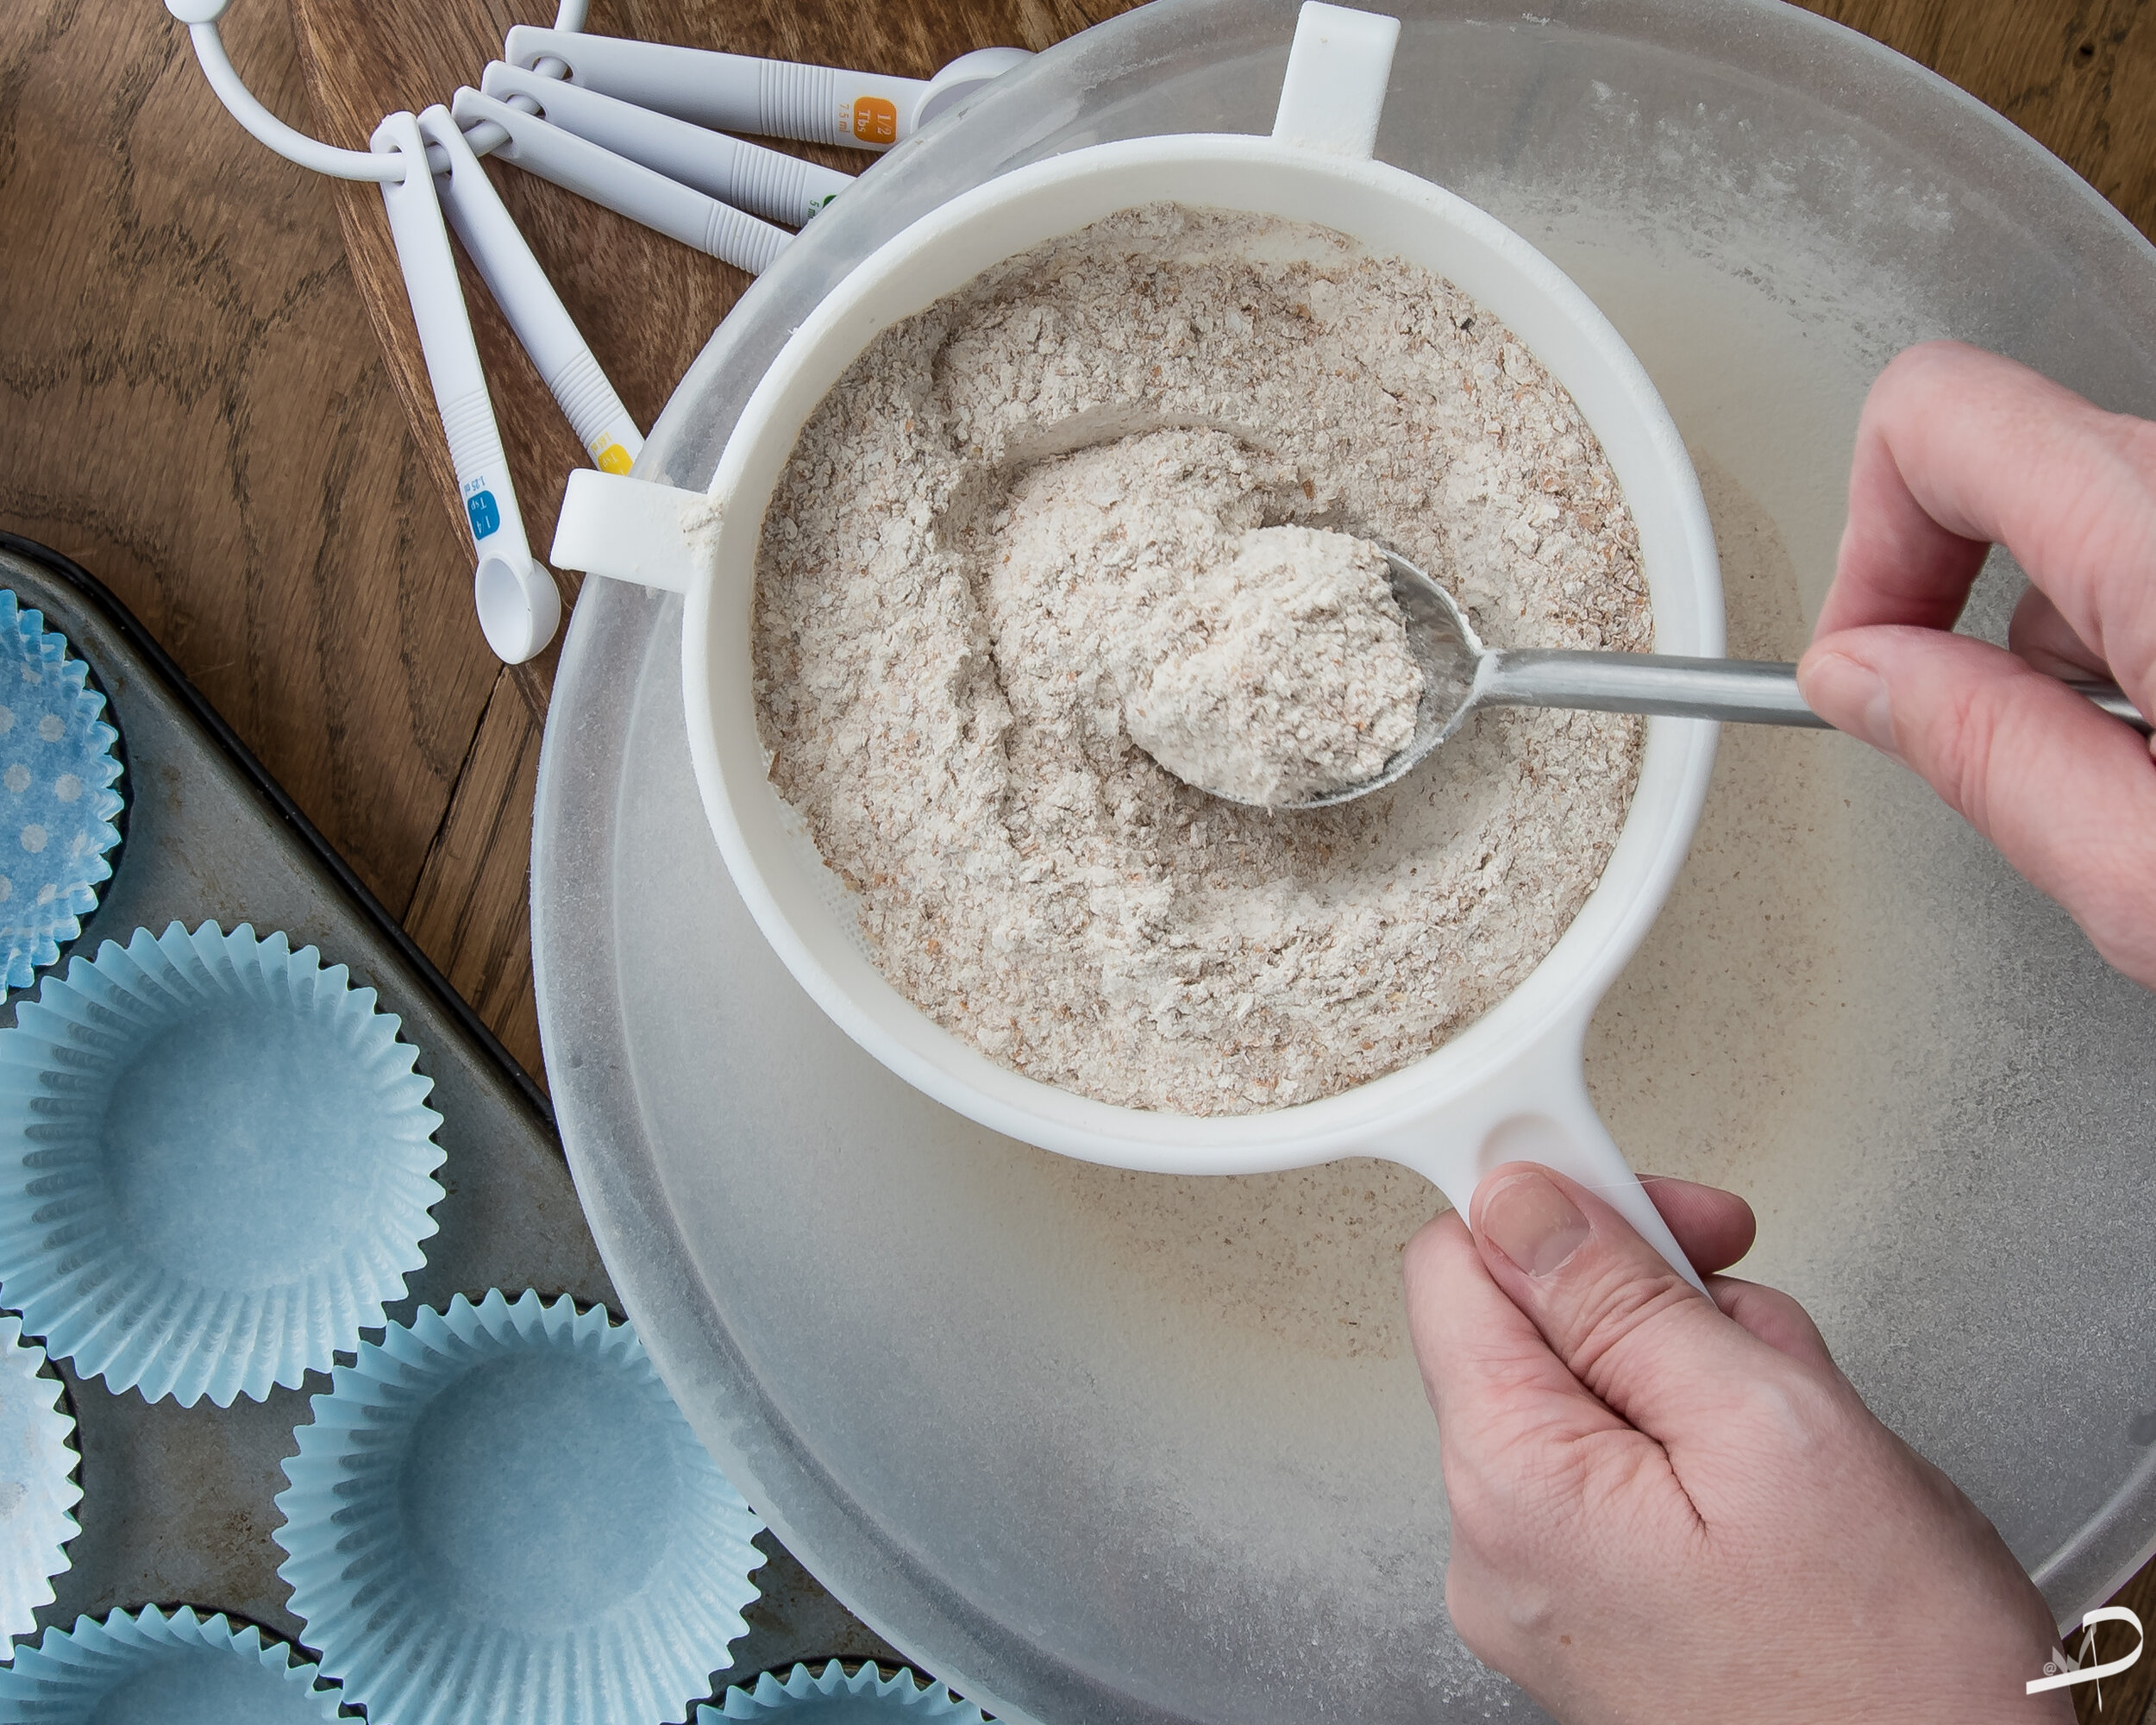
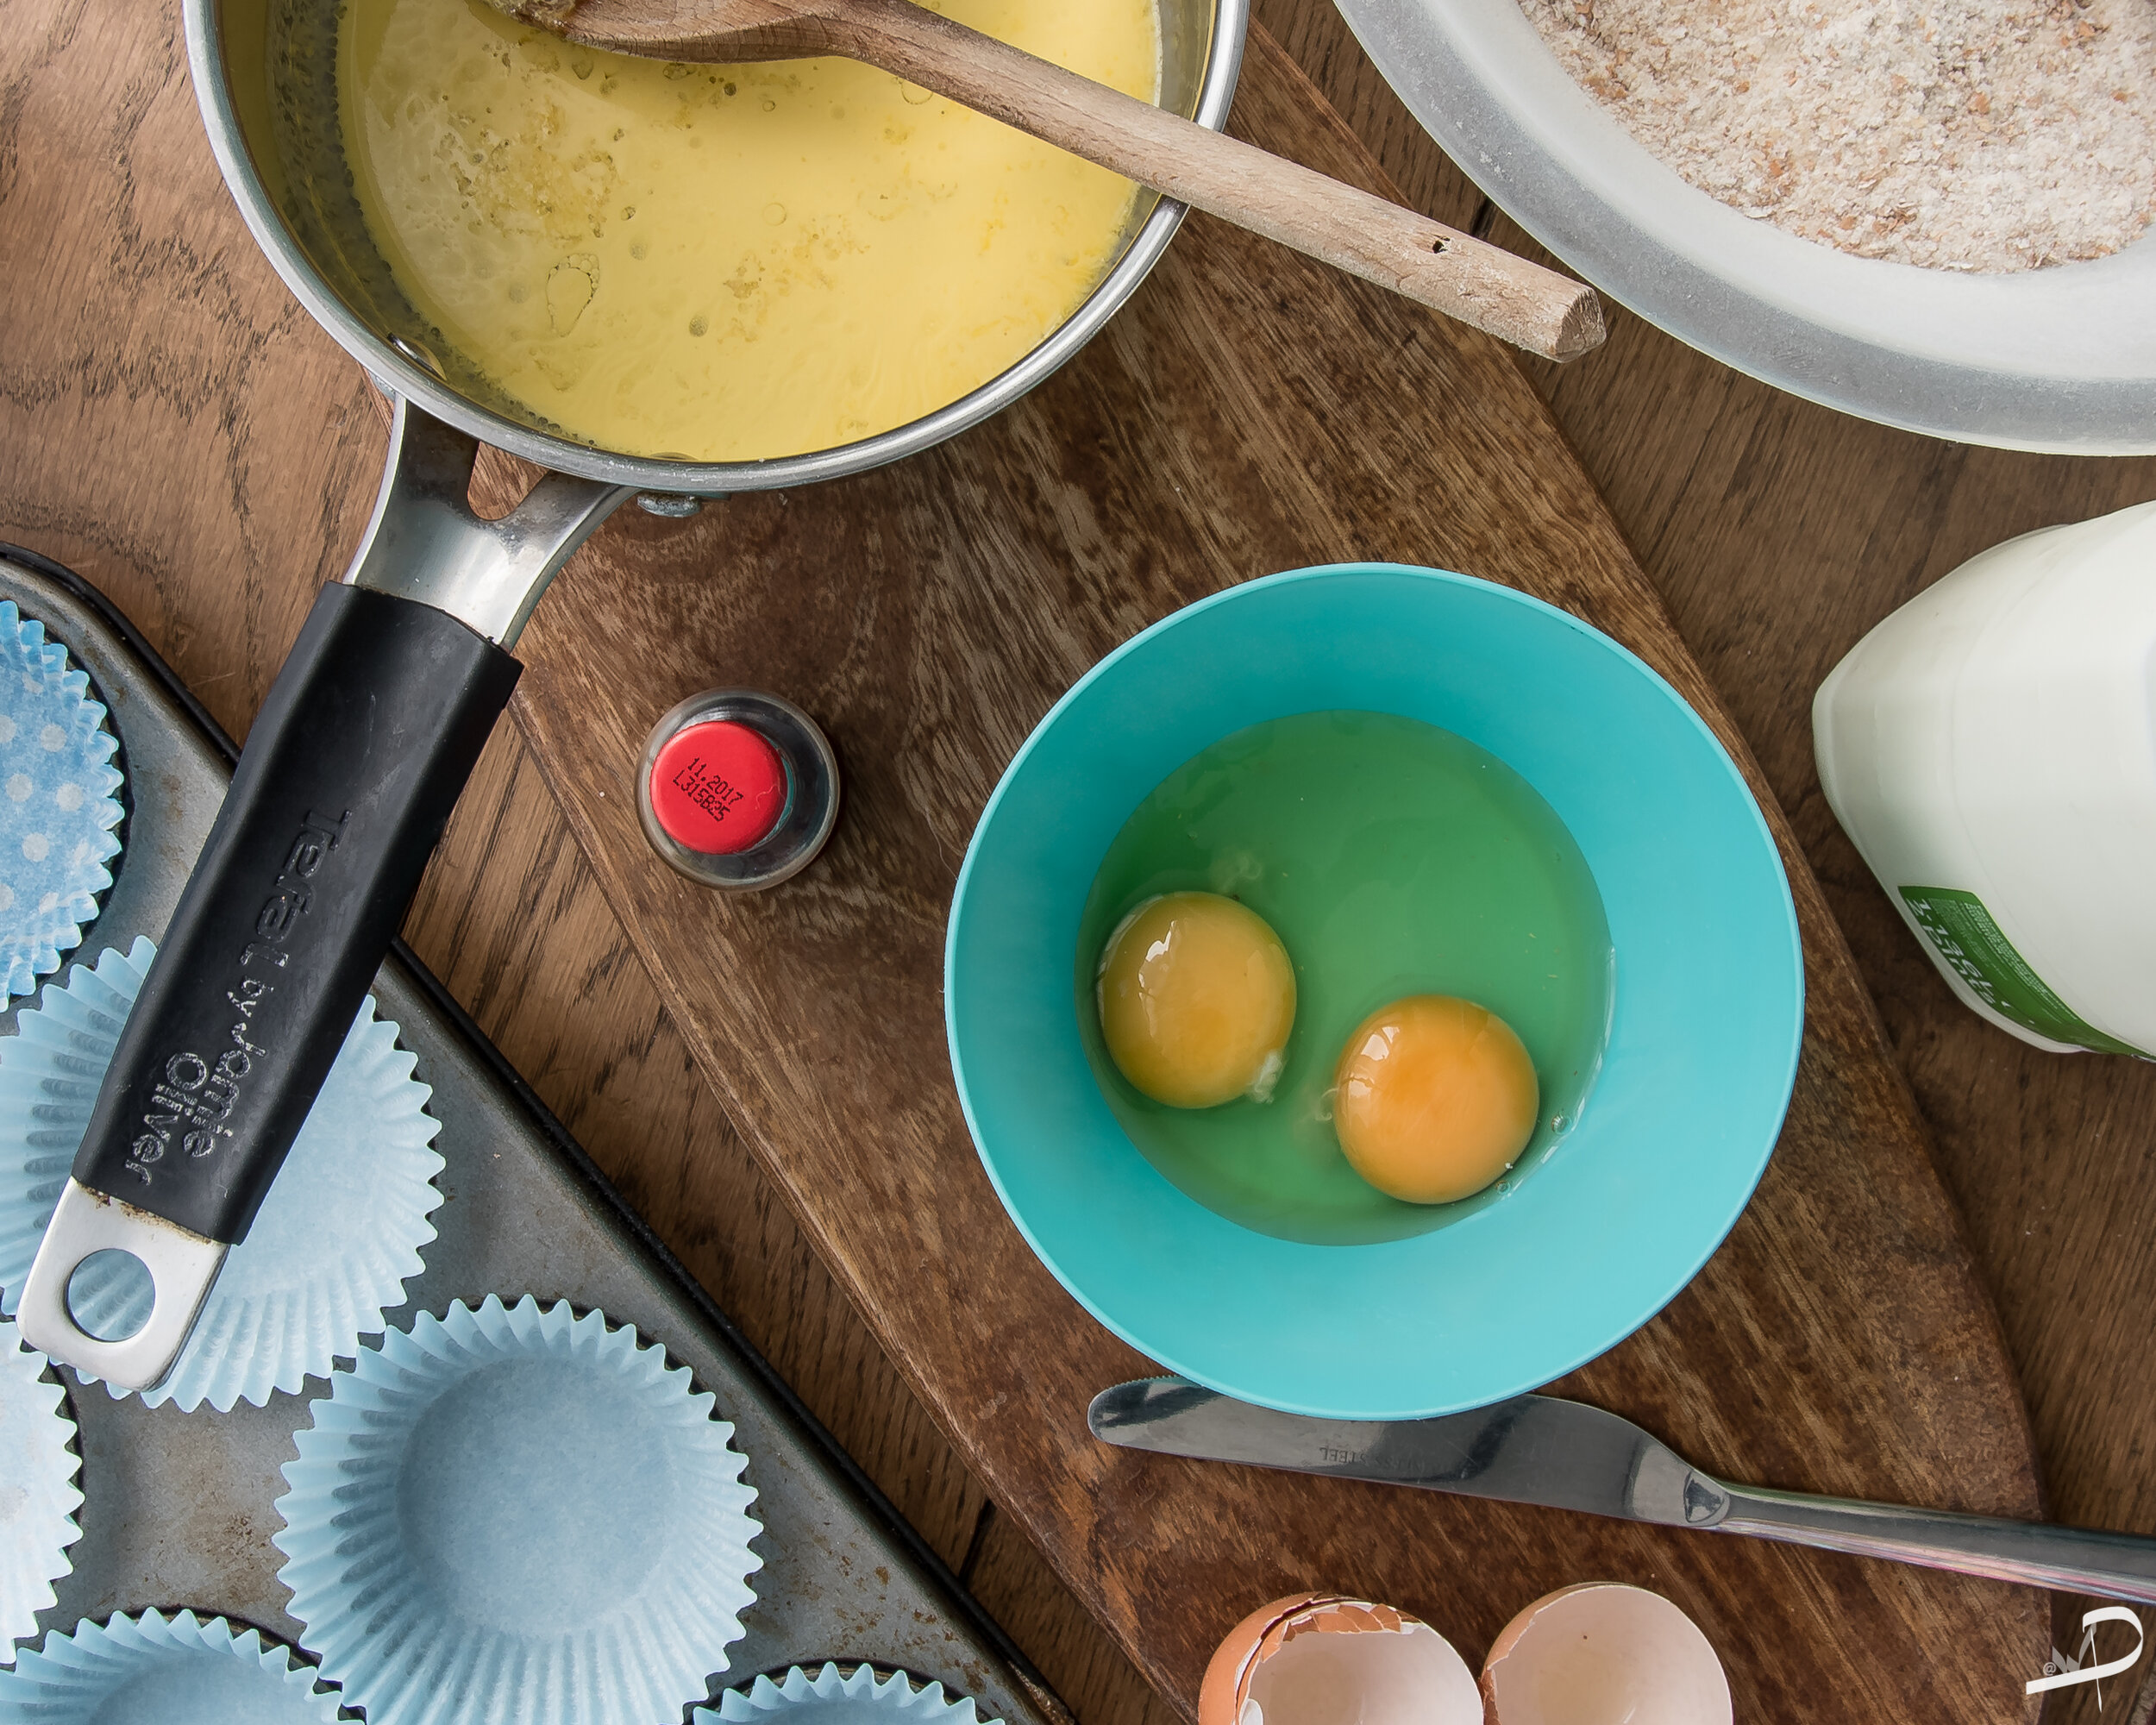
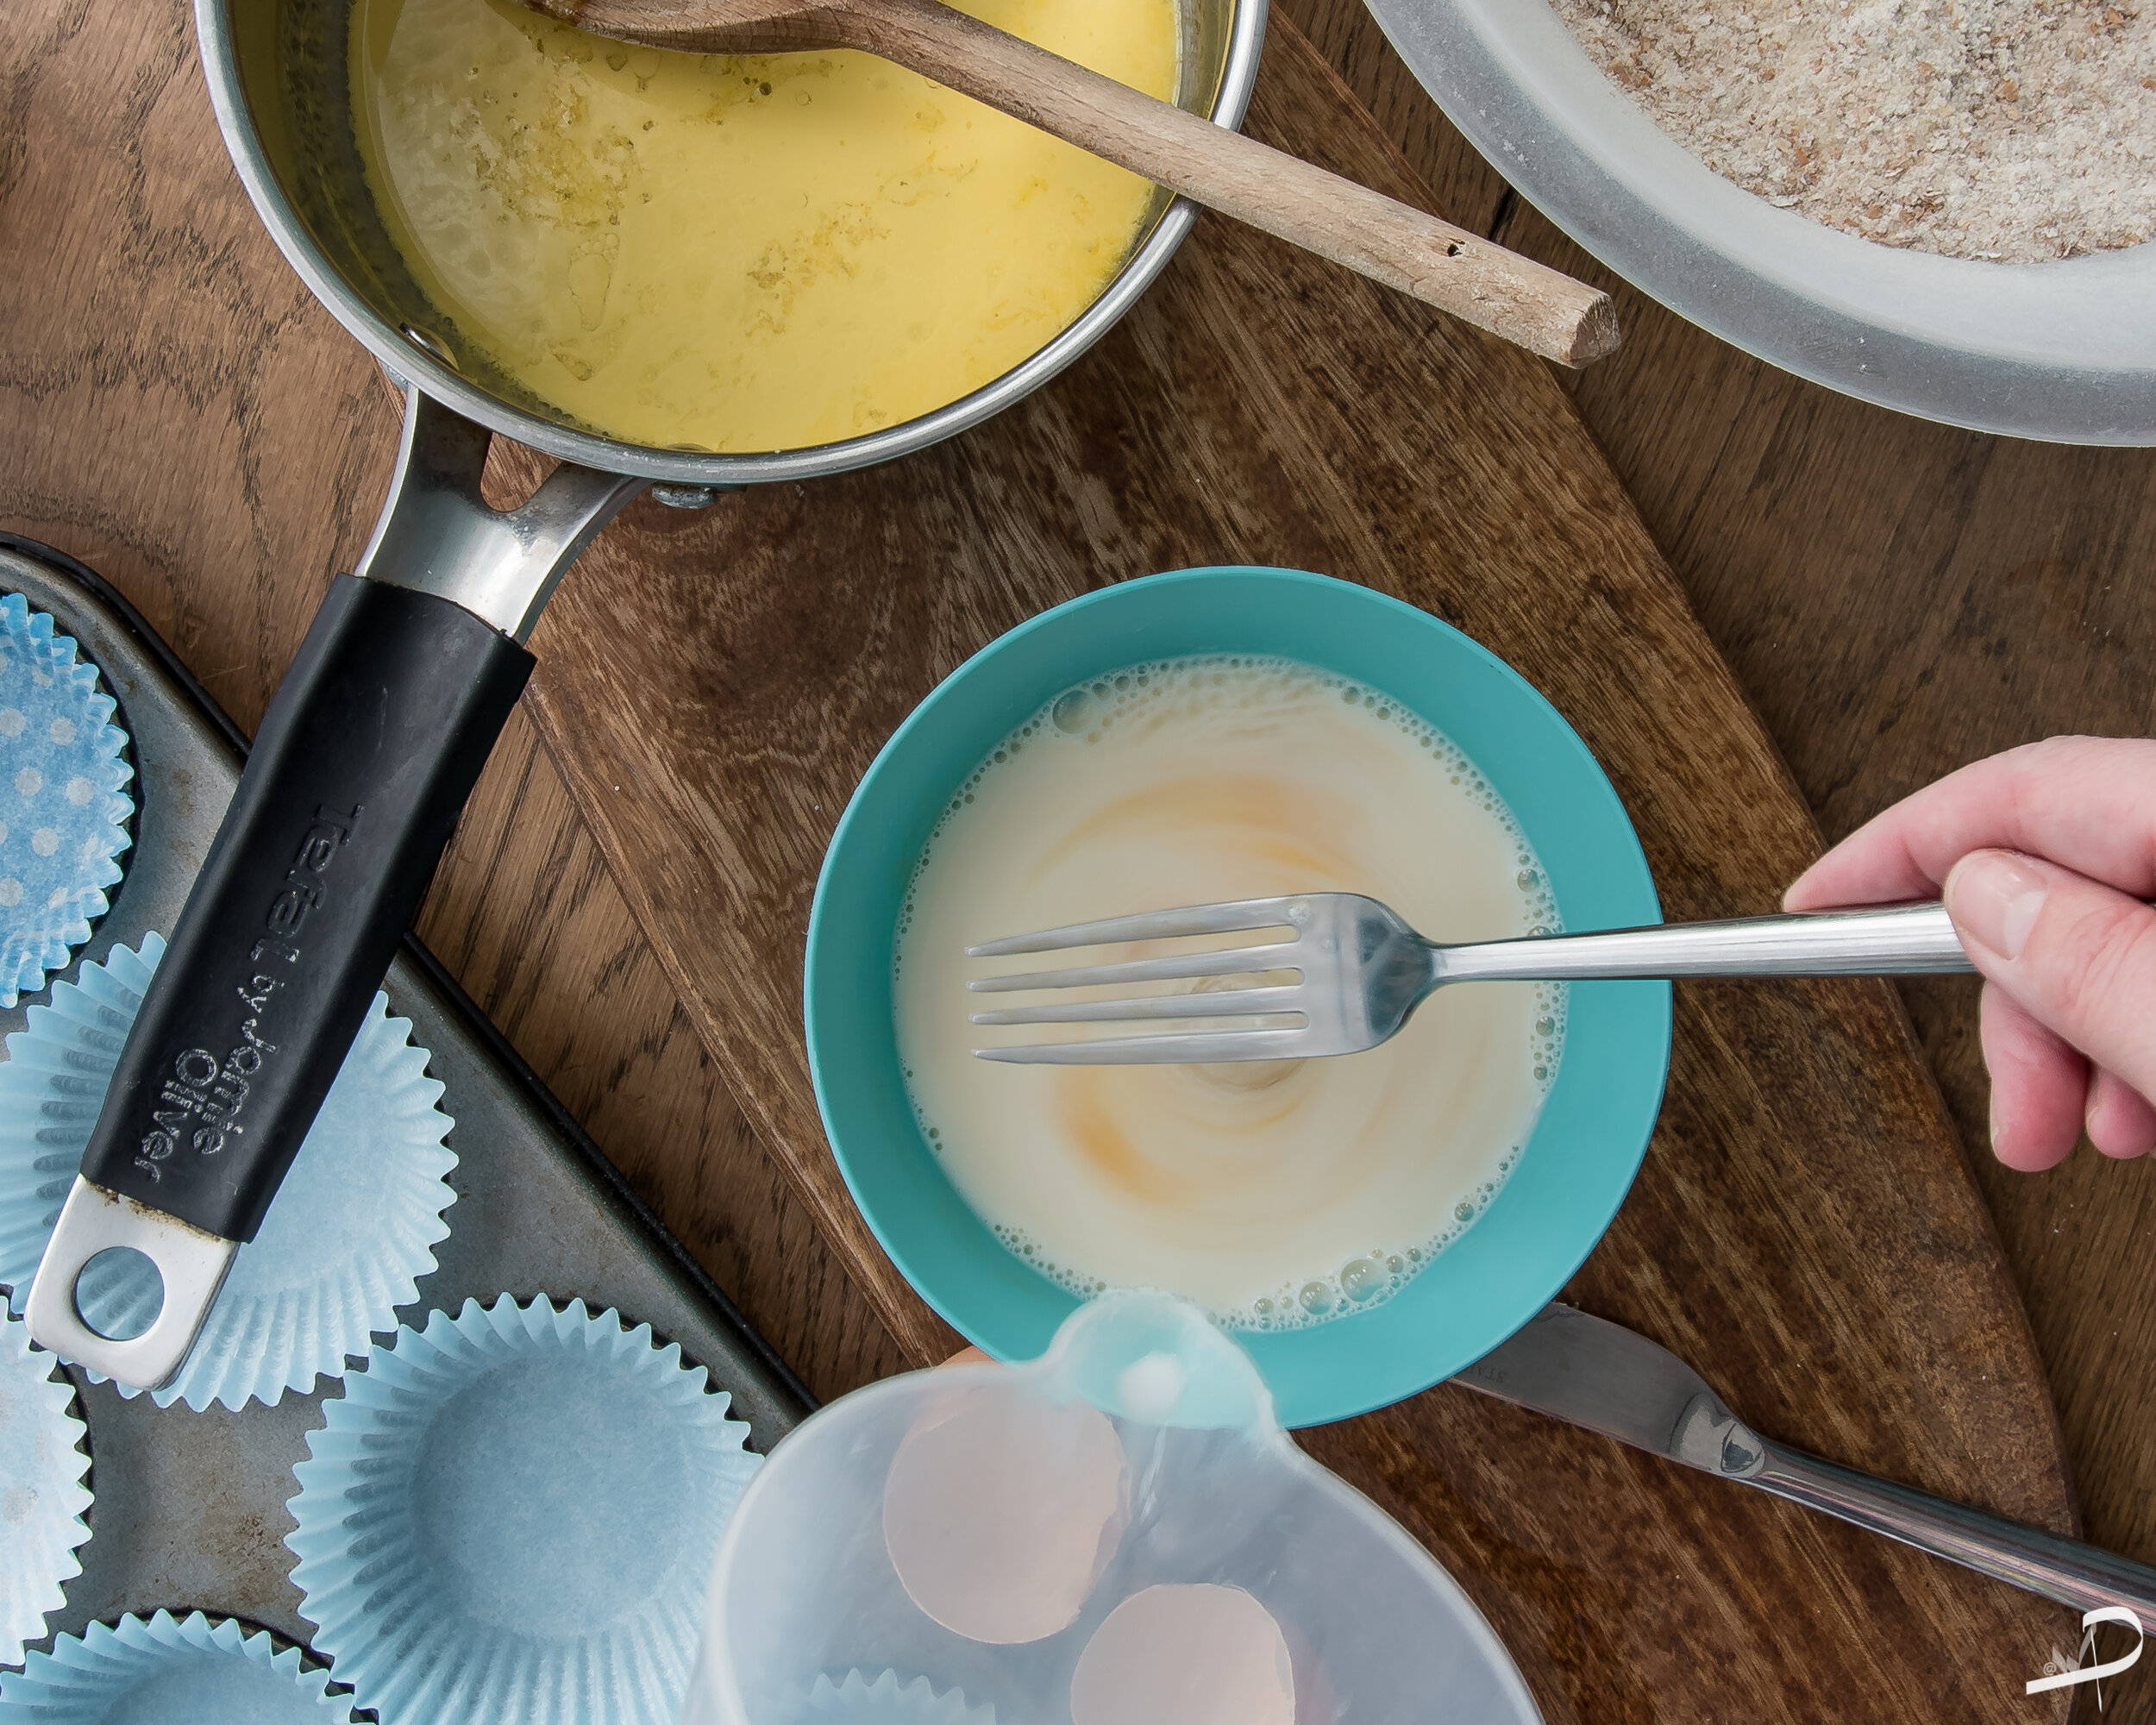
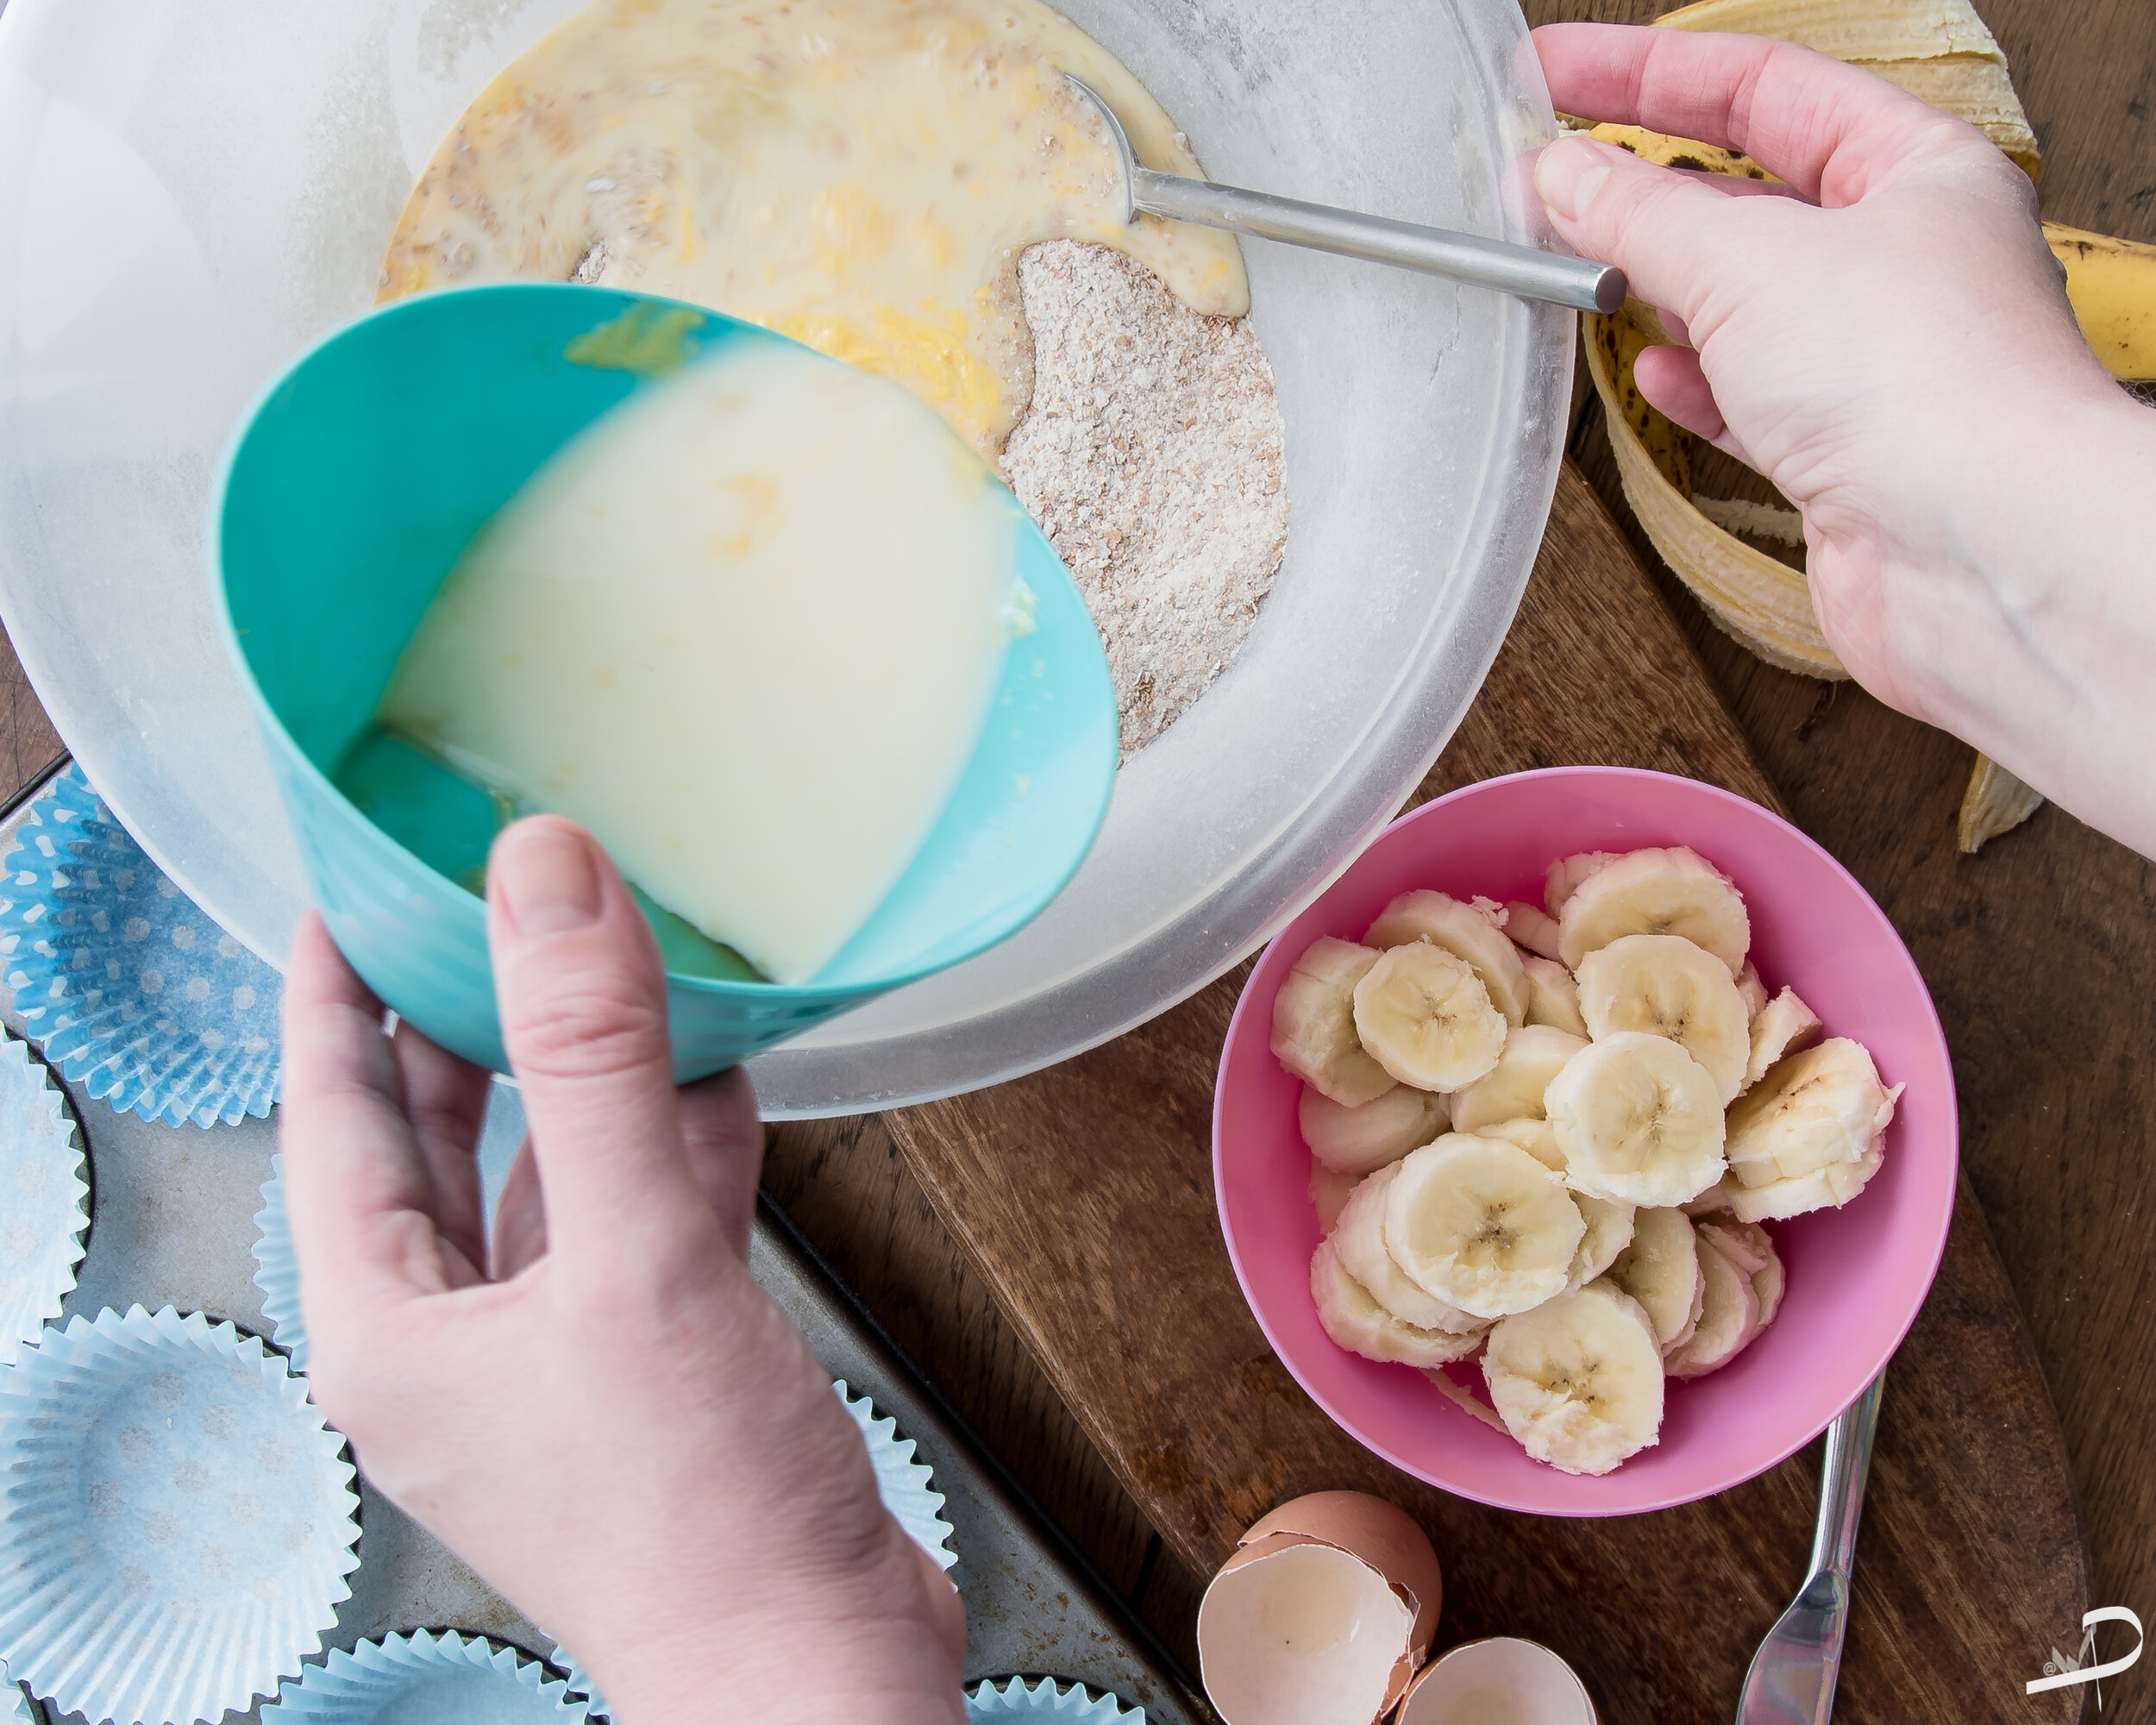
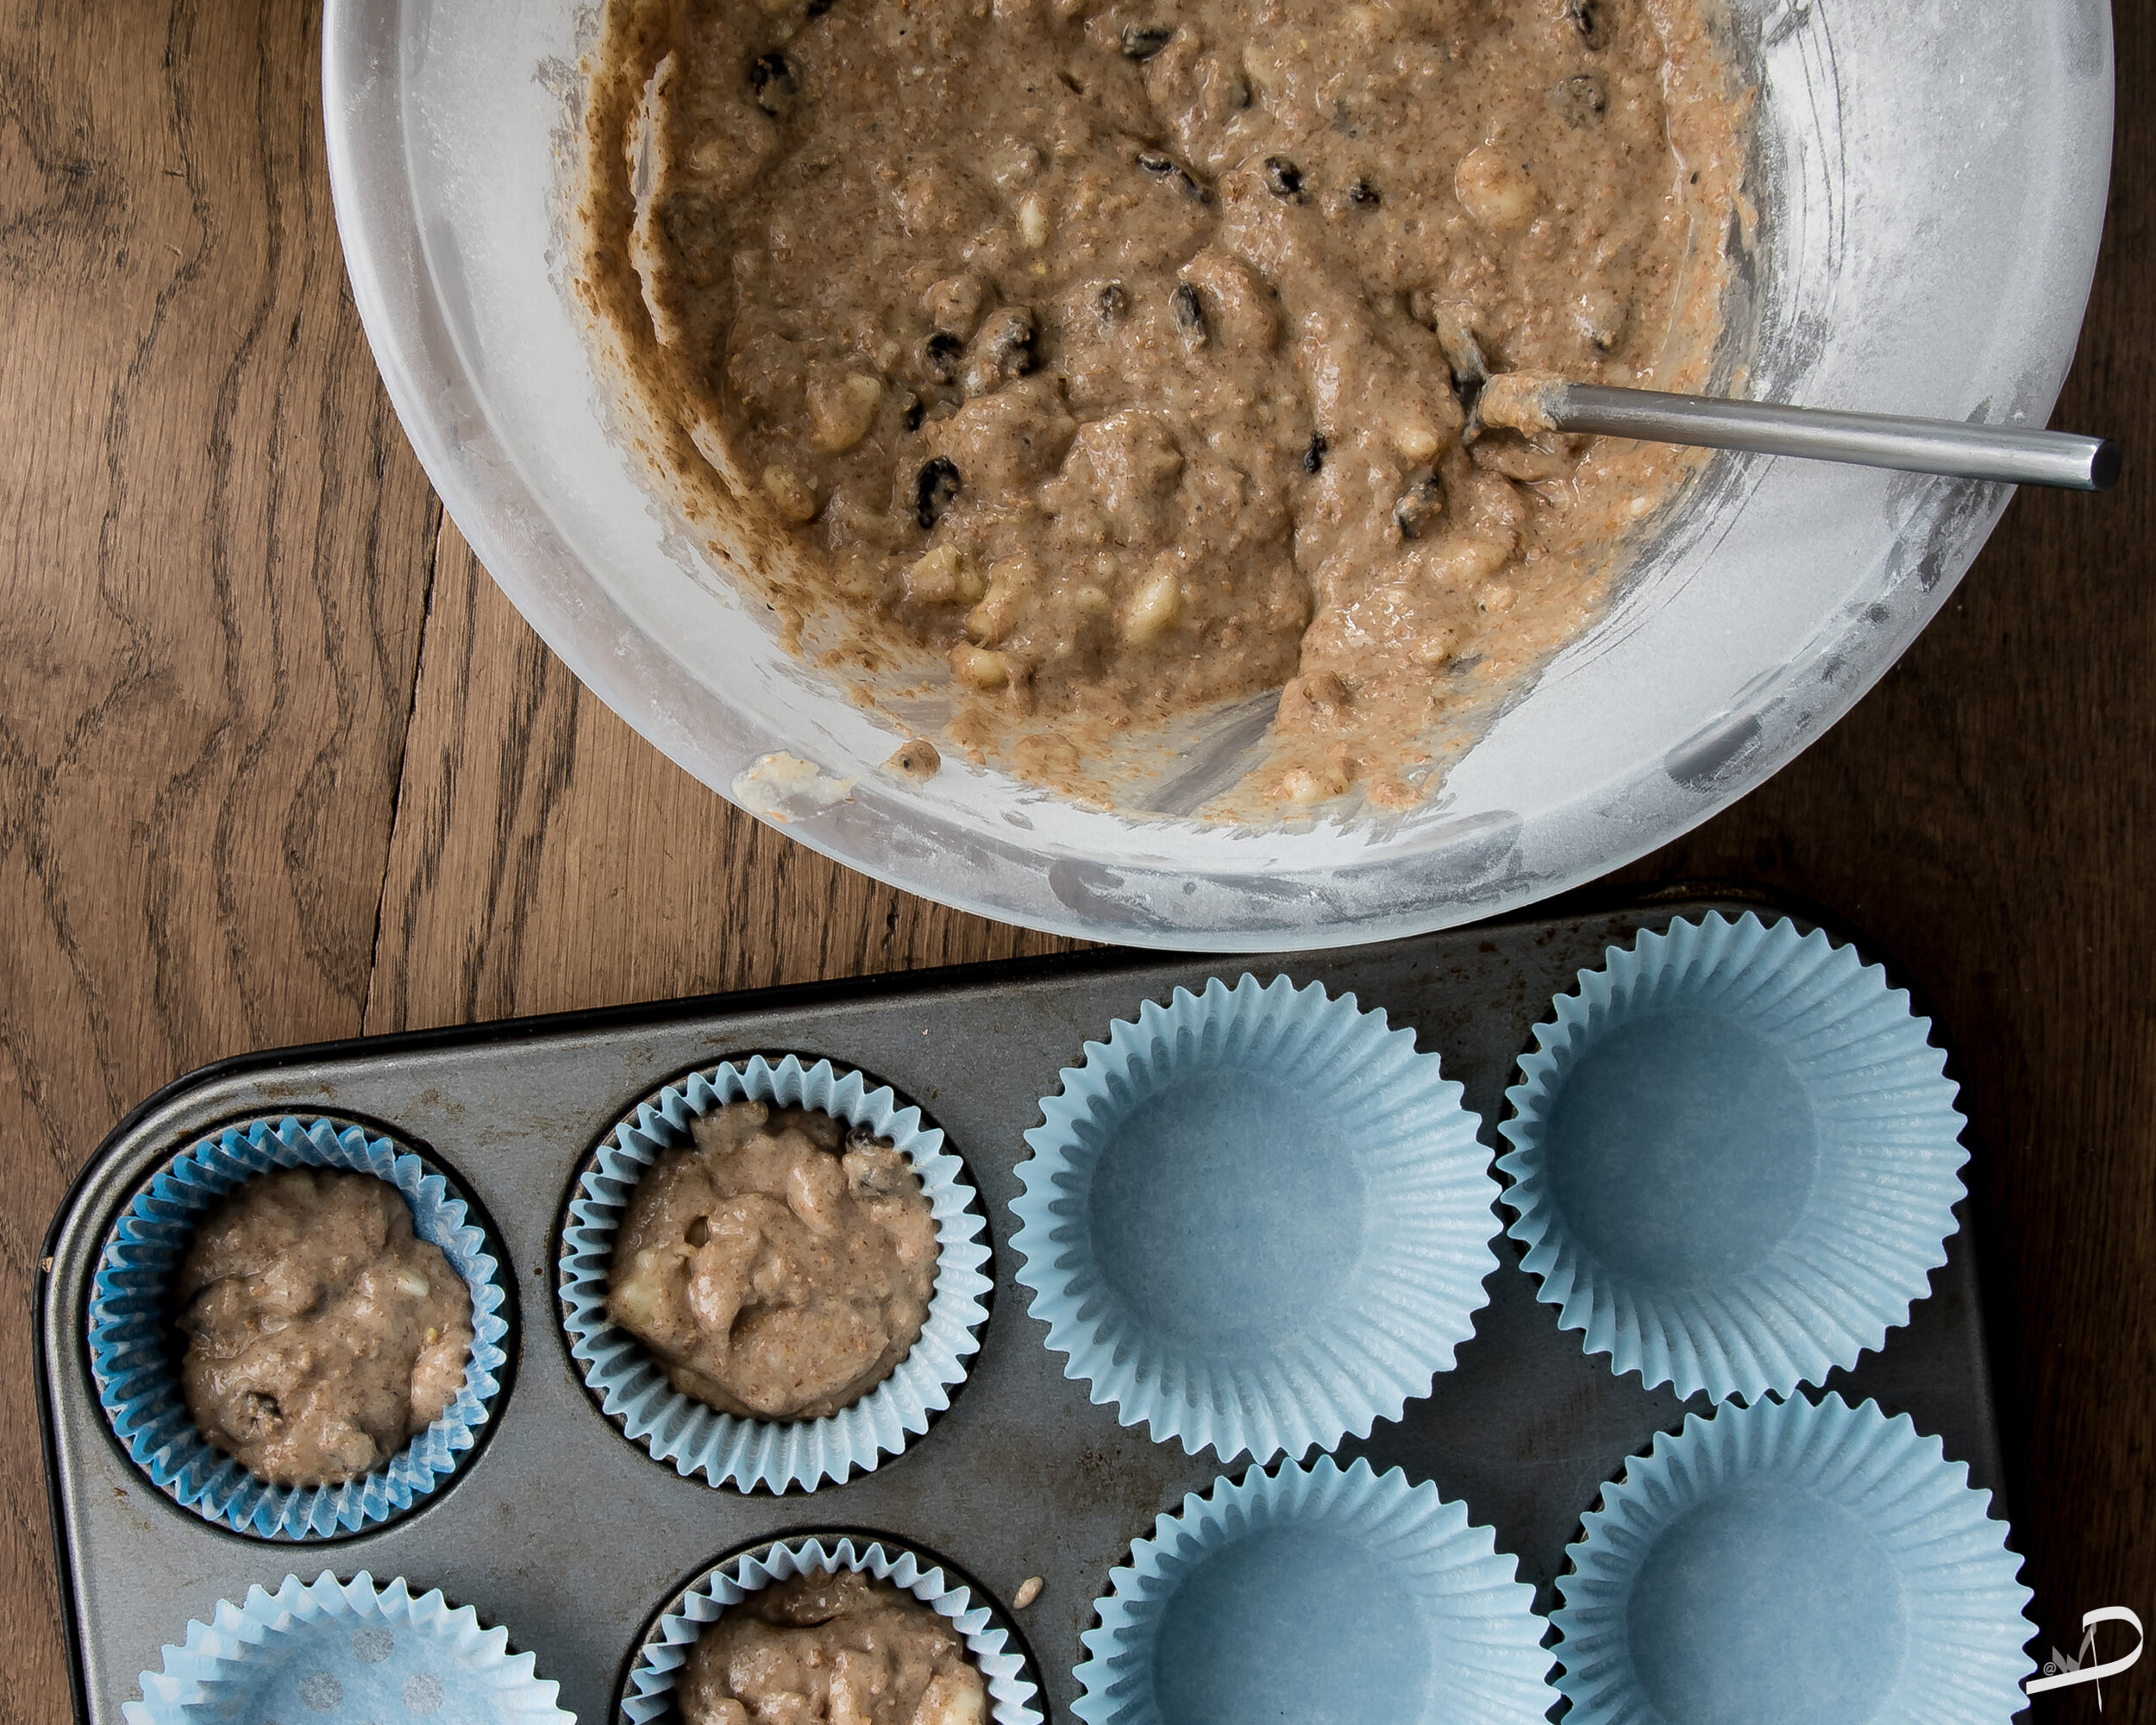
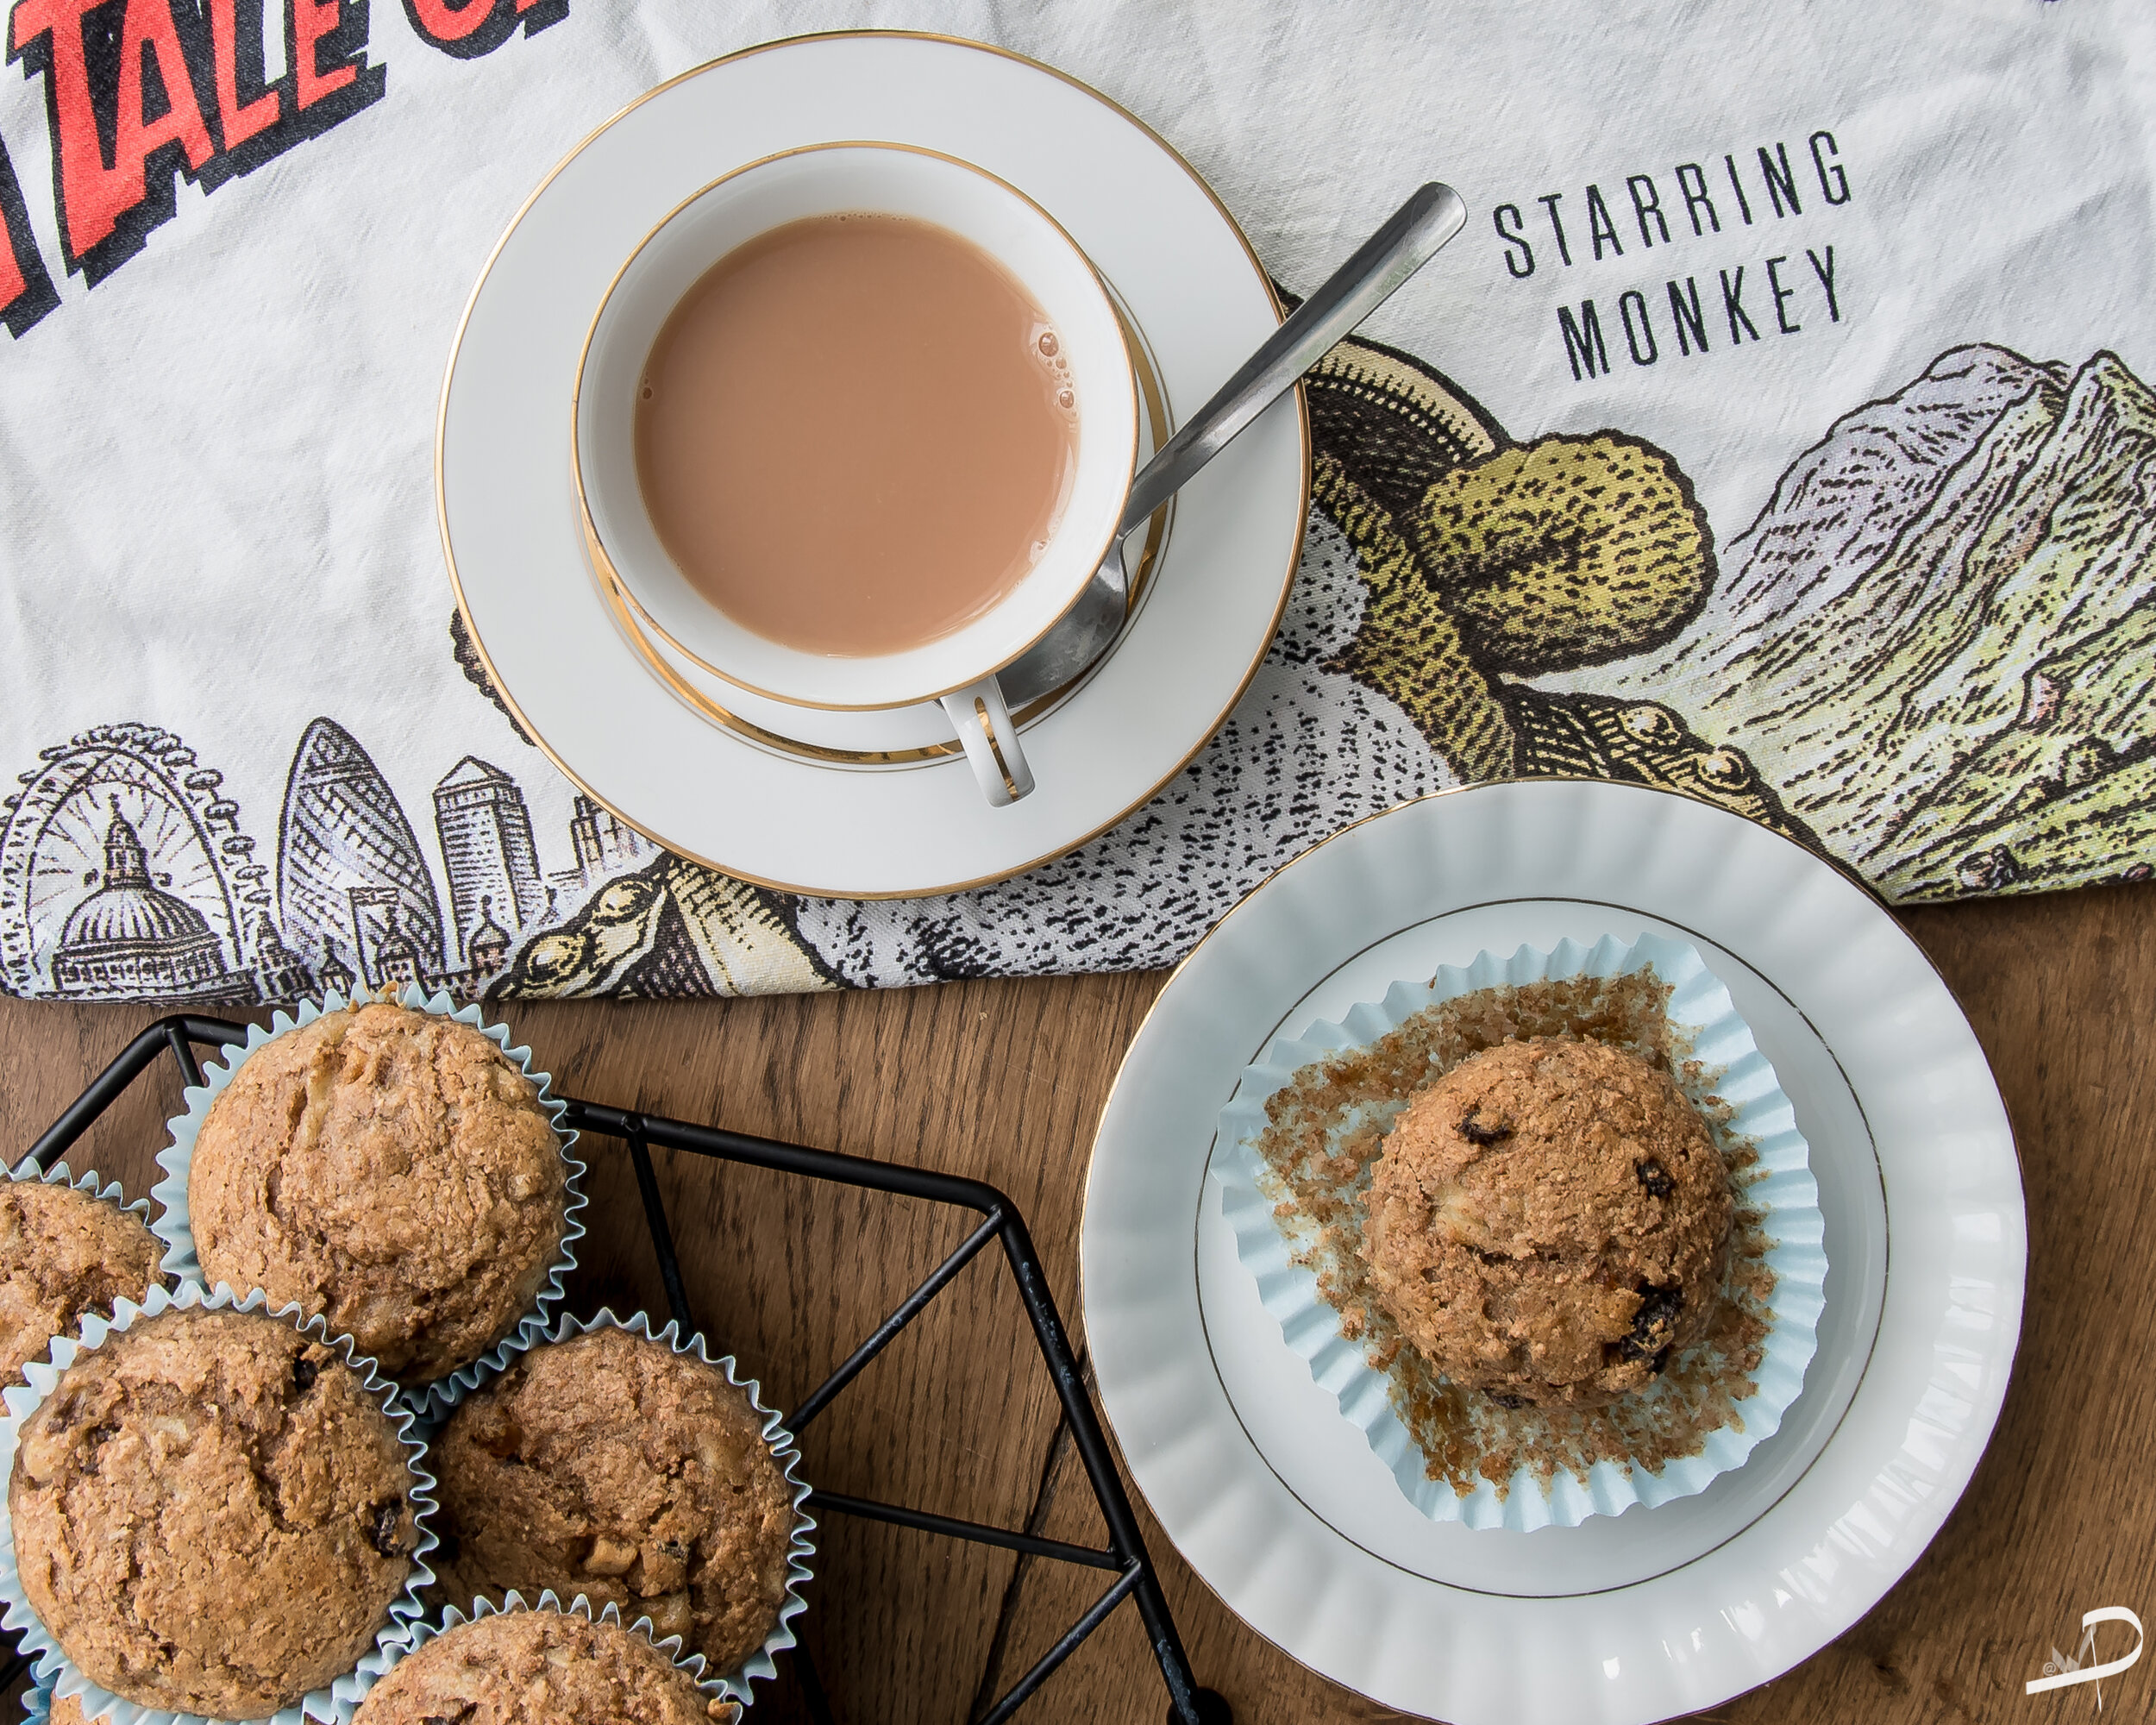
You can photograph a series of images to document the process of cooking or preparing a dish, which forms a food story. An image showing empty dishes tells the story of eating food and shows imperfection in the image.
Here are some examples of documenting a process for making banana bread, which can be used via website details, magazine articles, and social media posts.
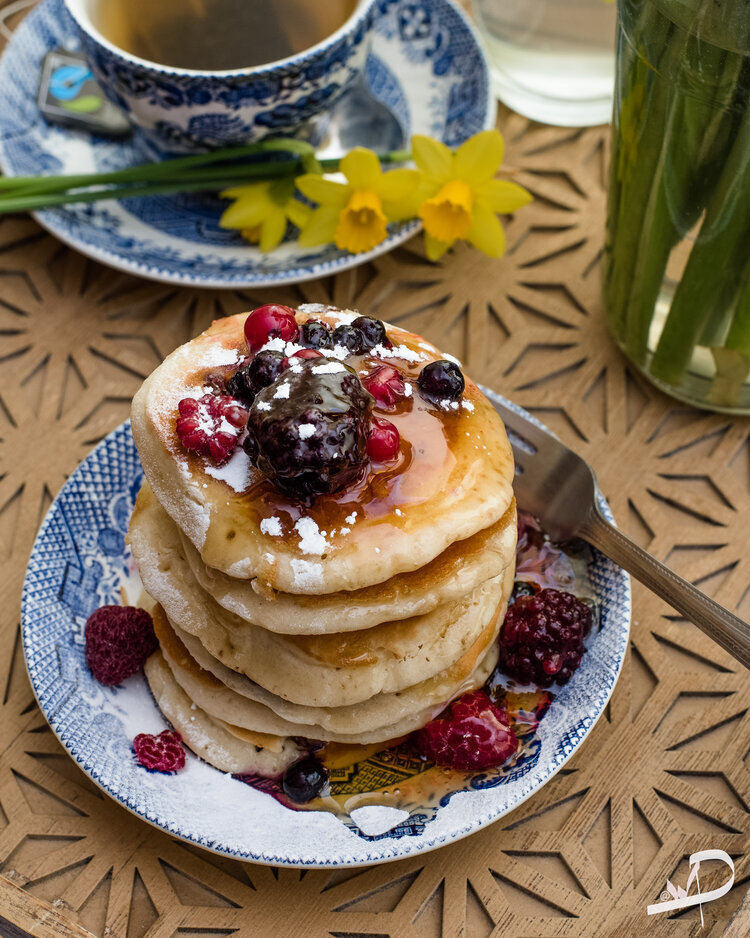
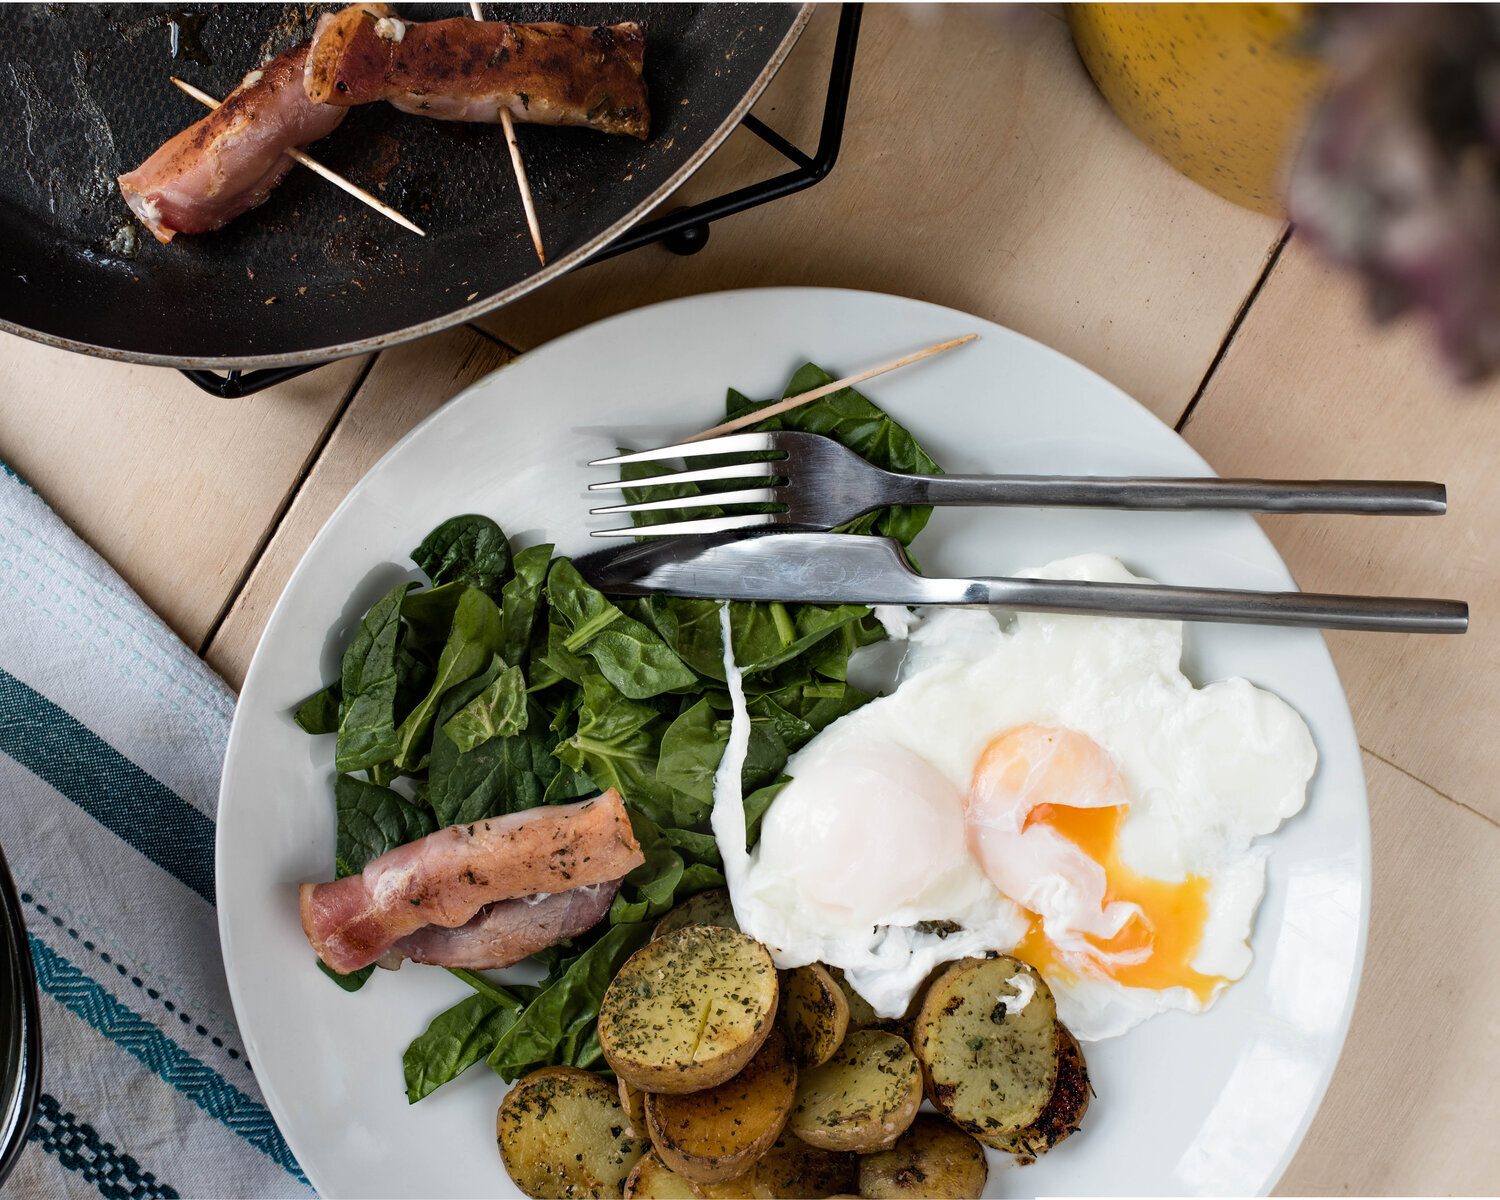
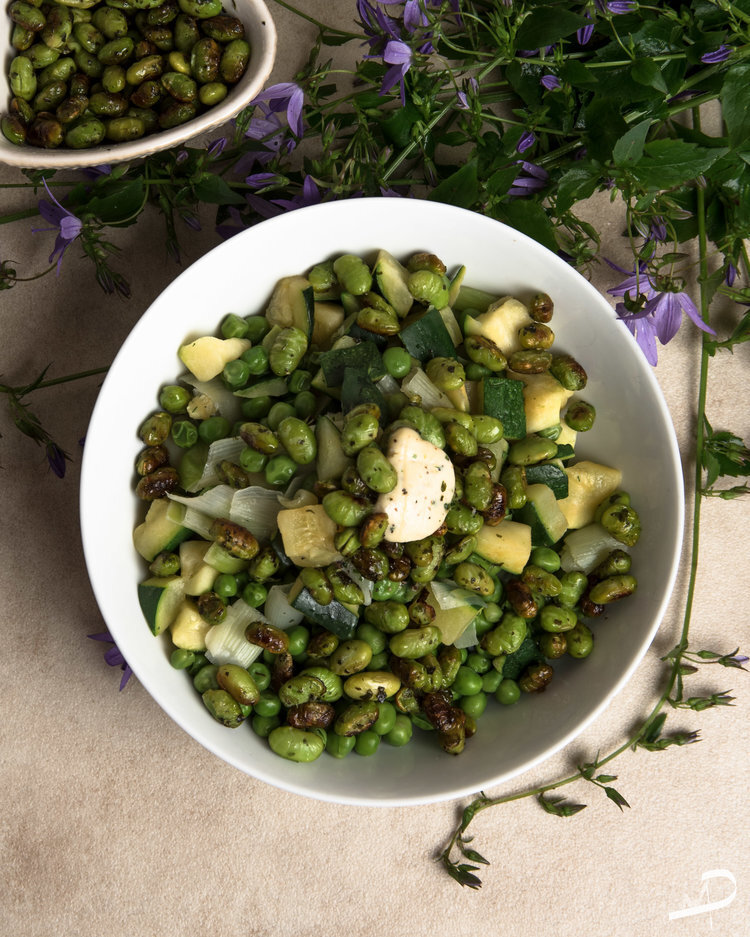
Garnish!
The word Garnish means to decorate or embellish a food dish when you are taking a food photograph.
Using garnish on your food photographs will tell a story and add more content to each photograph. Bare in mind garnish isn’t always herbs sprinkled over a savoury dish, it can be including ingredients for the dish which also adds garnish to the photograph.
Here are some garnish images, where I have either used the ingredients of the dish, sweet garnish, or savoury.
Be Inspired
I have included in be inspired, as I tend to plan for a shoot and look at others’ work for inspiration.
Here are some amazing food photographers that I like:


Invest in some backdrops
When on the location you may need to provide a backdrop if the area isn’t keeping to the theme of the photograph.
If you’re using a DSLR, LEARN MANUAL!!
The best practice is to learn or start using Manual, rather than Auto as you have more control. A manual mode really is a simple practice, but practice will make perfect.
Invest in a good lens!
Most cameras are sold with a kit lens which is good, but shooting food is better with a 50ml lens. If you wish to buy a 50ml lens, then you can either purchase a 1.4 or a 1.8 lens. When researching you will find that a 1.4 lens is more money than a 1.8 and this is because the lens has a wider aperture. These types of lenses are perfect for food photography and portraiture, so worth the money.
Composition- Triangle & colours
One element that really makes your food photographs, pop is the colour of the food and the props. You should always learn about complementary colours and harmonious colours. This means deciding upon set-prop colours to match the colouring of the food dish or to be the opposite colour so that the dish stands out. This type of colour consideration is used in adverts and advertising photography. There is one other element that can improve the quality of a photograph and this is considering the composition you have used the most used composition for food photography is a triangle. This is used when placing objects on the dish so that form a triangle within the frame.
Here are some examples

Example with set lines that show the triangles used to set out the objects


Edit
This is really a bonus that you can add to each image, by simply enhancing the colours and playing with the tones or lighting. I would advise that you edit each image on a set pre-set that you can form yourself within the program Lightroom and use this pre-set per picture. Please do over-edit the images, you need them to look natural
I do hope that this blog has been helpful and that you have learned some new things to consider and use for your own photography. My next blog with being related to tips on taking fitness photographs. If you would like to have more information and learn more, then please give me some blog suggestions in the comments below.

Thank you for reading my blog
If you enjoyed this blog, then please sign up for my regular blog newsletter.