
Difference Between Long Exposure And Day Exposure

Learn all about long/day exposure Photography
This blog will be divided into three areas:
Long/day exposure
Photographic process of taking daylight long exposed picture
the editing process for adding the long exposure effect to a picture with Photoshop
LONG DAY EXPOSURE
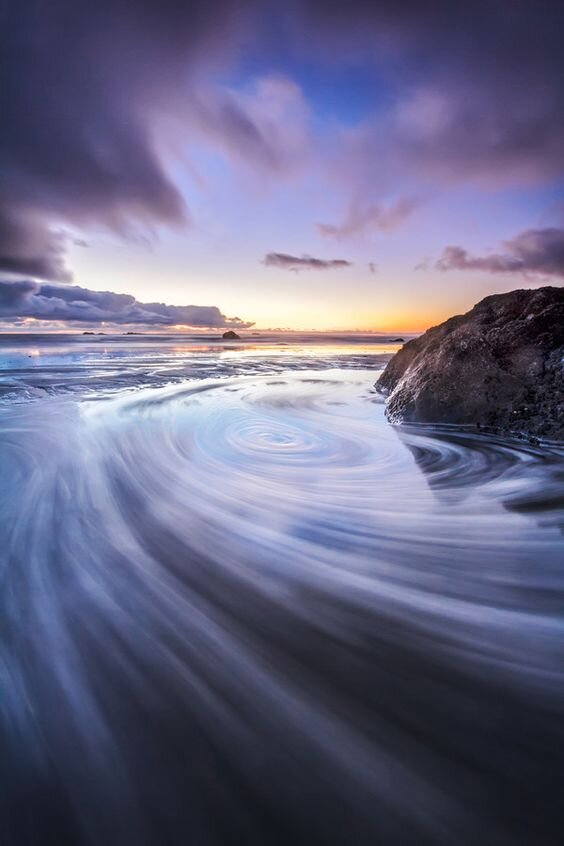
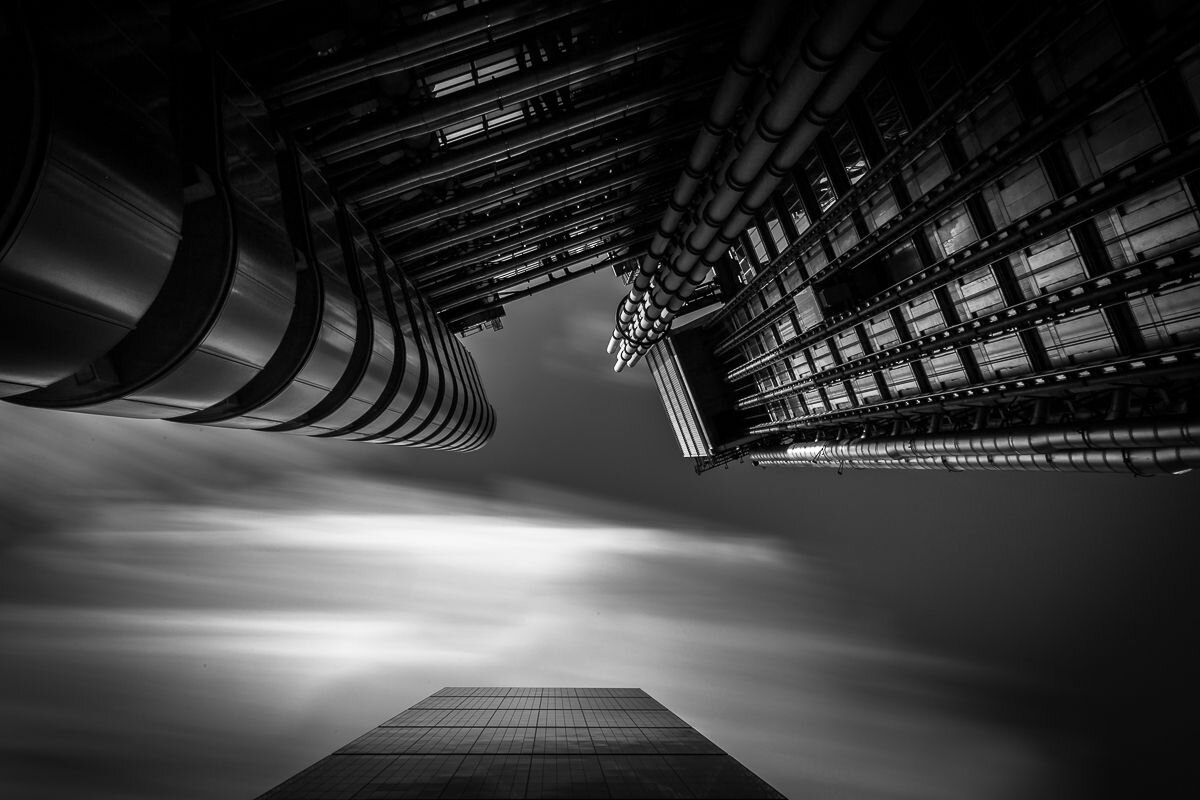
Long-exposure photography captures time passing within a frame. With this technique, you can create a world we don’t usually see. Clouds smear, water turns to glass, and crowds disappear.
Tools you will need:
Camera is in manual mode
Tripod
Neutral Density Filter (Advantage)
Remote shutter release (optional).
2. Photographic process of taking a long exposed daylight picture
Using this method, street photographs can capture moody landscapes and atmospheres. The most effective way to think about long exposures is to capture natural movement in a picture.
You can take long exposure shots of water, the sky, people, architecture & animals
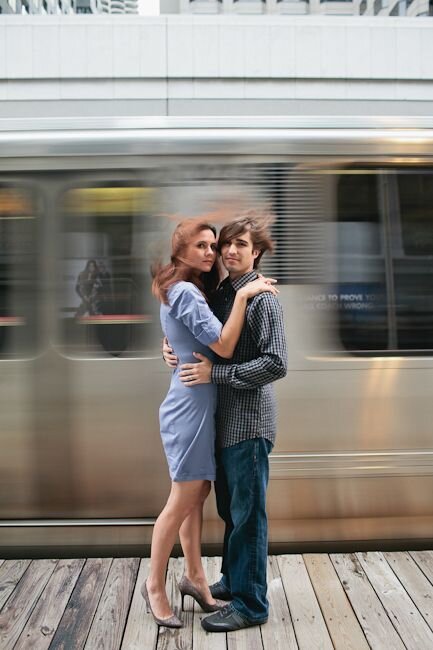
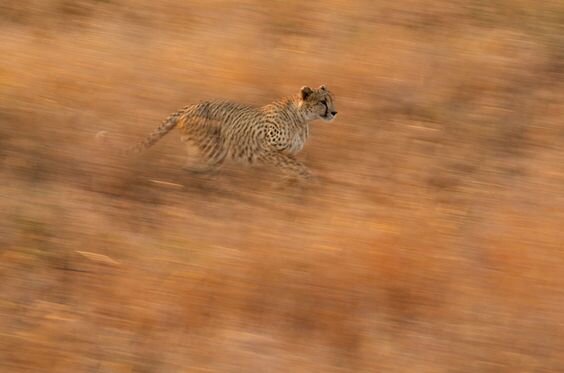
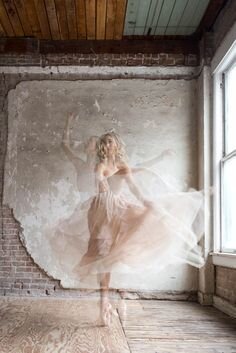
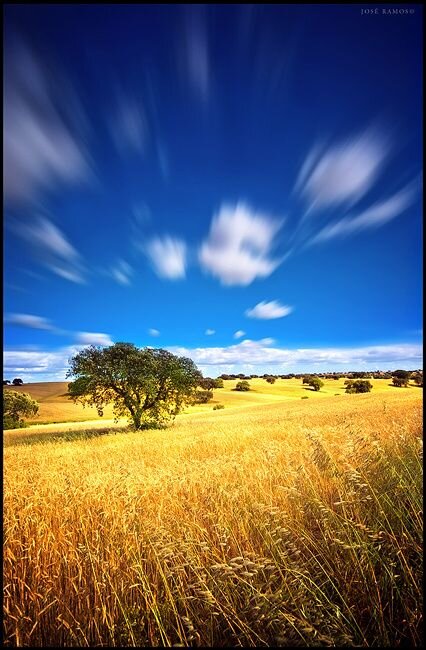
Here are some Pinterest examples of long-exposure pictures.
Have you heard of?
Neutral Density Filter - This is one tool photographers use to create smooth motion in blurred motion, sky, or water in a scene. An ND filter is like sunglasses for your camera. It will cut out a specific amount of light (measured in stops) so that you can use a slower shutter speed in brighter conditions. ND filters come in various strengths. I like to keep a 3-stop, 6-stop, 10-stop, and even 15-stop in the camera bag.
HOW DO YOU TAKE A LONG DAYLIGHT SHOOT?
These are the steps to take your own long-exposed picture
As you wish to capture movement, I would suggest researching locations and the type of movement you will capture.
Check the exposure before attaching the filter. Remember that once the filter is attached, the image will look darker, and you will need to amend the settings
Put on Your Filter and try out the different filter strengths, but I suggest the 10ND filter.
Set the exposure. The number of each filter is linked to the stops you need to change the speed to. Here is how to calculate this, and you can use an exposure app to help with this.
Manually count the stops as you turn the dial to change the shutter speed. To get 10 stops, you'll need 30 clicks.
Multiply your original shutter speed by 1000. Example: 1/100 * 1000 = 10 seconds.
Use a remote shutter release or set the timer for each exposure
Take a shot
EXTRA - Experiment with Exposure Settings & multiple exposures to see which one looks best. The next step could be to practice bracketing your exposure.
You can take these types of images without a filter if you wish. You can also follow the next instructions, take multiple photos, and use Photoshop to create your own long-exposure picture.
3. Add a long exposure effect to a picture with Photoshop.
If you wish to fake long exposure in a photograph, the most appropriate type of picture to use for this process are images of water flowing or a sky view. Remember that long exposure during the day is meant to create motion in the water or sky in a picture. Long exposure can also show a busy street and create a ghostly effect in a street photograph.
Here is an excellent YouTube video on how to add a long exposure effect to a picture in Photoshop.
This technique is something you may use for your own camera processes. The next blog will be about this technique - Panning Fixed Subjects

If You Would Like To Have More Information And Learn More, Please Give Me Some Blog Suggestions In The Comments Below

Thank You For Reading My Blog
IF YOU ENJOYED THIS BLOG, PLEASE SIGN UP FOR MY REGULAR BLOG NEWSLETTER.
Please leave any comments or subject suggestions that you would wish for me to cover on the subject of Photography.
Thank you for reading.