
The Brenzier Method and How To Get The Look

Learn all about the Brenzier Method
This blog will be divided into two areas:
What is the Brenzier Method
How do you take a Brenzier Method picture?
How to edit an image to look like the Brenzier Method
What is the Brenzier Method
The Brenizer Method is named after wedding photographer, Ryan Brenizer. He invented the method (but didn’t name it) and made it popular by using it with his wedding clients, and teaching others how to do it as well.
The Brenizer Method, sometimes referred to as Bokeh Panorama or Bokehrama, is a photographic technique characterized by the creation of a digital image exhibiting a shallow depth of field in tandem with a wide angle of view.
The pros of using this technique are:
Very high resolution
Very shallow depth of field (it equates to using a lens that has an f-stop less than 1)
Great bokeh
2. How do you take a Brenzier Method picture
Have you heard about this technique before?
This technique is a process that looks like each picture has been taken with a medium format camera. one very important aspect of this technique is to be able to form a wide-angle image with a wide aperture.
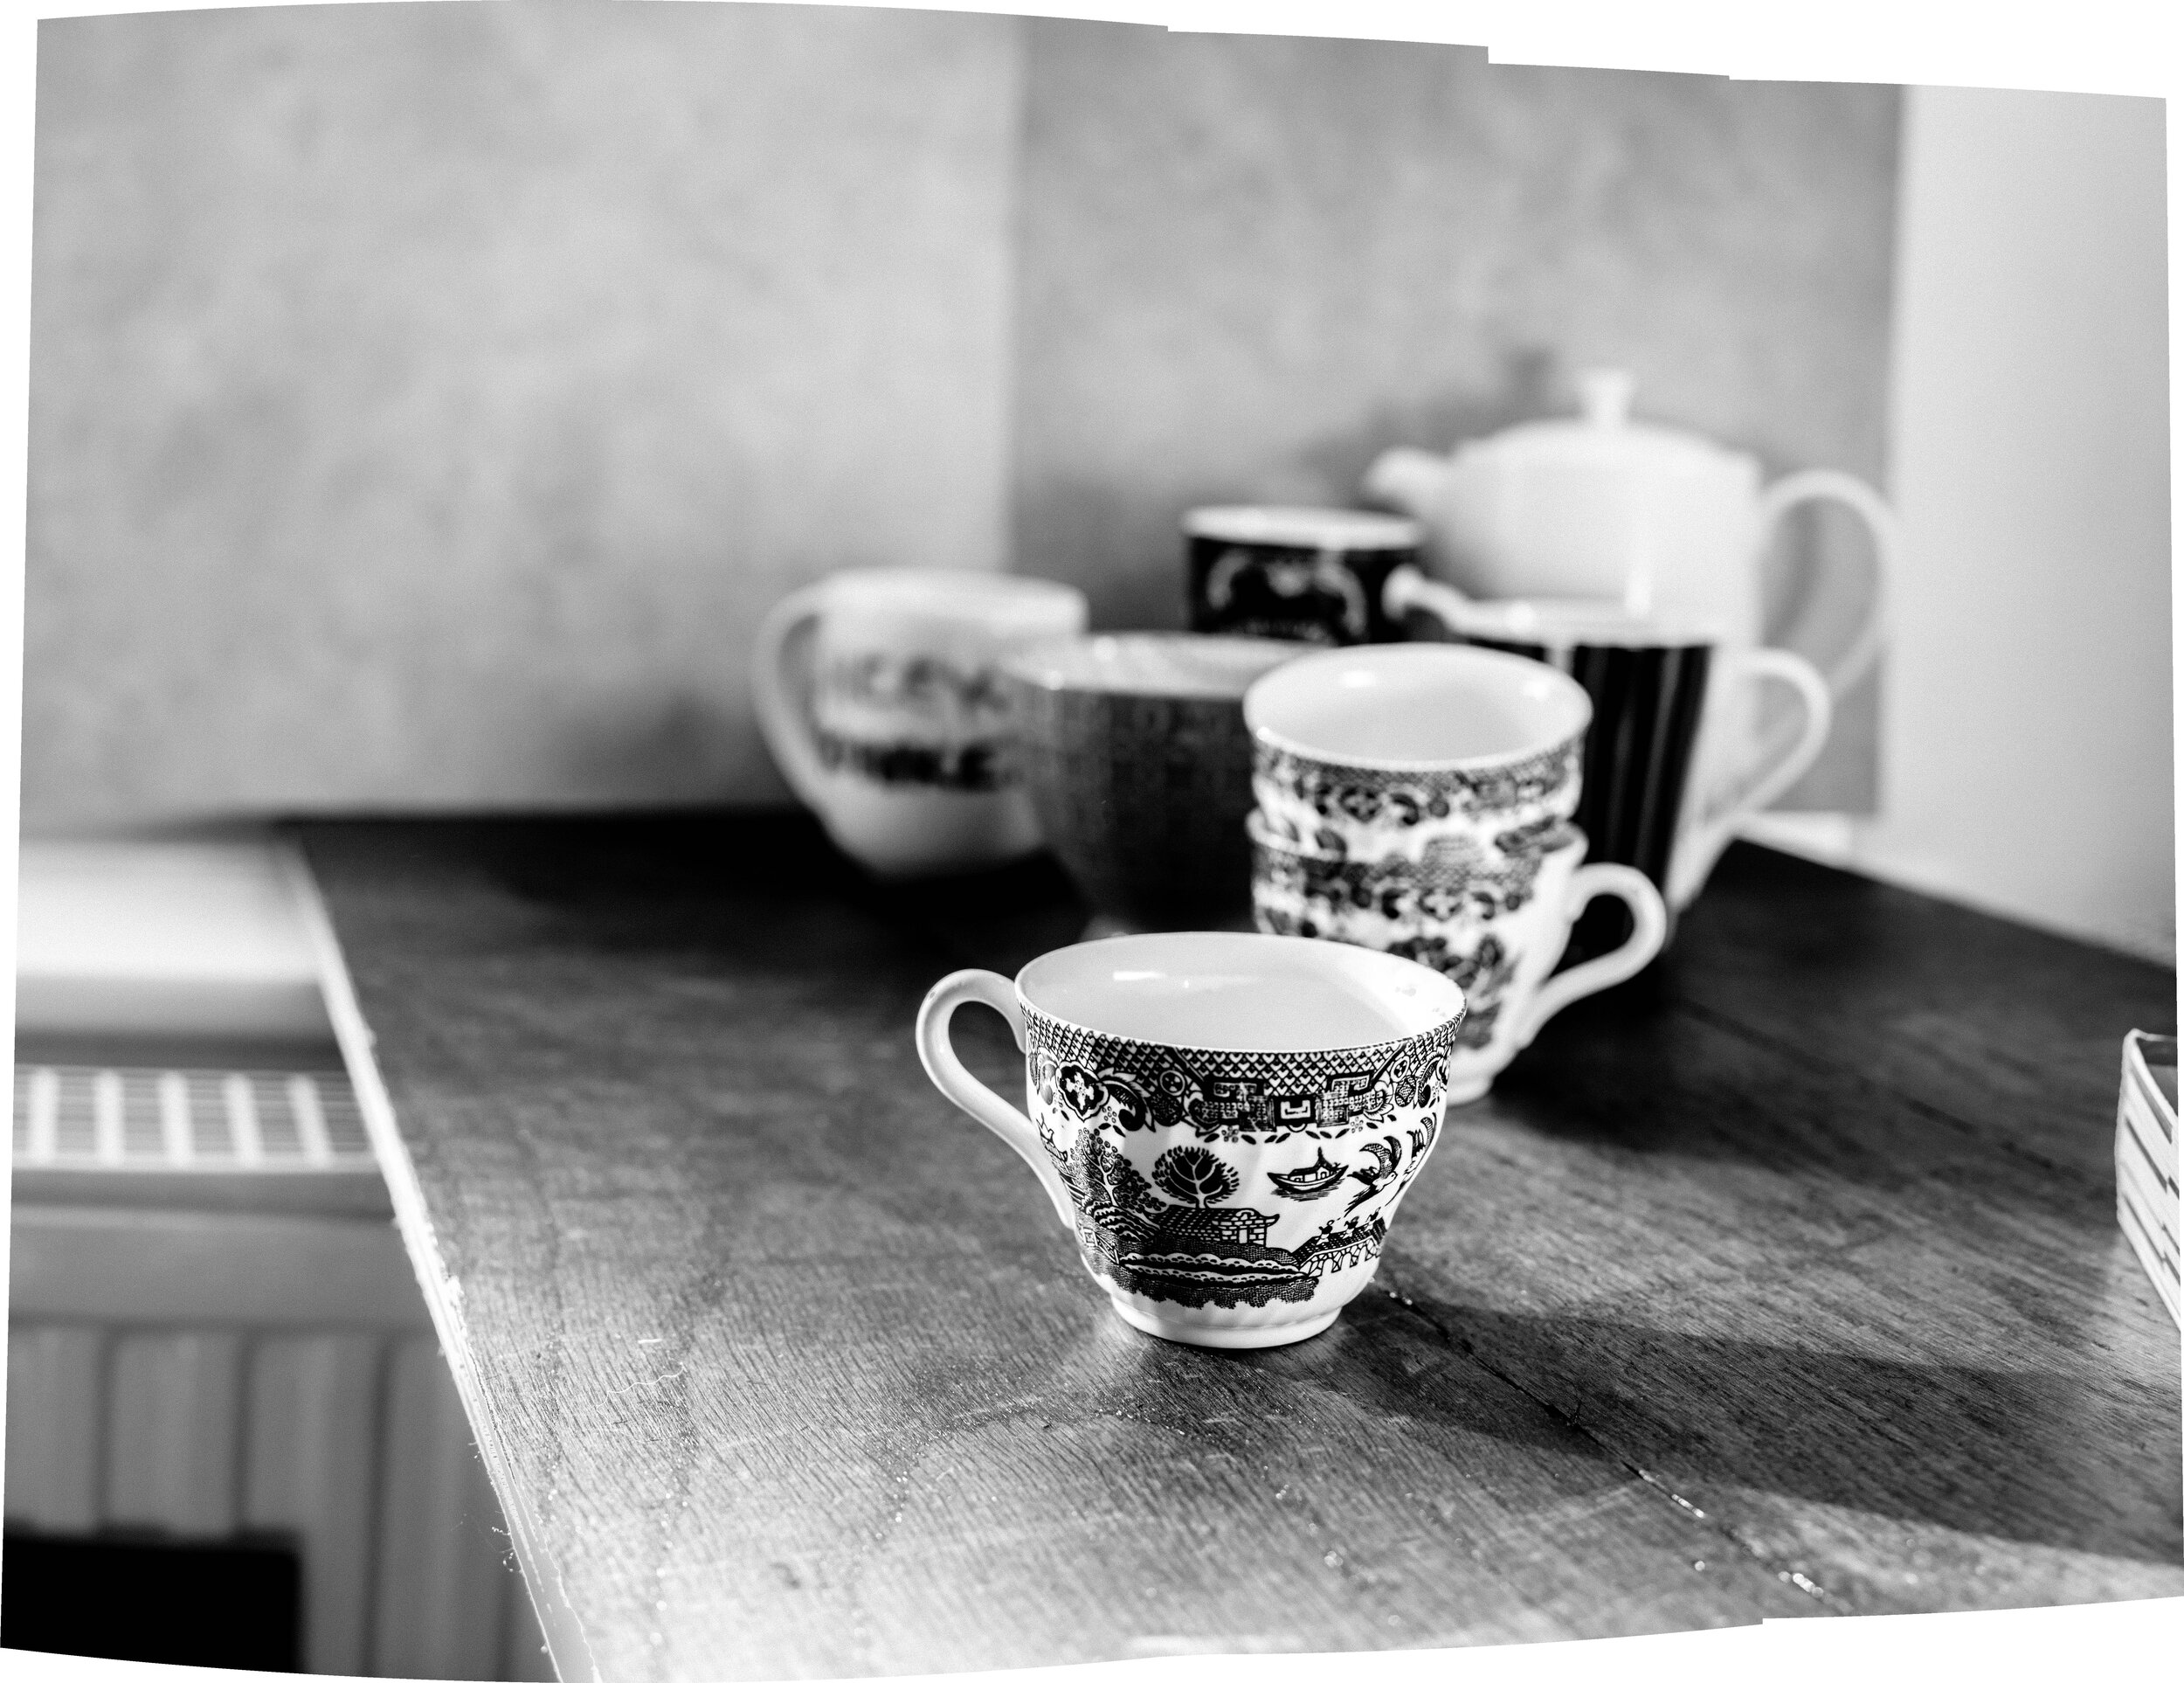
Take a look at this model example of this process.
This process can be used for a range of photographic genre and these are:
people or products
The process of taking a picture:
Have your camera are a wide aperture so that you have an item or a set focus point with evidence of the depth of field.
Shoot in Aperture Priority or Manual, but make sure each photo is correctly exposed
to prevent your focus from changing shoot these images with a fixed focal length lens (prime lens)
Focus is very important for this process, you will need to focus on your focal point of pr picture. you can use autofocus to do this and once you have turned the camera to manual.
Use a tripod to help keep the camera at the same level and position as you take each shot or shot handheld with a shutter speed of 1/60 sec plus.
The next part of this process can be completed how you wish as long as you take a series of images. I would suggest that you plan the images that you plan on taking to form one final image.
shoot from left, moving along the scene
Shoot in rows from left to right (like reading a book)
Quick tip - Will it looks best as a vertical, horizontal, square, or panorama?
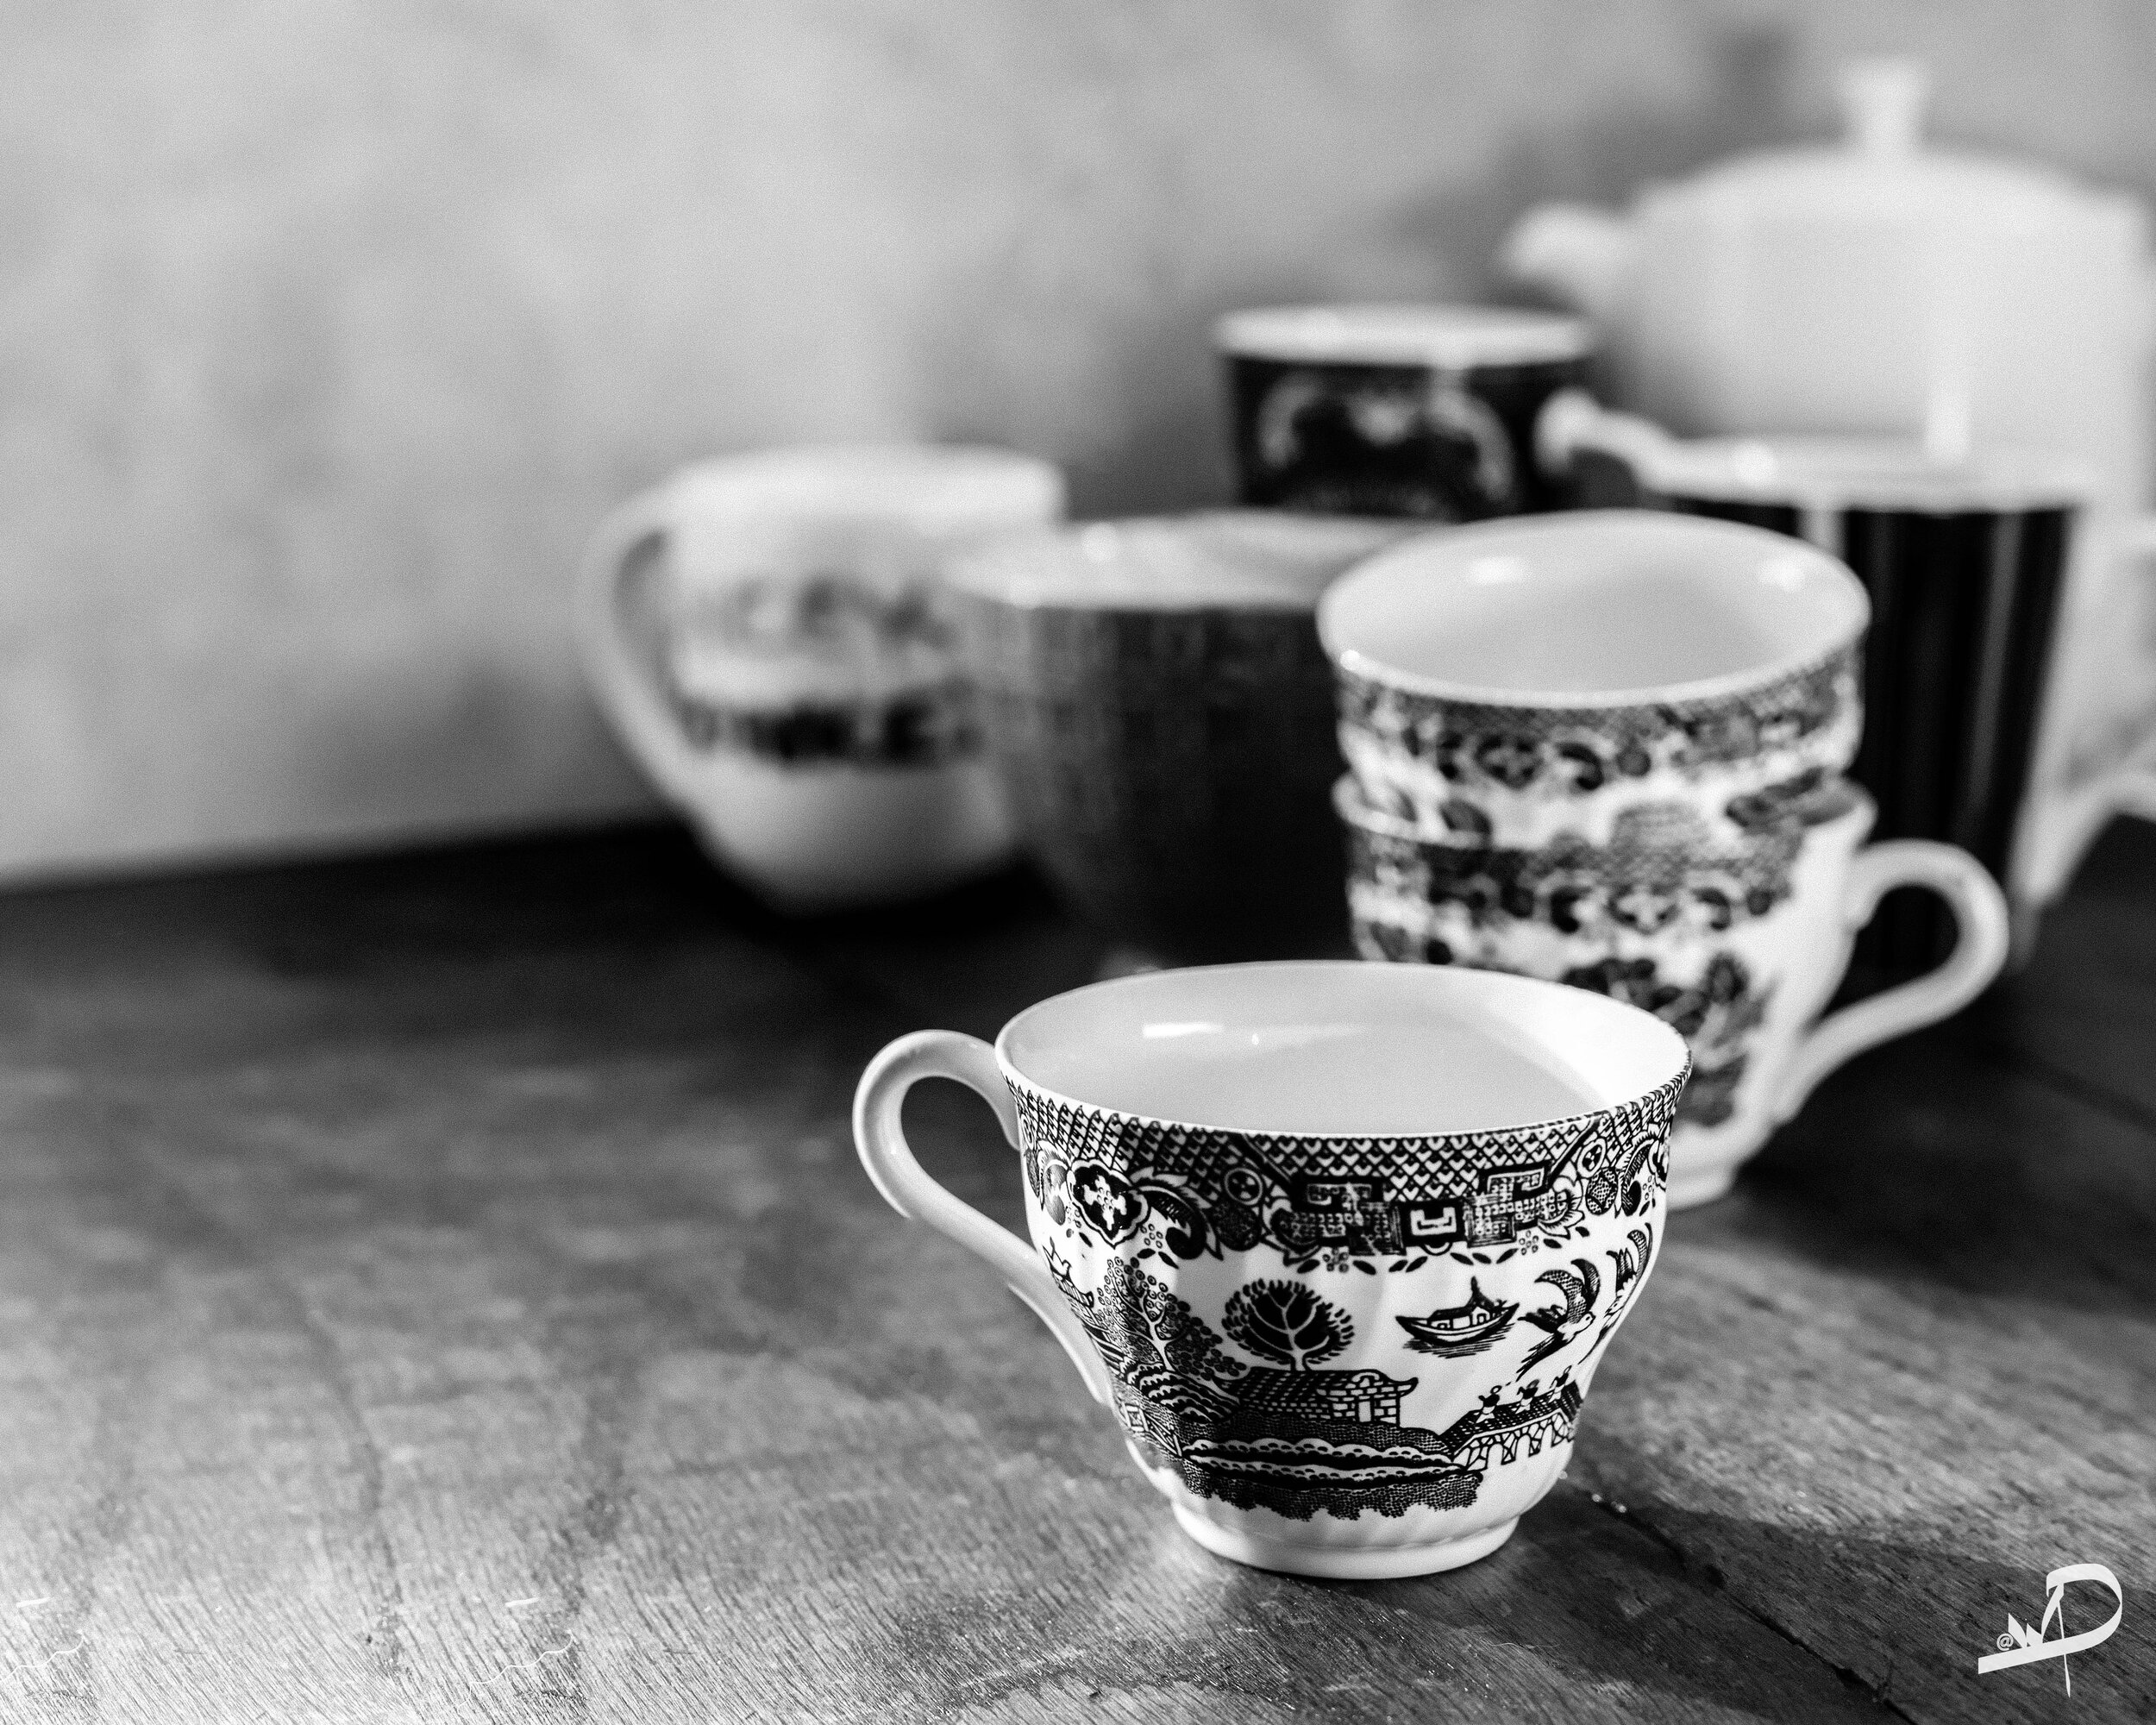
These images were taken from right to left and I have placed them in order from the right, which I have used to form the final image below via photoshop.
you can see that the front teacup was my focus point and the depth of field is evident in each photograph.

IMAGE 4
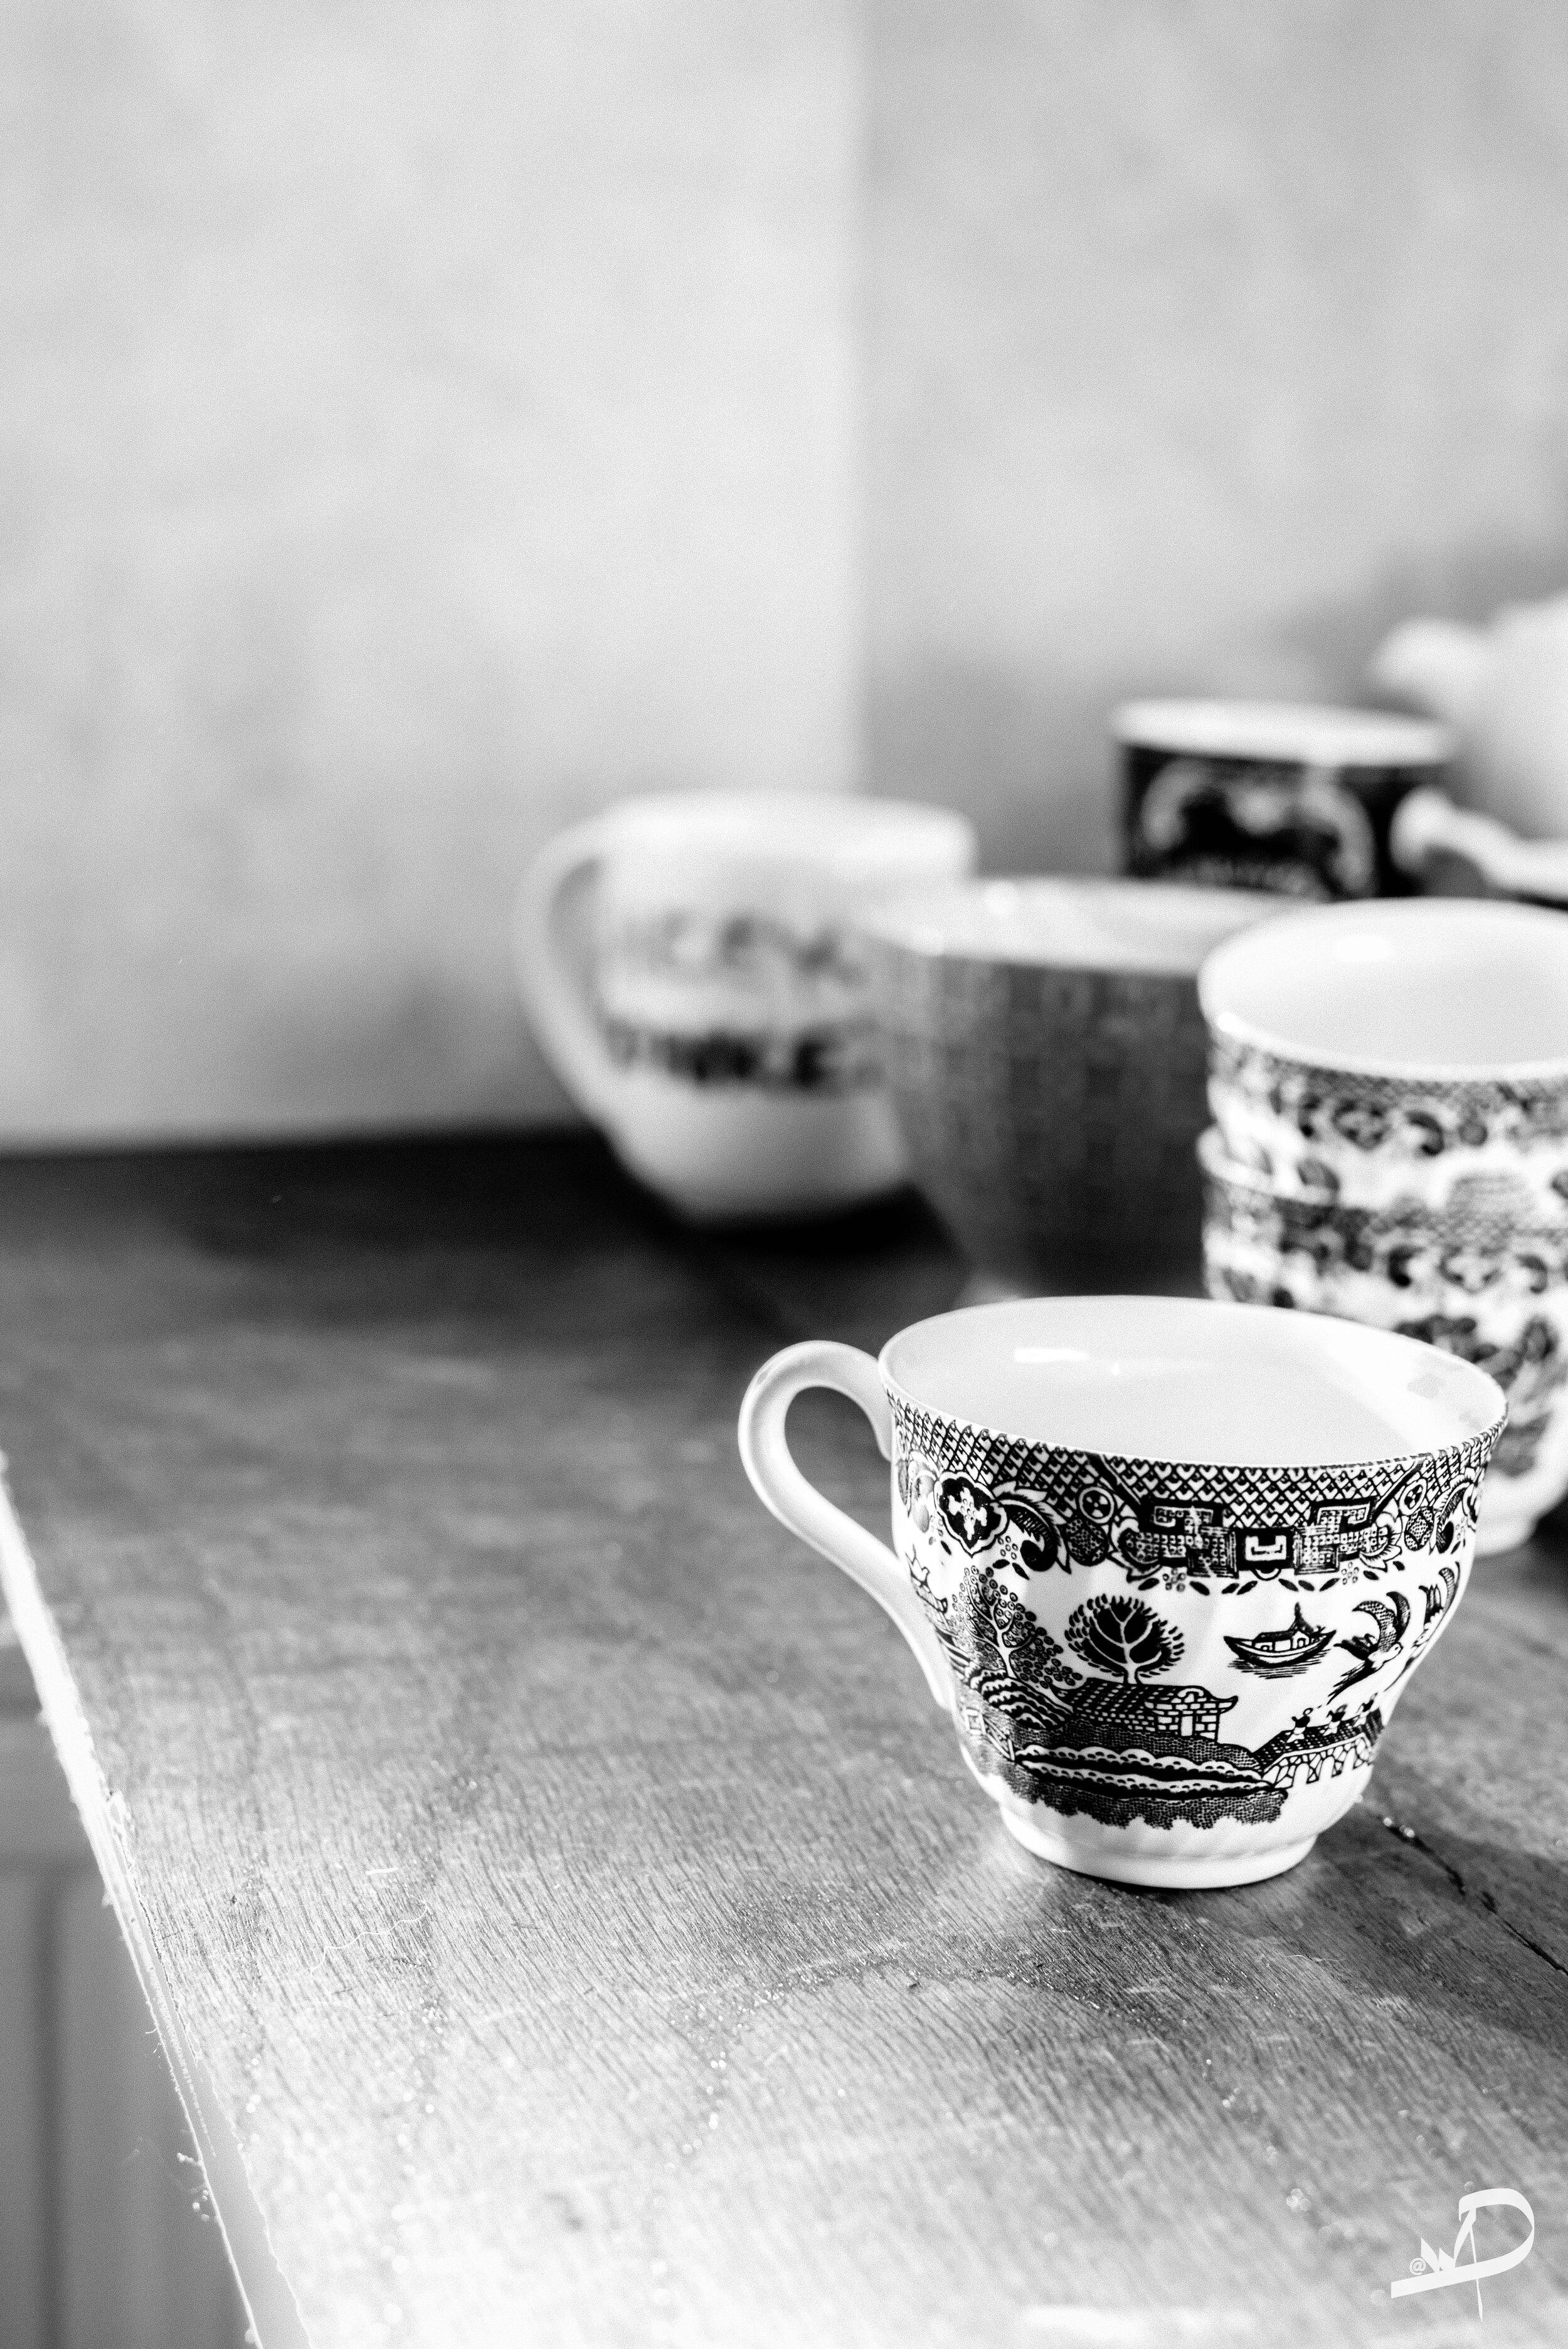
IMAGE 3
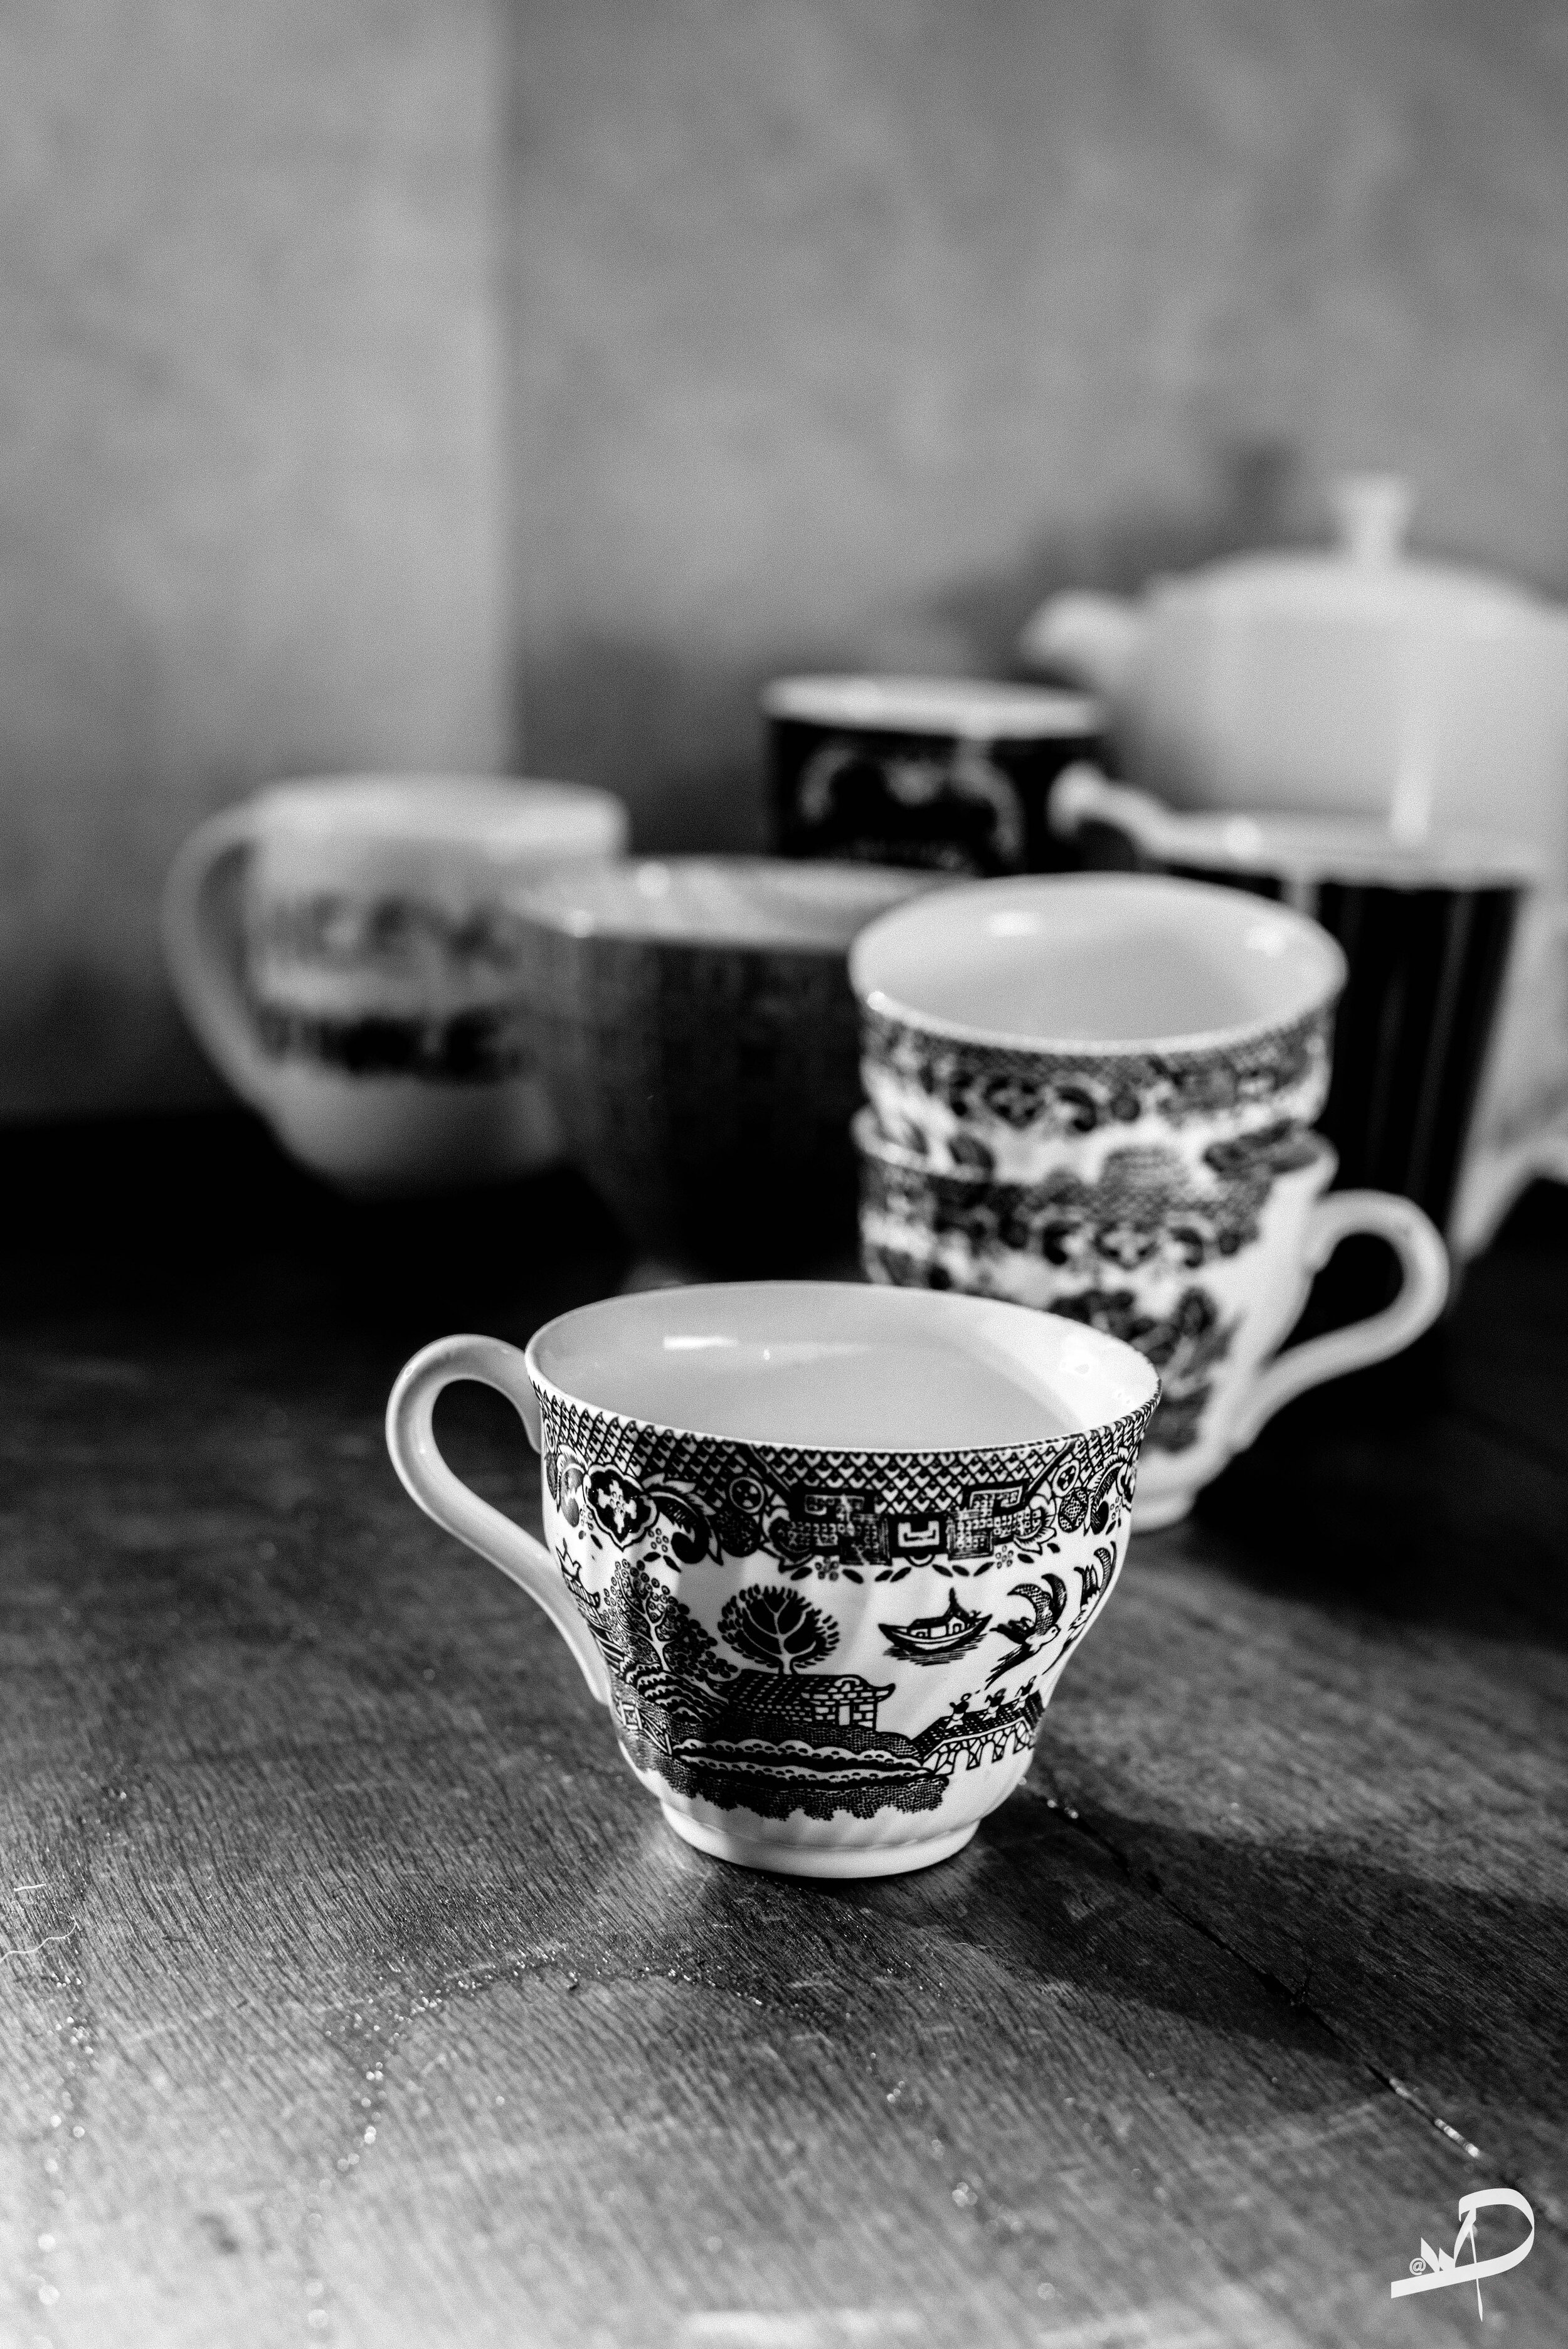
IMAGE 2

IMAGE 1
The final image after the editing process and to form this photography method will be formed within Photoshop, follow the step-by-step below.
How to edit an image to look like the Brenzier Method
To form your final images you will require an editing program
If you take a series of images within a line from either left to right you can form this type of image with both Photoshop & Lightroom
LIGHTROOM PROCESS
WITHOUT CROP

Step-by-step
select the images that will be used to form the final picture
Click upon the Photo tab
Then select photo merge & panoramic
The program will bring up a new display, you will need to have these sections highlighted: Spherical & Boundary warp at 0
To have the program crop the image for you then click upon Auto crop
Press merge and your picture have been formed.
PHOTOSHOP PROCESS
Here is the step-by-step
open all files into layers of one file in Photoshop
Click the File tab, select Scripts & click on load files into stack
A new display will appear, find and select all files and click upon ‘OK’
Photoshop will open each file as a layer into one document
Click on edit and use auto-align with all layers highlighted
Click on edit and use Auto blend layers
Once each of these processes has been completed you will need to crop the image and enhance the colours or tone

I do hope that this technique is something you may wish to use for your own creative processes. The next blog will be all about this technique - Lightbox Photography.
These can be seen as two forms of photography:
using a lightbox as a lighting setup
Using translucent objects set up onto a lightbox.

Example for 1

Example for 2

Thank You For Reading My Blog
If You Enjoyed This Blog, Then Please Sign Up For My Regular Blog Newsletter.
Please leave any comments or subject suggestions that you would wish for me to cover on the subject of Photography.
Thank you for reading.