How to prepare your space for an interior or furniture photoshoot
Booking a photographer for your space can feel like a big job. What needs tidying? Does everything need to be perfect? What if the light is dull on the day?
Let's take the worry out of it. Interior and furniture photography doesn't need jargon or a perfect space, just a bit of preparation. Here's what I've learned from recent shoots, and a simple checklist to help your space look its best.
What I saw on recent shoots, and what made them work
Two recent jobs showed me how much preparation matters.
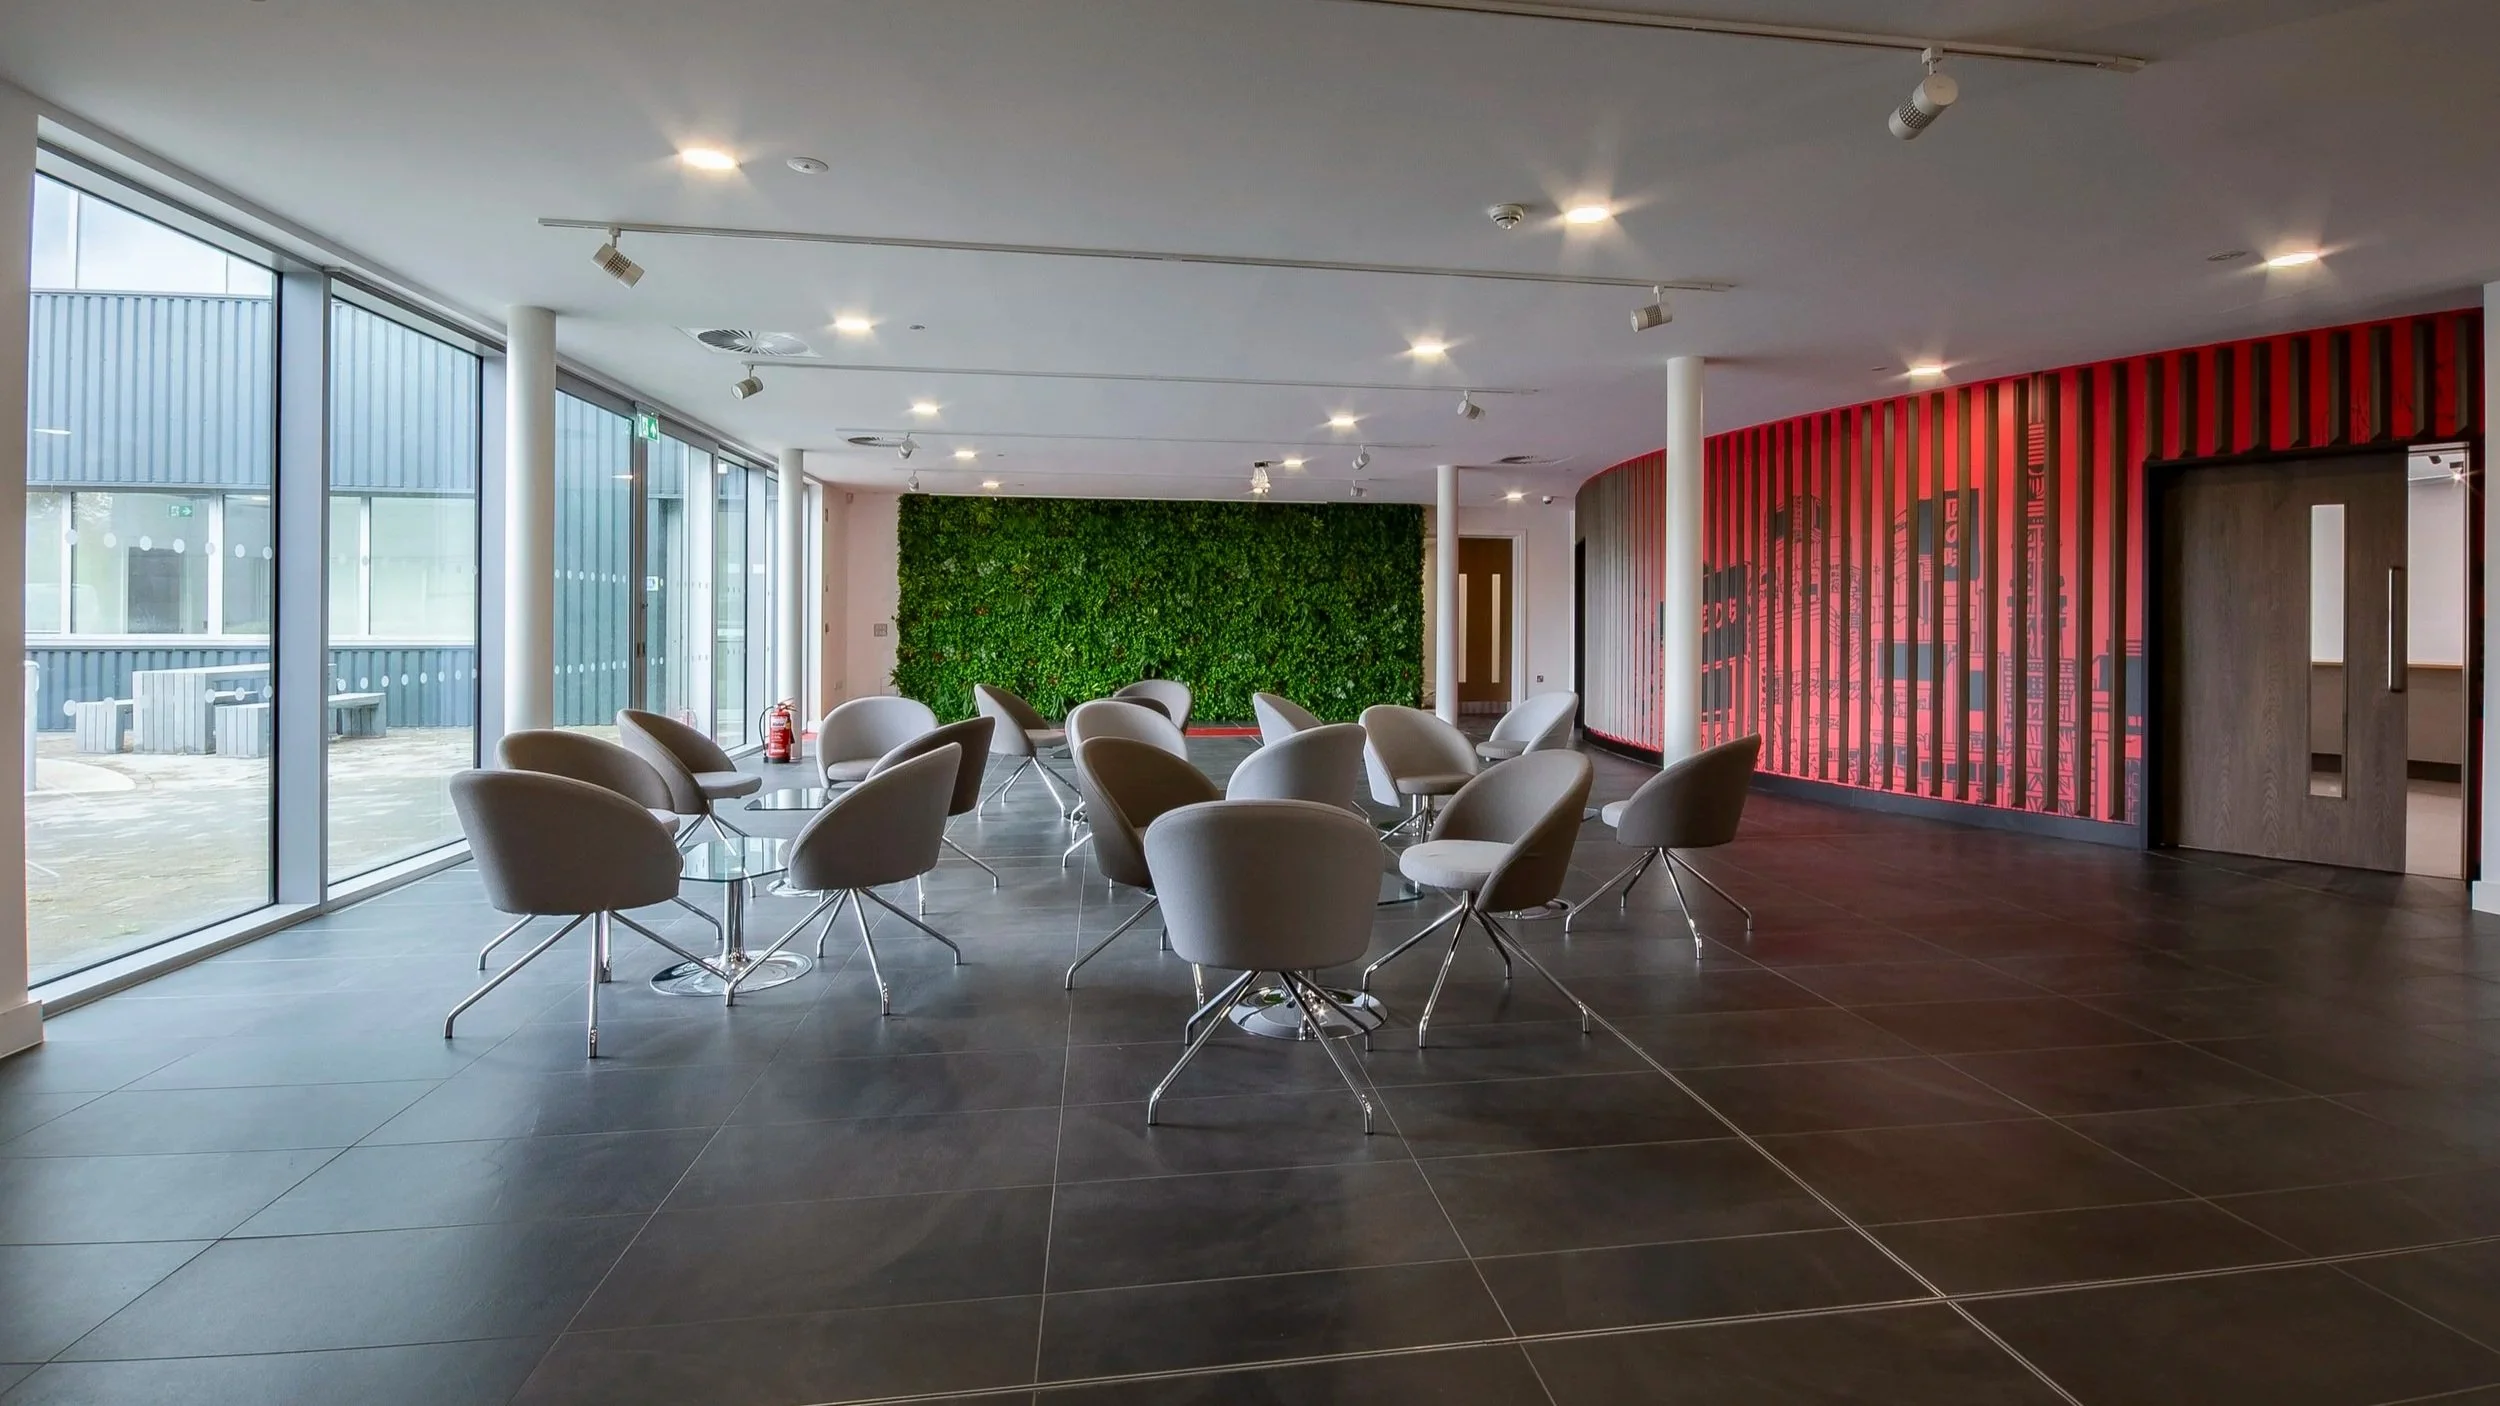
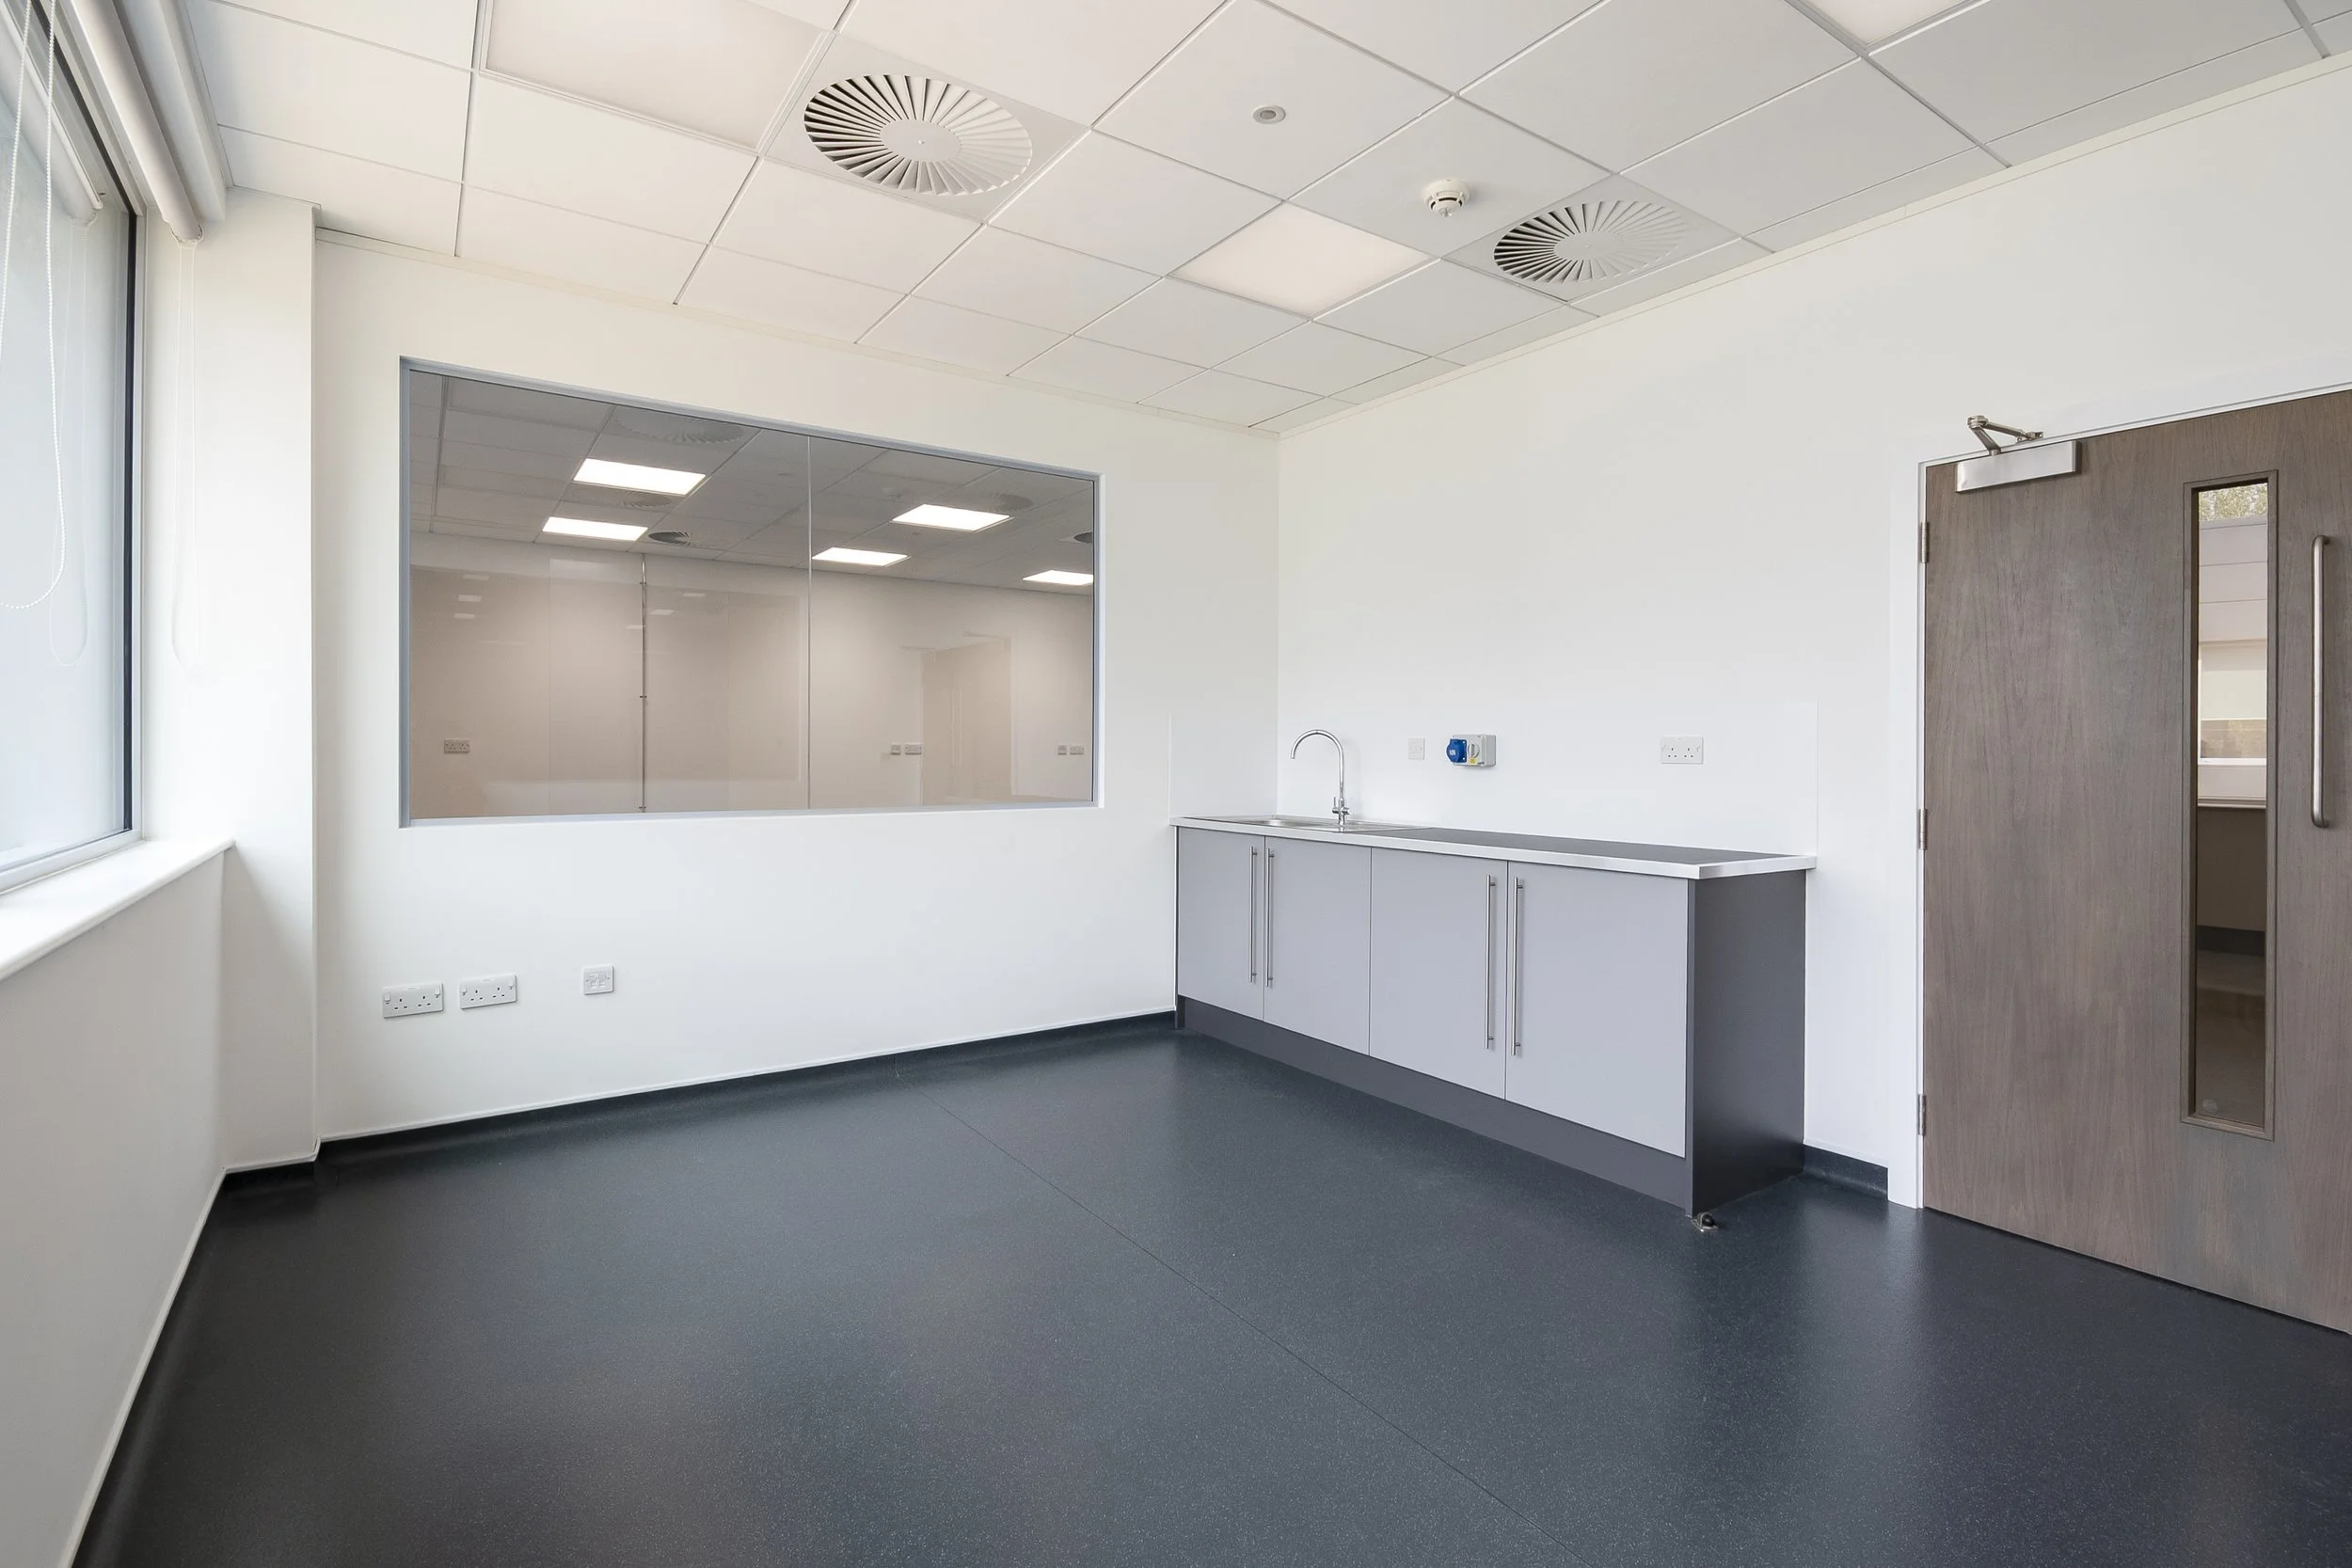
The first was an interior shoot for Meridian, photographing a refurbished factory, reception and working rooms. It was a live site, so I shot it over three visits, photographing each area once it had been cleaned and was ready. Planning that around the working day meant every space was photographed at its best, rather than rushed or half-finished.
The second was a furniture shoot at a college sports centre in Milton Keynes, for a freelance client. We photographed the pieces in the real space, then added close-ups of the textures and finishes. The result was a full set of images, each doing a different job.
The lesson in both cases: a little planning beforehand makes the day smoother and the pictures better.
Before the day: four simple steps
Declutter. Clear surfaces, remove stray cables and put away anything personal or temporary, like notices, bins and spare boxes. Less in the frame means the room looks bigger and calmer.
Clean. Windows, floors and surfaces show up in photos far more than they do in real life. A quick clean the day before, and a wipe-down on the morning, is worth the effort. (Edits completed for the interior shoot, was cleaning up the shiny floors of footprints.)
Plan the shot list. Decide which rooms and which pieces matter most. If you're a designer, showroom or developer, think about what you'll use the images for: website, brochure, social media or a client pitch. I'll help with this, so you don't need to have it all worked out. (For the furniture shoot, I took depth of field images for company, as key social media shoots)
Check the time of day and the weather. Natural light changes the feel of a room. Some spaces look best in morning light, others in the afternoon. We can choose the time together, and on a cloudy day we can adapt.
Styling: small changes, big difference
Let's talk about lighting and styling. No jargon, just simple ways to stop your rooms from looking dark and flat.
Turn lamps on and open blinds and curtains, so the room feels warm and bright.
Plump cushions and straighten throws, so seating looks inviting.
Clear surfaces and leave one or two simple items, such as a plant or a book, rather than lots of small things.
Add greenery. A single plant brings colour and life to a corner.
Check the details: tidy chairs, align table settings and straighten anything that's crooked. (Client on the furniture shoot, liked all pieces to be positioned correctly and went and straighten up the chairs before photographs)
You don't need to buy anything new. Often a few small tweaks are enough.
Furniture: context shots versus clean product shots
If you're photographing furniture, there are usually two types of images, and they do different jobs.
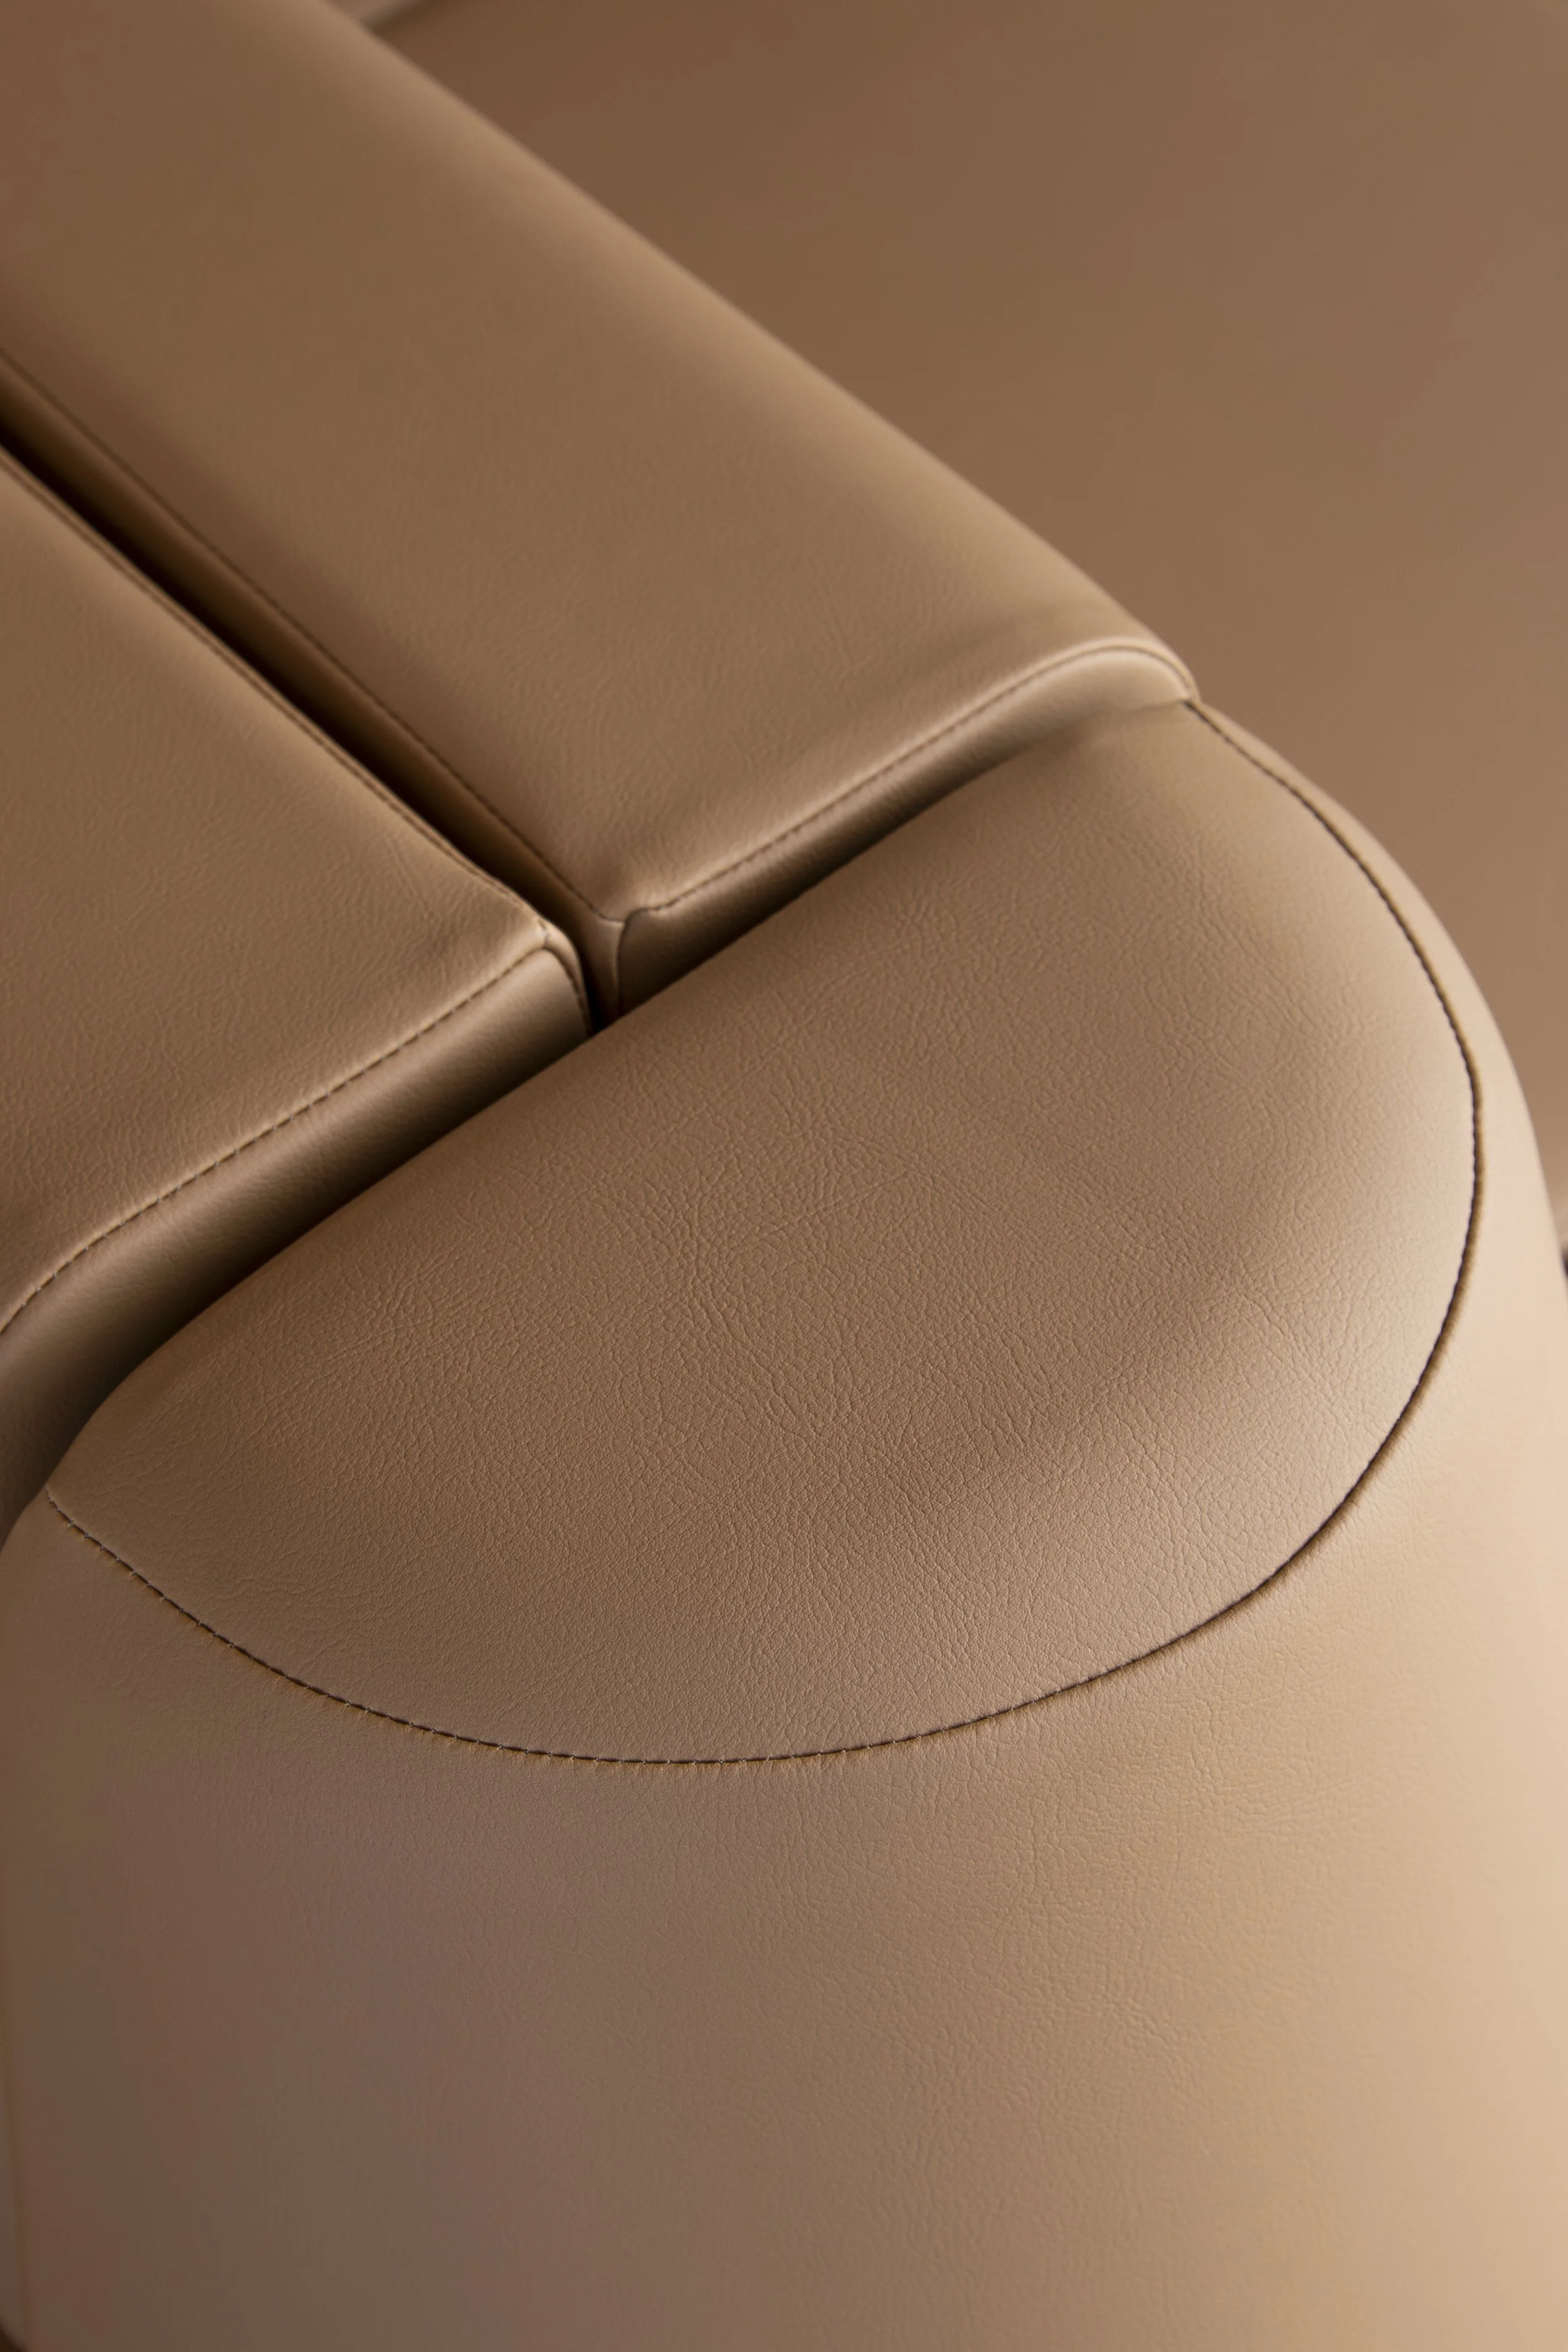
The close-up product shot shows the piece itself, with its shape, colour and finish, and nothing to distract.
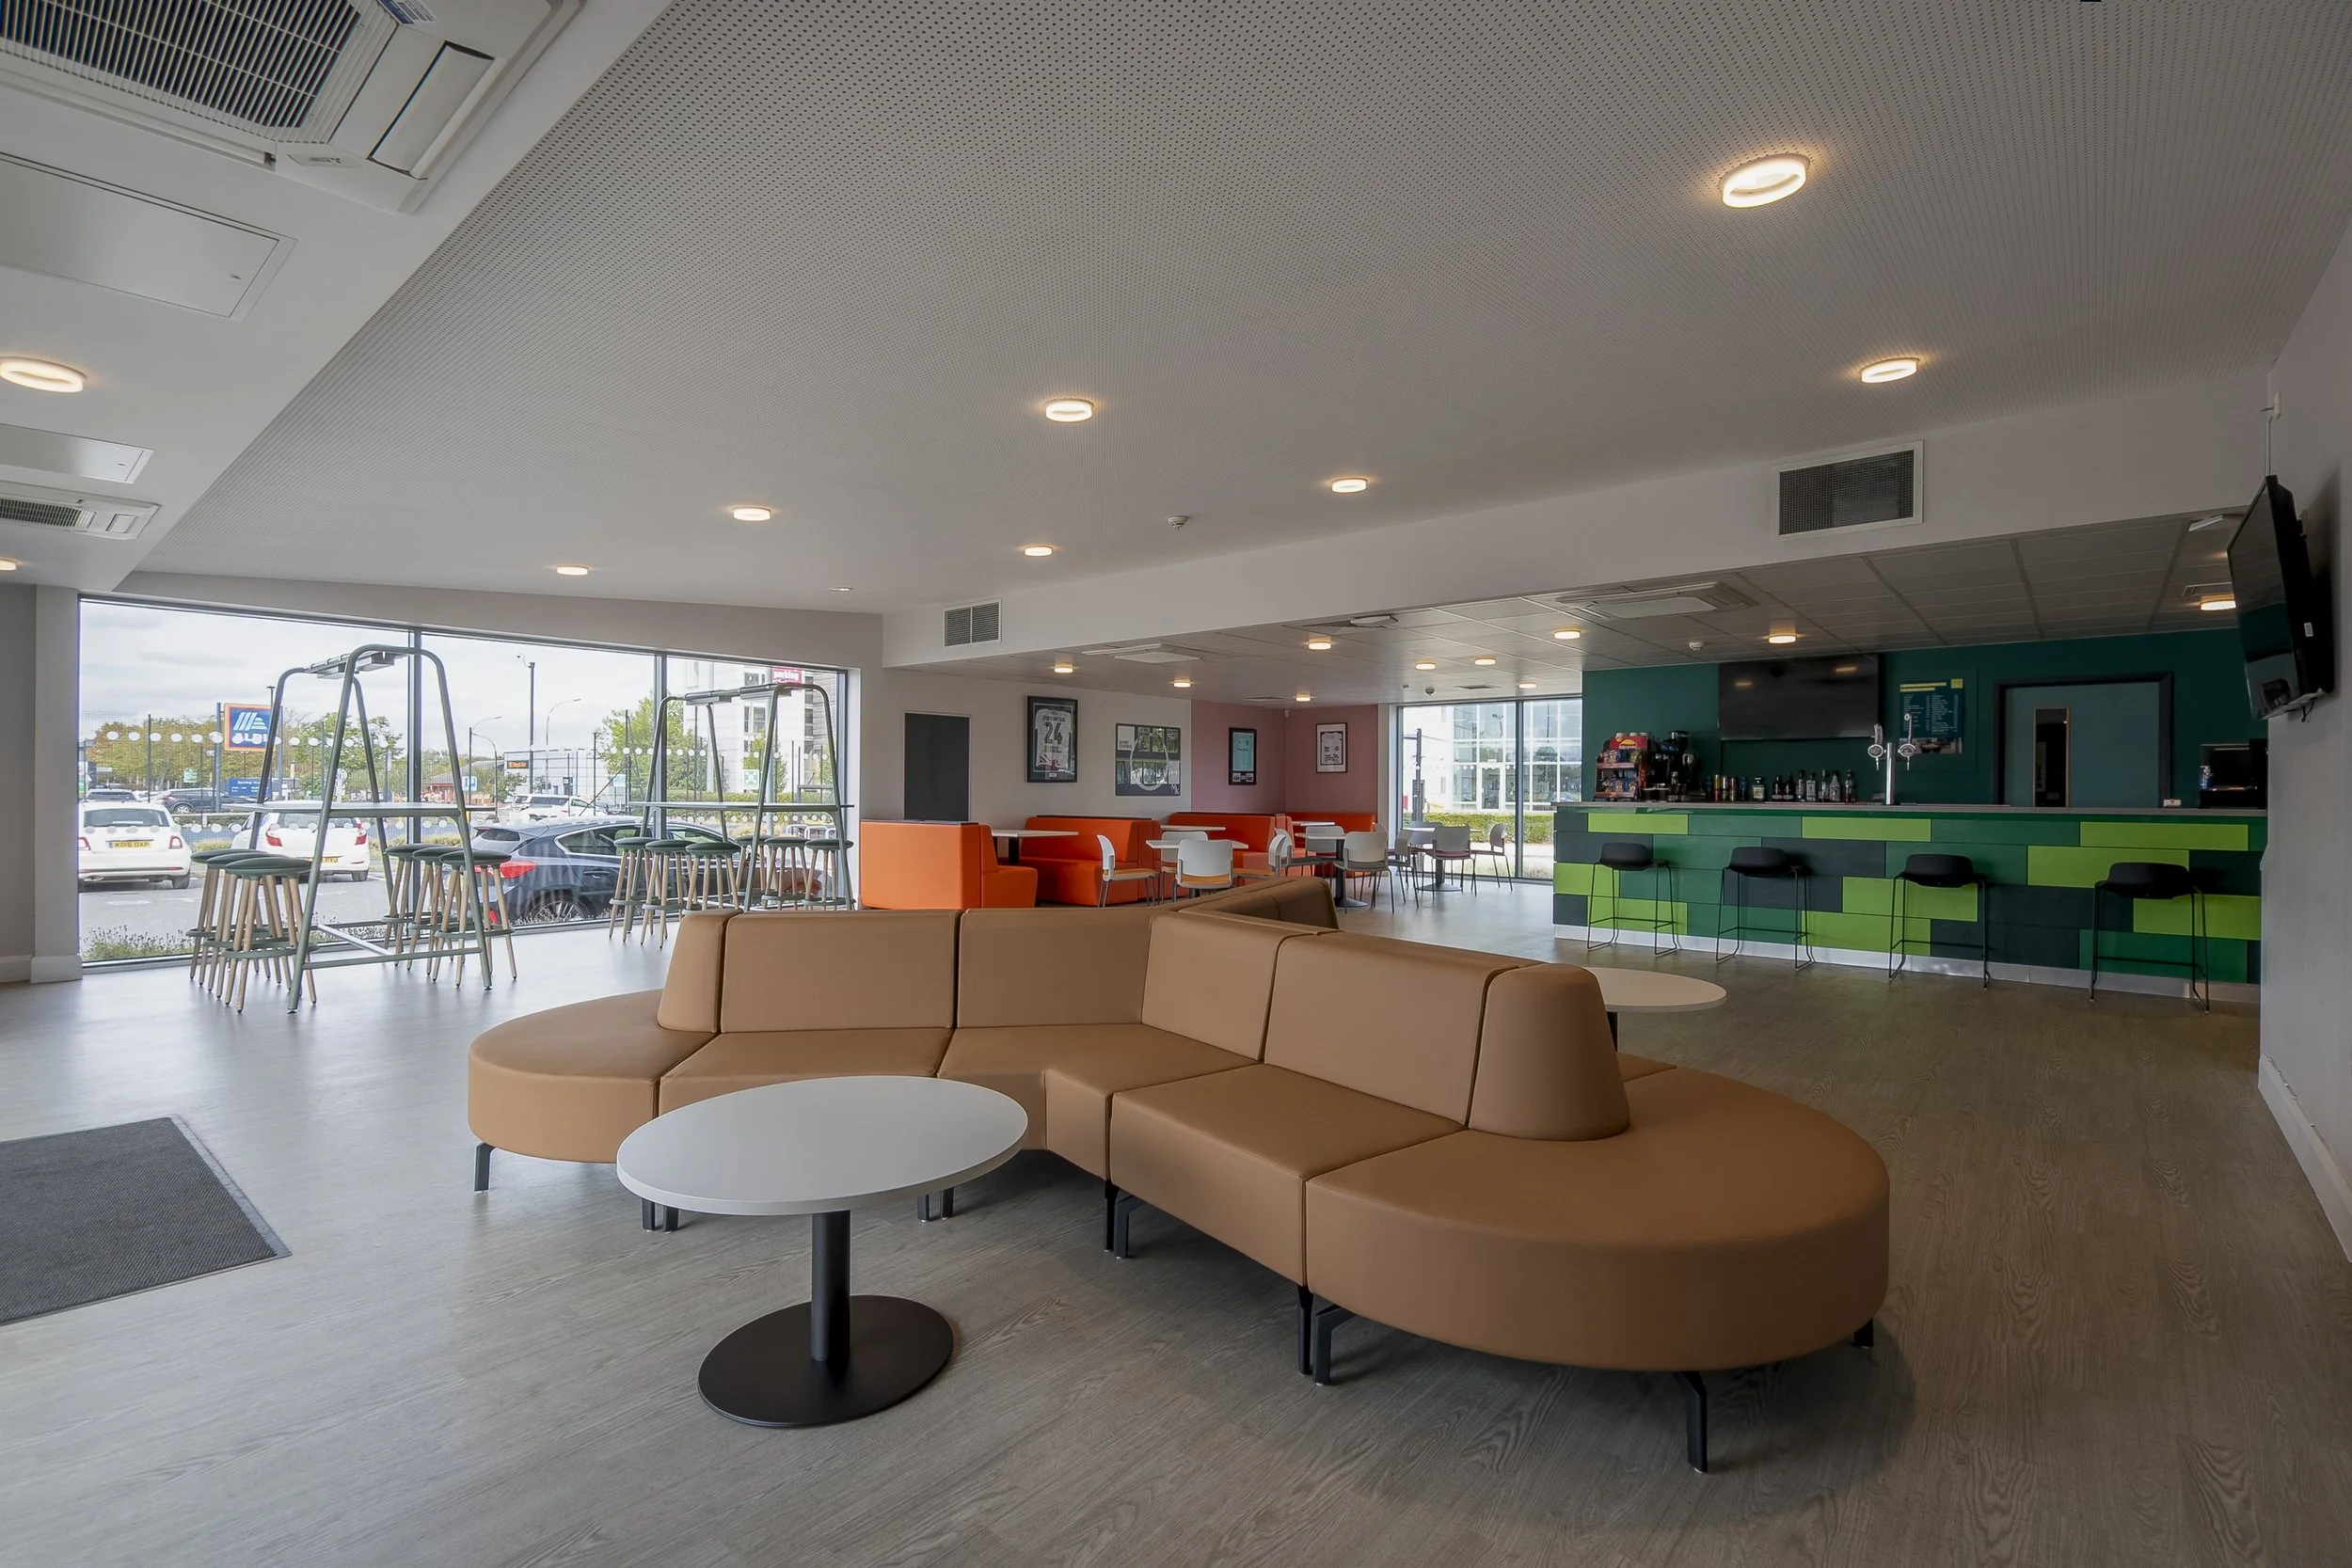
The context shot shows the piece in a real space, which helps customers picture it in their own room.
On top of that, close-ups of texture and detail, such as the grain of a leather, the stitching or the edge of a table, show the quality that makes a piece worth buying. Together, these give a designer, maker or showroom a complete set of images.
What to expect on the day
On the day, I'll walk through the space, check the light and agree the order of shots with you. I'll handle the camera, lighting and direction, so you don't need to stand over me.
How long it takes depends on the size of the space: [e.g. a single room may take 30 minutes, a larger site may take 1 hour]. For bigger or busier locations, like the Meridian site, we can split the shoot over more than one visit.
After the shoot, I'll edit your images and send them in a private online gallery, usually within seven working days, with a commercial licence for web, social and PR.
Quick checklist for you to copy
The week before
☐ Agree the rooms, pieces and what the images are for
☐ Choose the day and time of day
☐ Let staff, residents or customers know
The day before
☐ Clean windows, floors and surfaces
☐ Declutter and remove cables, bins and notices
☐ Charge, or check, any lamps and lighting
On the morning
☐ Turn on lamps and open blinds
☐ Plump cushions, straighten throws and tidy chairs
☐ Add greenery and one or two simple styling items
☐ Do a last walk-round for anything out of place
Book an interior or furniture shoot
You can see more of my work on my commercial interiors photography page.
Not sure what your space needs? I'm always happy to hop on a quick call to talk through your shot list and ideas. My free 30-minute Strategy Chat is no jargon and no pressure.
Book a chat | sampeel@wellypictures.com | 07908226845